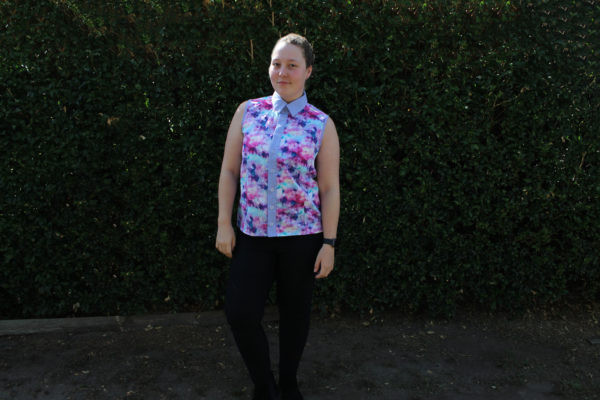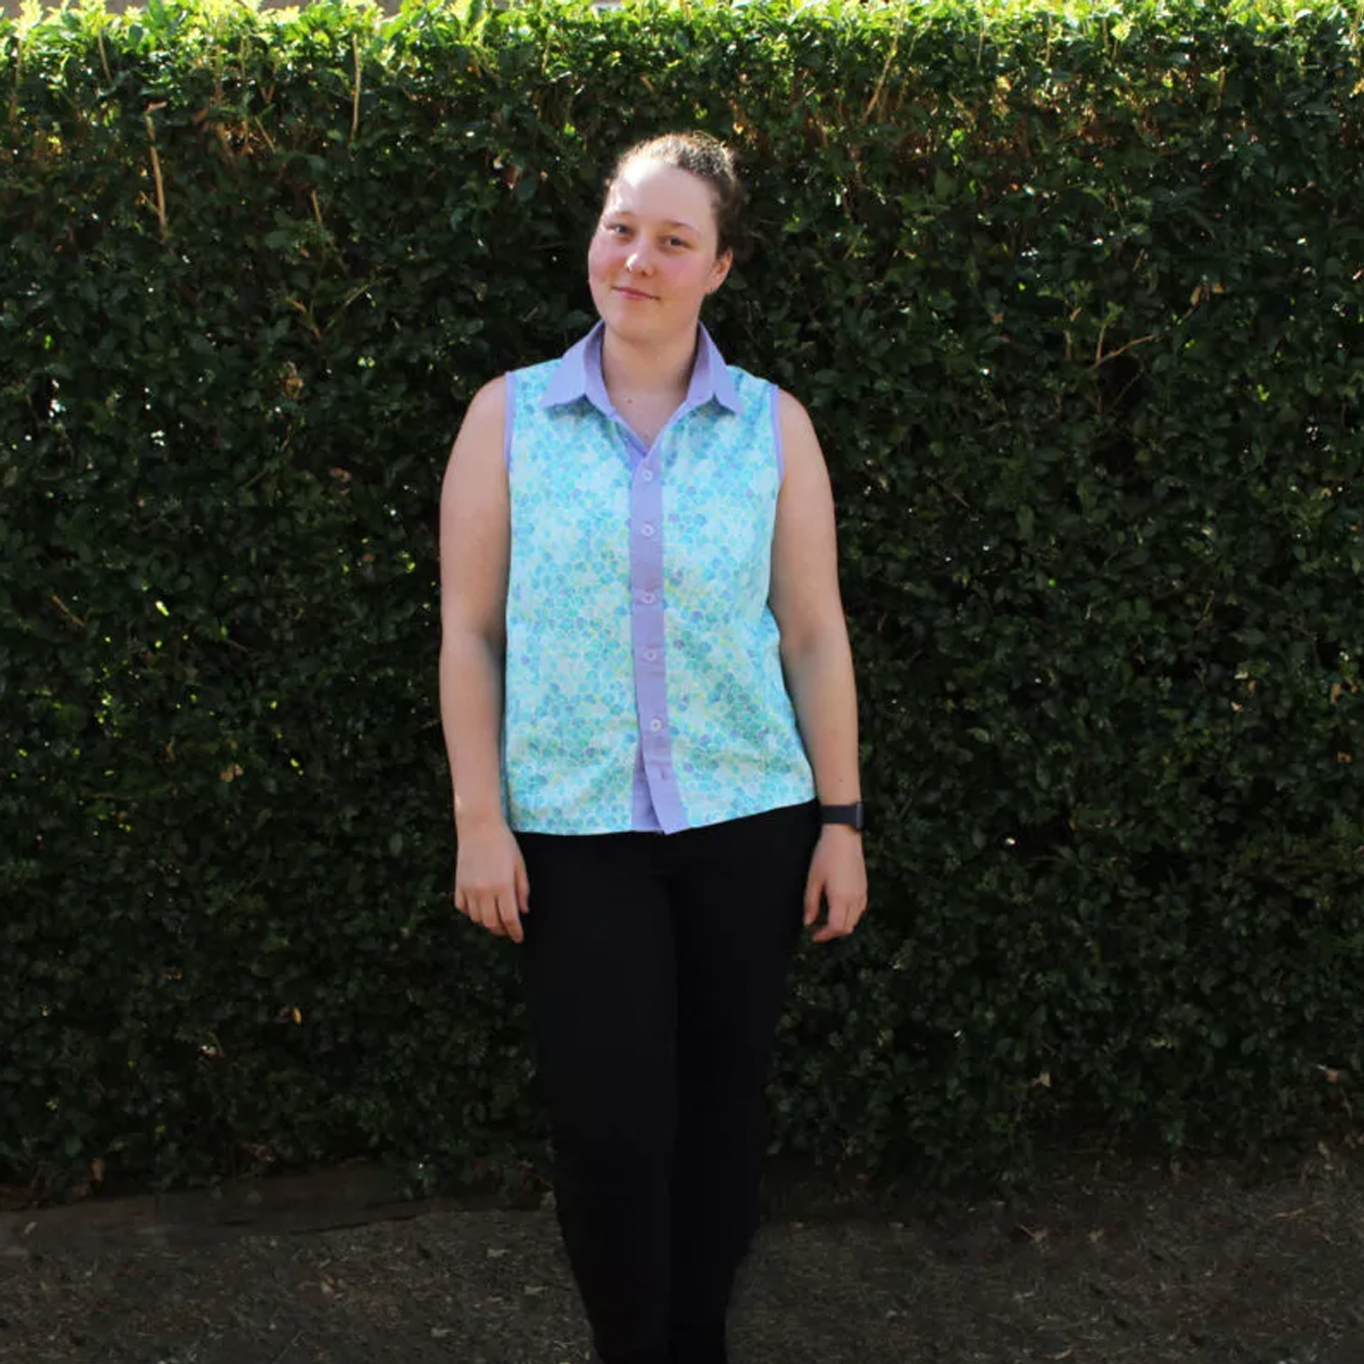
Create your own shirt ready for any occasion.
Shopping list
- Existing work shirt
- Pattern making equipment
- 2x contrasting fabric, 20cm each
- Sewing machine
- Overlocker
- 1.5m cotton fabric
- 0.5m contrasting fabric
- iron on interfacing
- 1.5m bias binding in contrasting colour
- Iron
- scissors
- Edge joining Presser foot (optional)
- Buttonhole foot
- Buttons
- Button foot (optional)
Preparation
Prepare patterns, following steps in Drafting Patterns Part 1. If your shirt has darts, collars or cuffs refer to Drafting Patterns Part 2 &
3
Note: If you make any changes to existing patterns (e.g. Longer hem or shaped seams) ensure that you do this for all corresponding patterns.
Construction:
- Transfer the dart markings from the pattern into shirt front and back pieces.
- Folding your dart, match lines and pin. Using your machine, sew the dart.
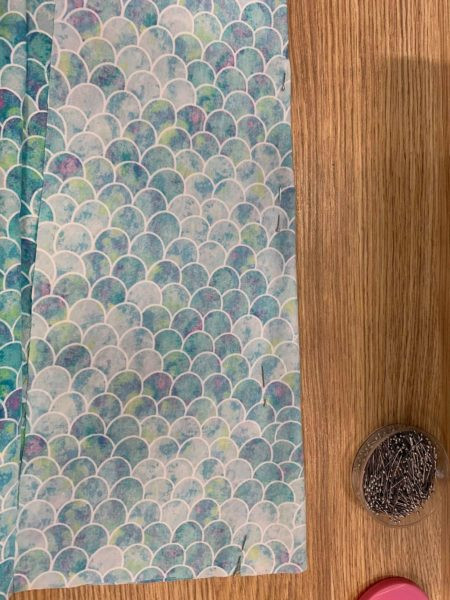
- Pin front panel and back panel together on the side seam. Sew together.

- Using your overlocker, overlock the side seams and armhole.
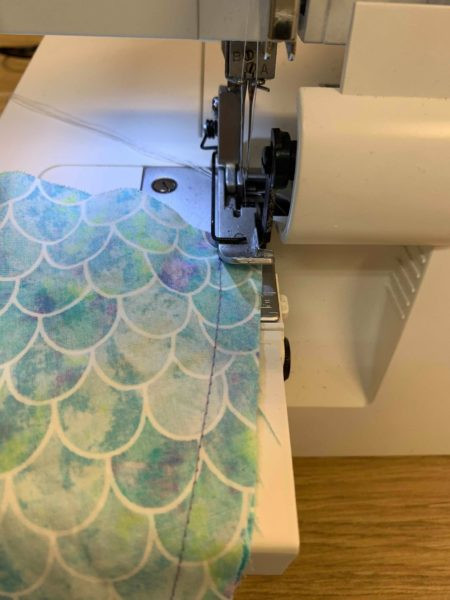
- Sew shoulder seam together and overlock.

- Iron on interfacing to both center front bands, one collar piece and one stand piece.

- Fold center front bands in half ensuring the right side is out, iron.

- Sew one side of center front panels to front shirt.
- Fold 6mm of the inner side of the center front band in towards the seam allowance and iron ensuring that the shirt and band seam is also tucked into the band.
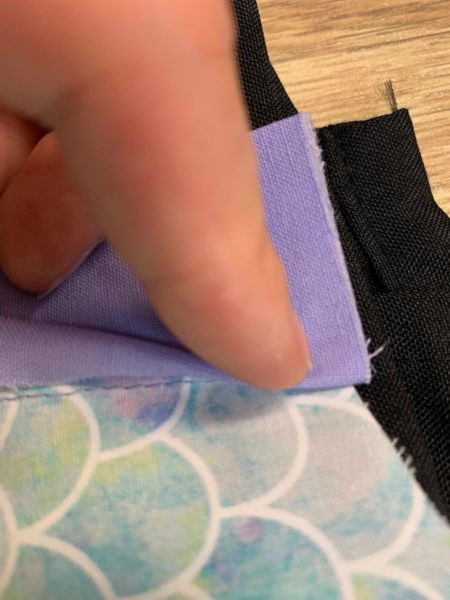
- Pin on right side along the existing seam ensuring that you have also pinned the underside and have hidden the existing stitching.

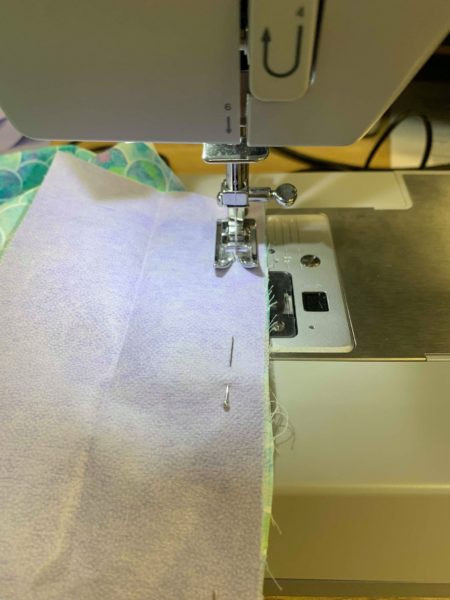
- Using either the General Purpose foot or your edge joining foot (optional), perform a Stitch in the ditch. Tip: The edge joining foot will help you stitch in the ditch perfectly thanks to the guide.

- Repeat steps 9-11 for other center front band.

- Place collar and stand together (matching interfaced pieces and non-interfaced), centers together and sew leaving 12mm either side.
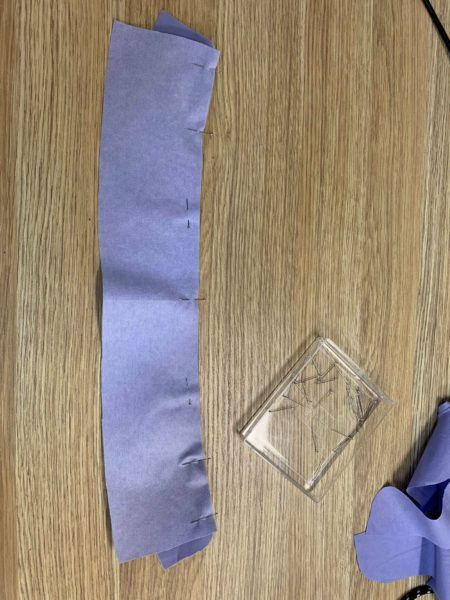
- Repeat for other collar and stand pieces.
- Attach both sewn collar pieces together, sew around 12mm.

- Clip the collar corners on 45° angle.
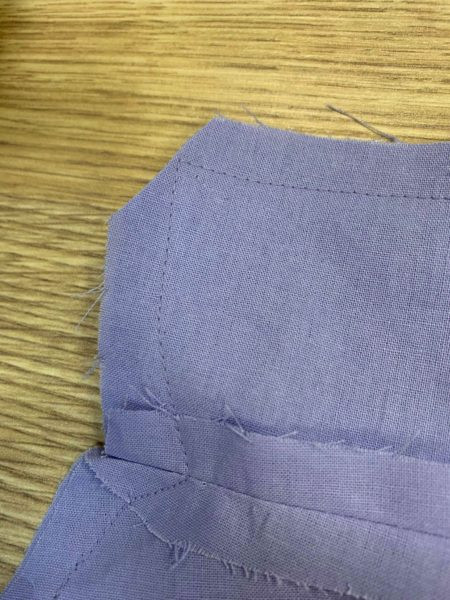
- Turn right side out using a stick or point of the scissors to gently push out corners, iron in place.
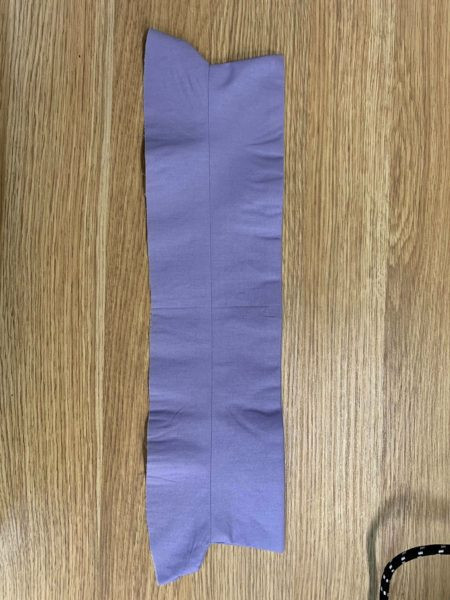
- Attach stand and shirt together matching right sides, ensure that you only pin through a single layer of the stand. Sew together.
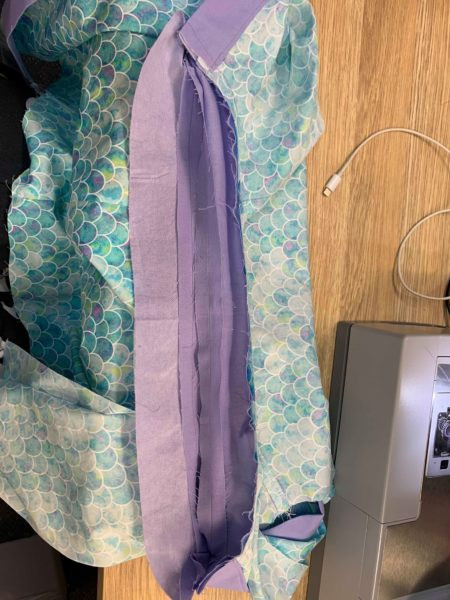
- At the curves of the collar you may need to clip seam allowance.
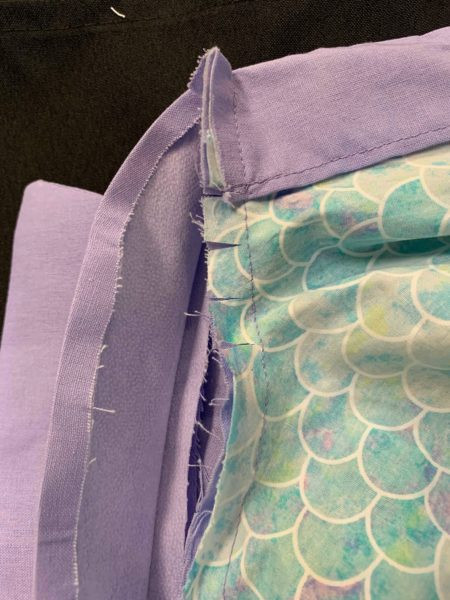
- On non-sewn stand side, fold down the edge 6mm and iron.

- Fold down and pin on right side to shirt ensuring you have also pinned the non-sewn side, as in step 10.
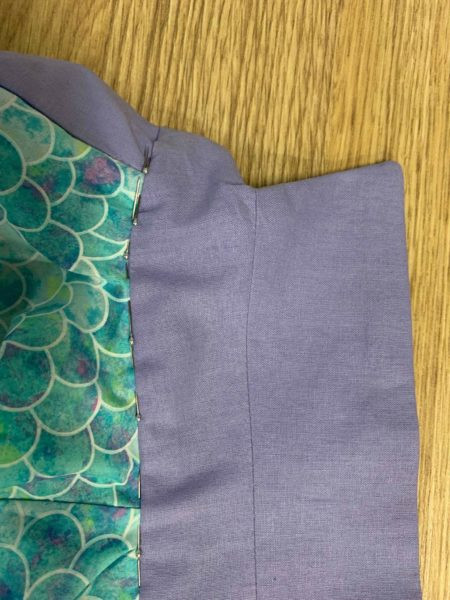
- Perform a stitch in the ditch to attach entire collar to shirt.
- Using your overlocker, overlock the hem of the shirt.

- Pin hem up 1-2cm and sew.

- If you wish to create your own bias binding, please refer to the How to make Bias Binding tutorial.
- Fold bias in half and iron.
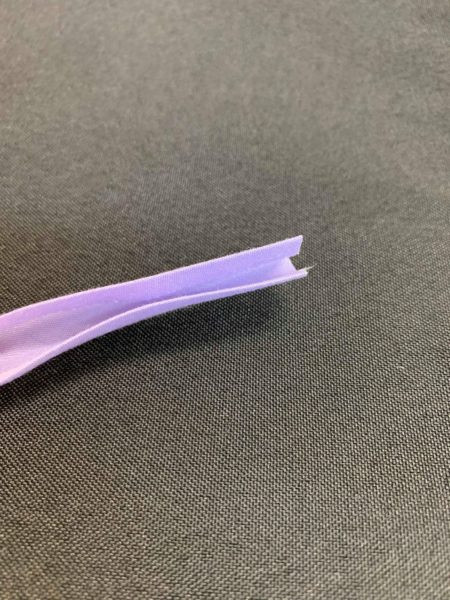
- Sandwich the sleeve seam between the bias binding and pin.

- At the end of the bias, fold end in and pin.
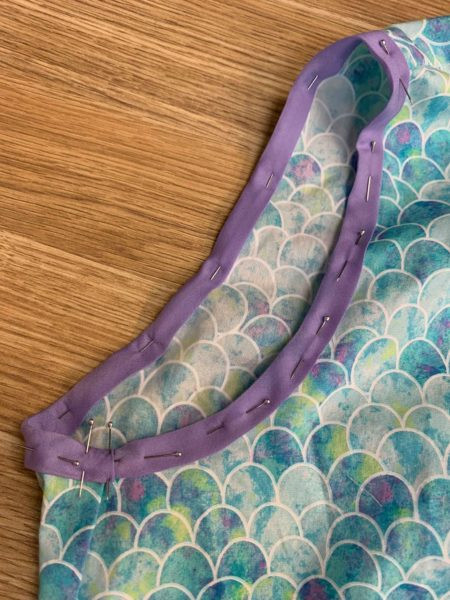
- Place bias under your foot, adjust needle position as required and sew.

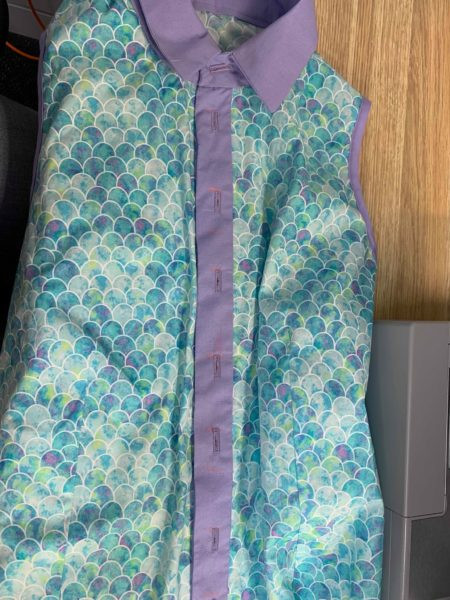
- Place your buttonholes already done and cut open, over the other front band. Place a mark through the button hole to indicate the button position.

- Refer to How to use the Button Sewing Foot for attaching the buttons using your machine, alternatively, you can sew them by hand.
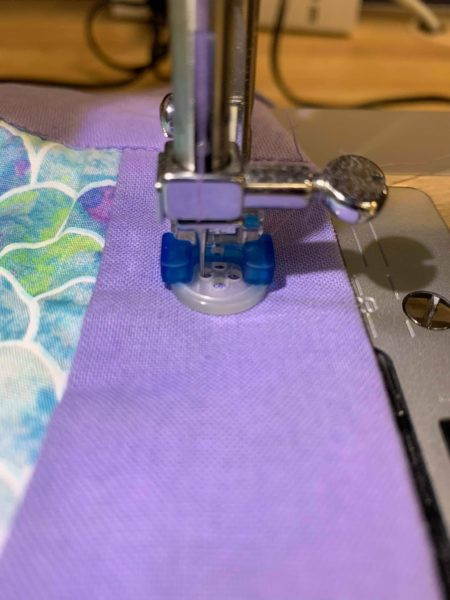
Congratulations on finishing your shirt, decorate your shirt and create as many as you possibly can :)

