Pattern drafting is a term that often 'scares' dressmakers, who then shy away from it. Here is a quick and easy way to introduce you to pattern drafting which allows you to build confidence and skill.
You will need
- Butches paper
- Clothing
- Pattern Making Rulers
- Pencil
- Scissors
Steps:
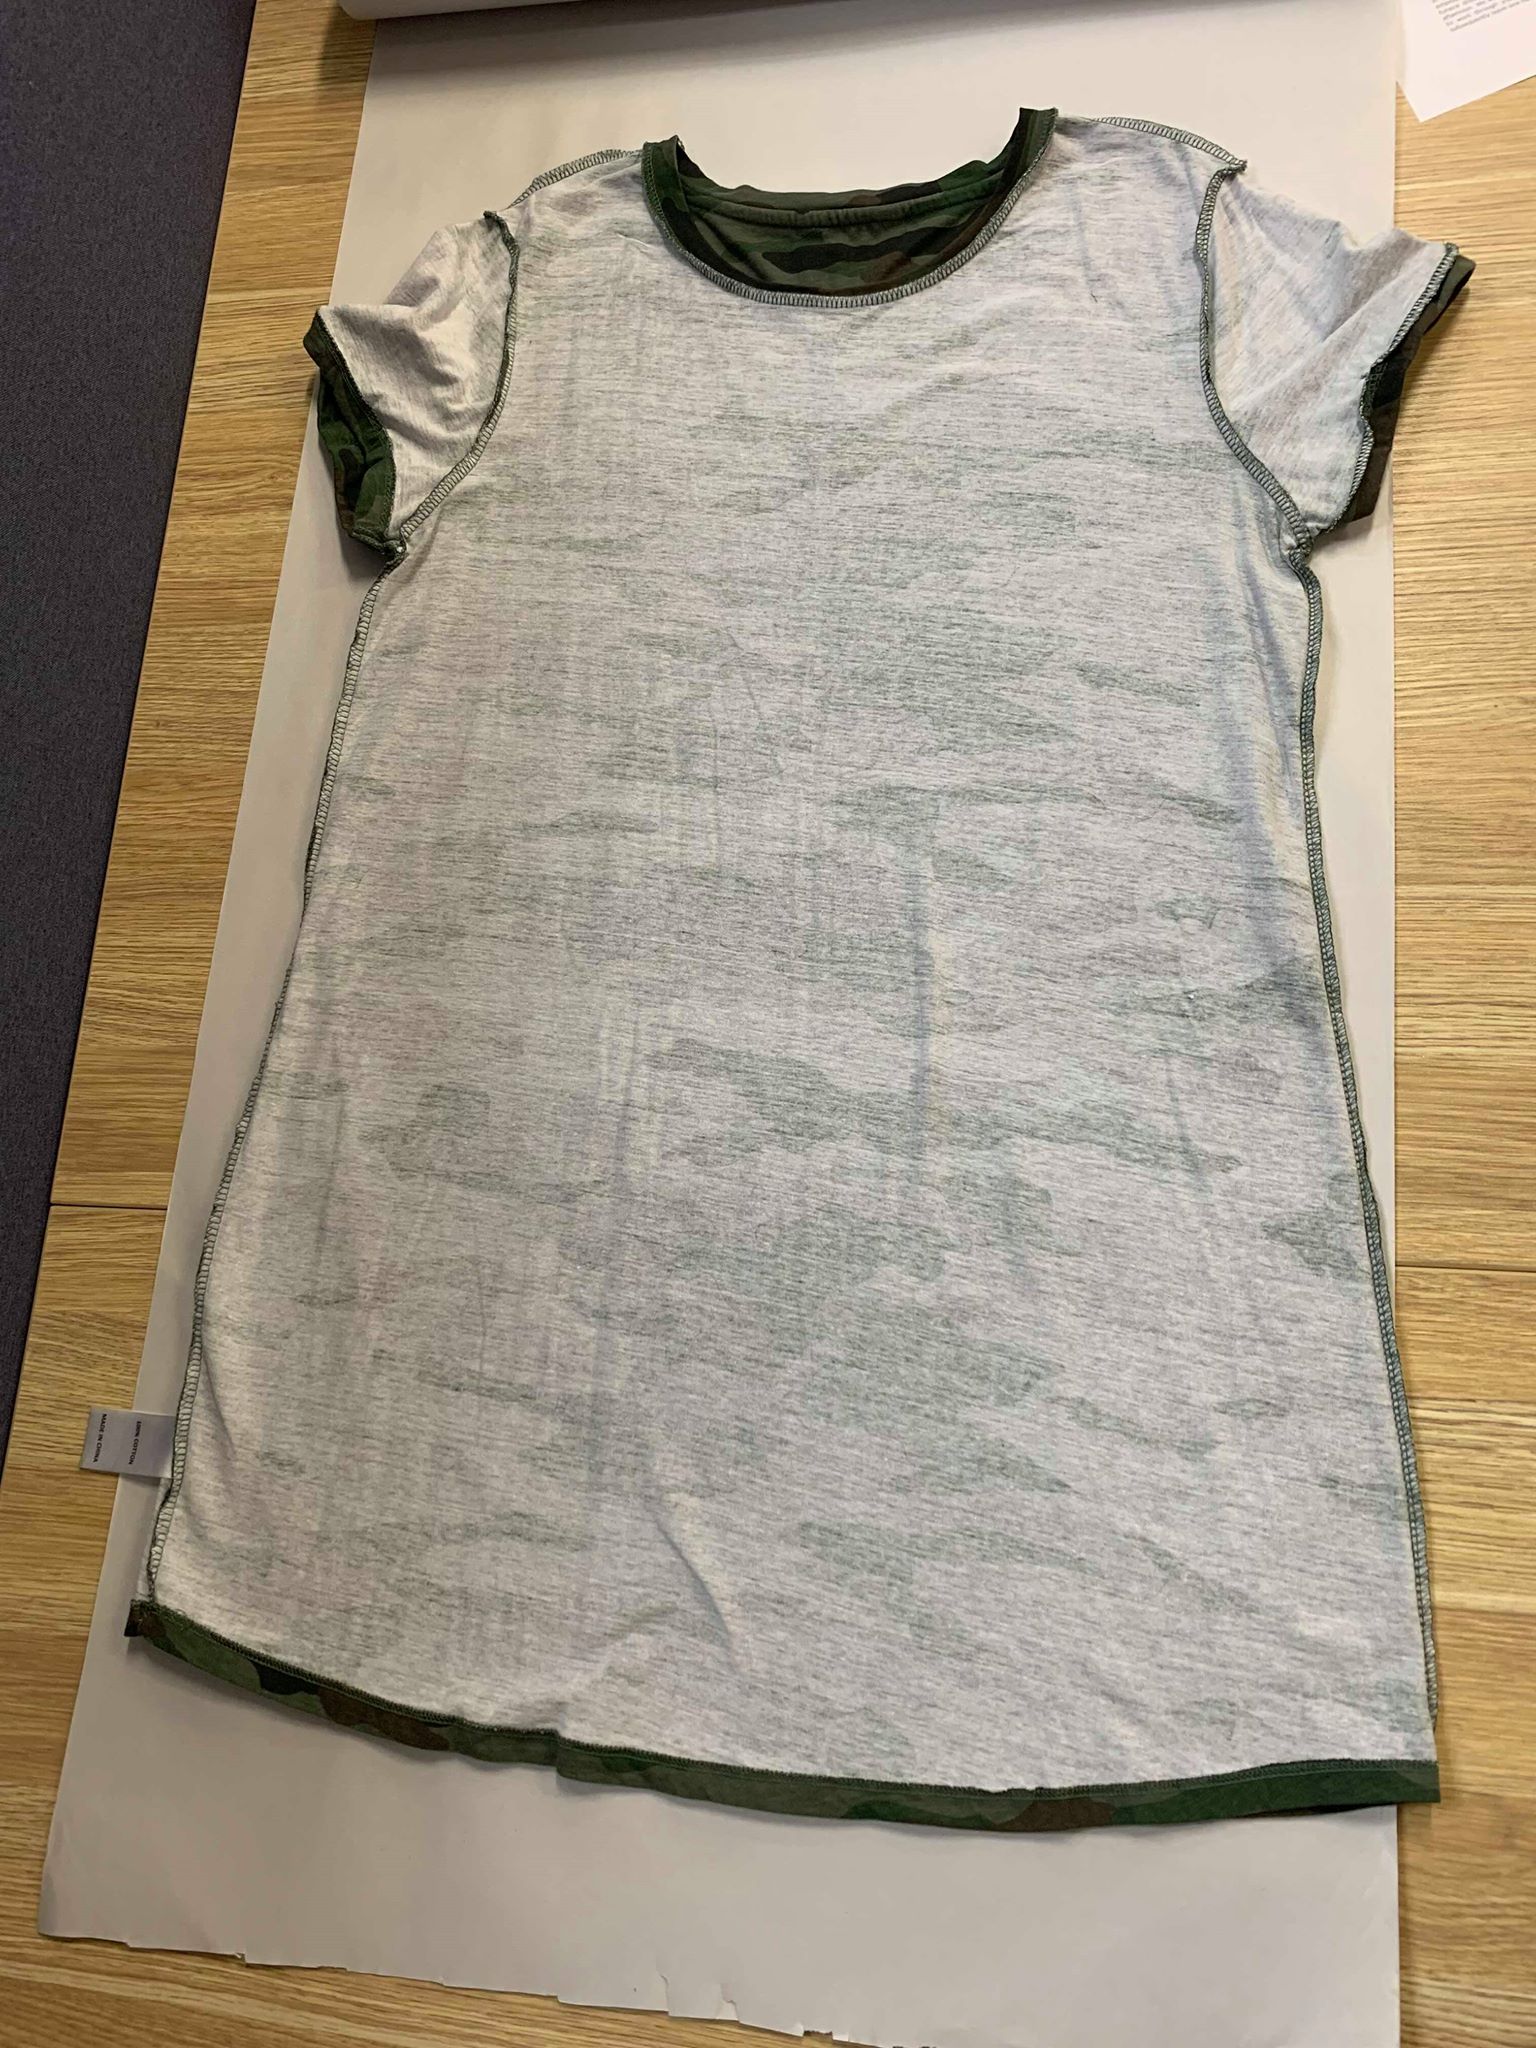
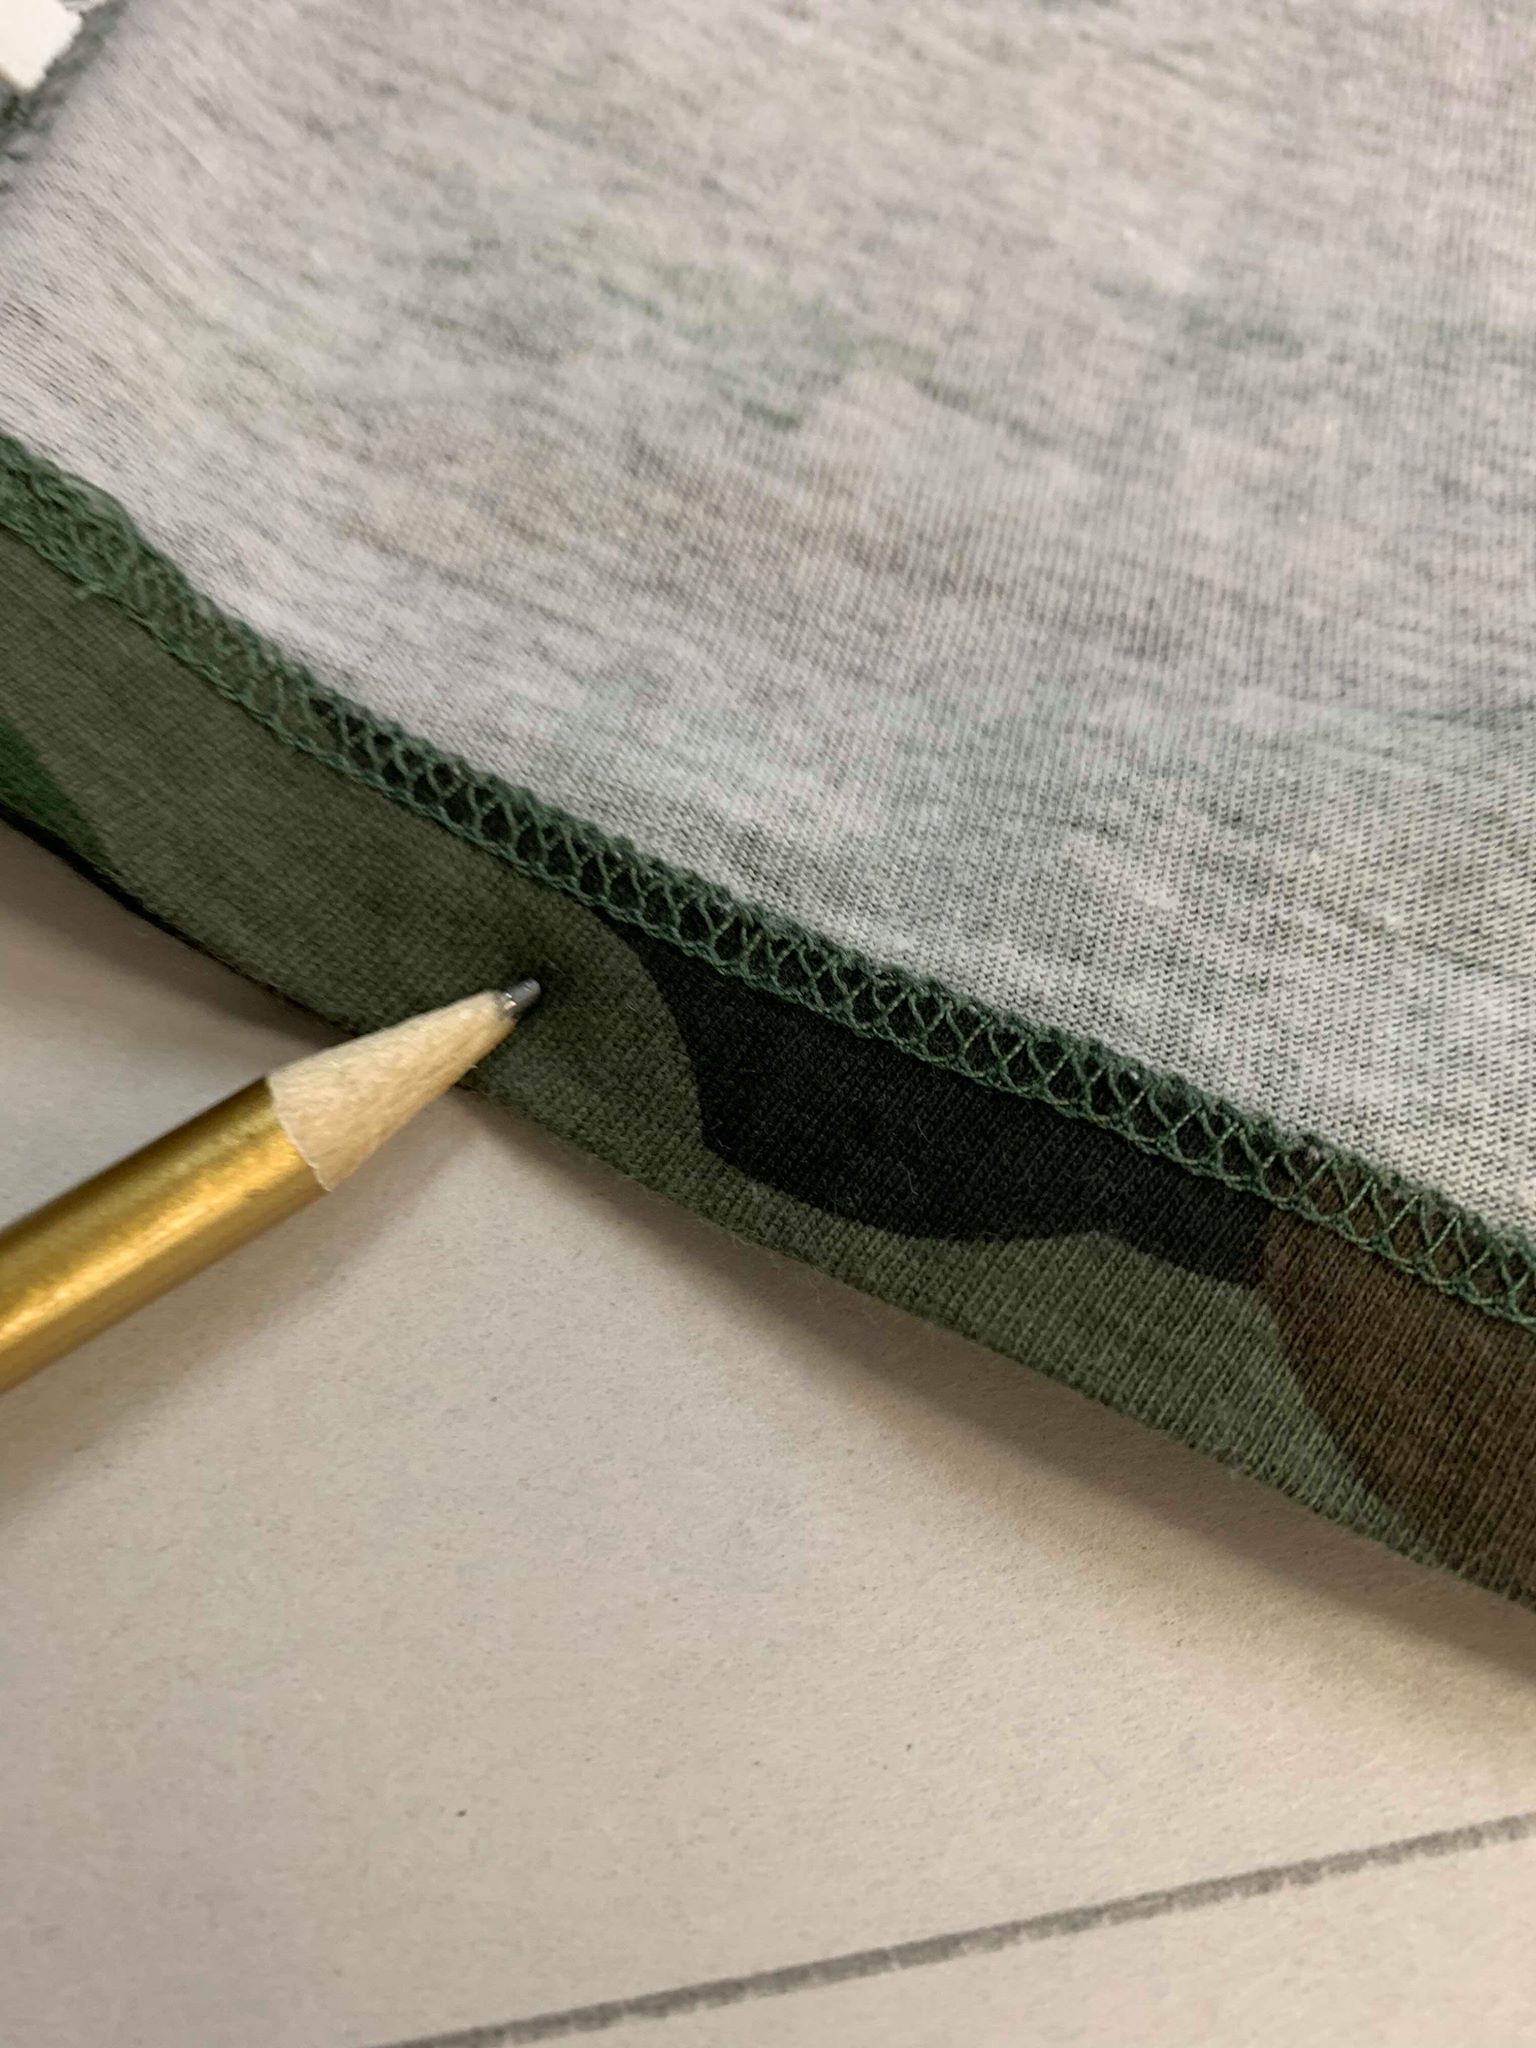
- Using your existing clothes, turn them inside out in order to include the seam allowance
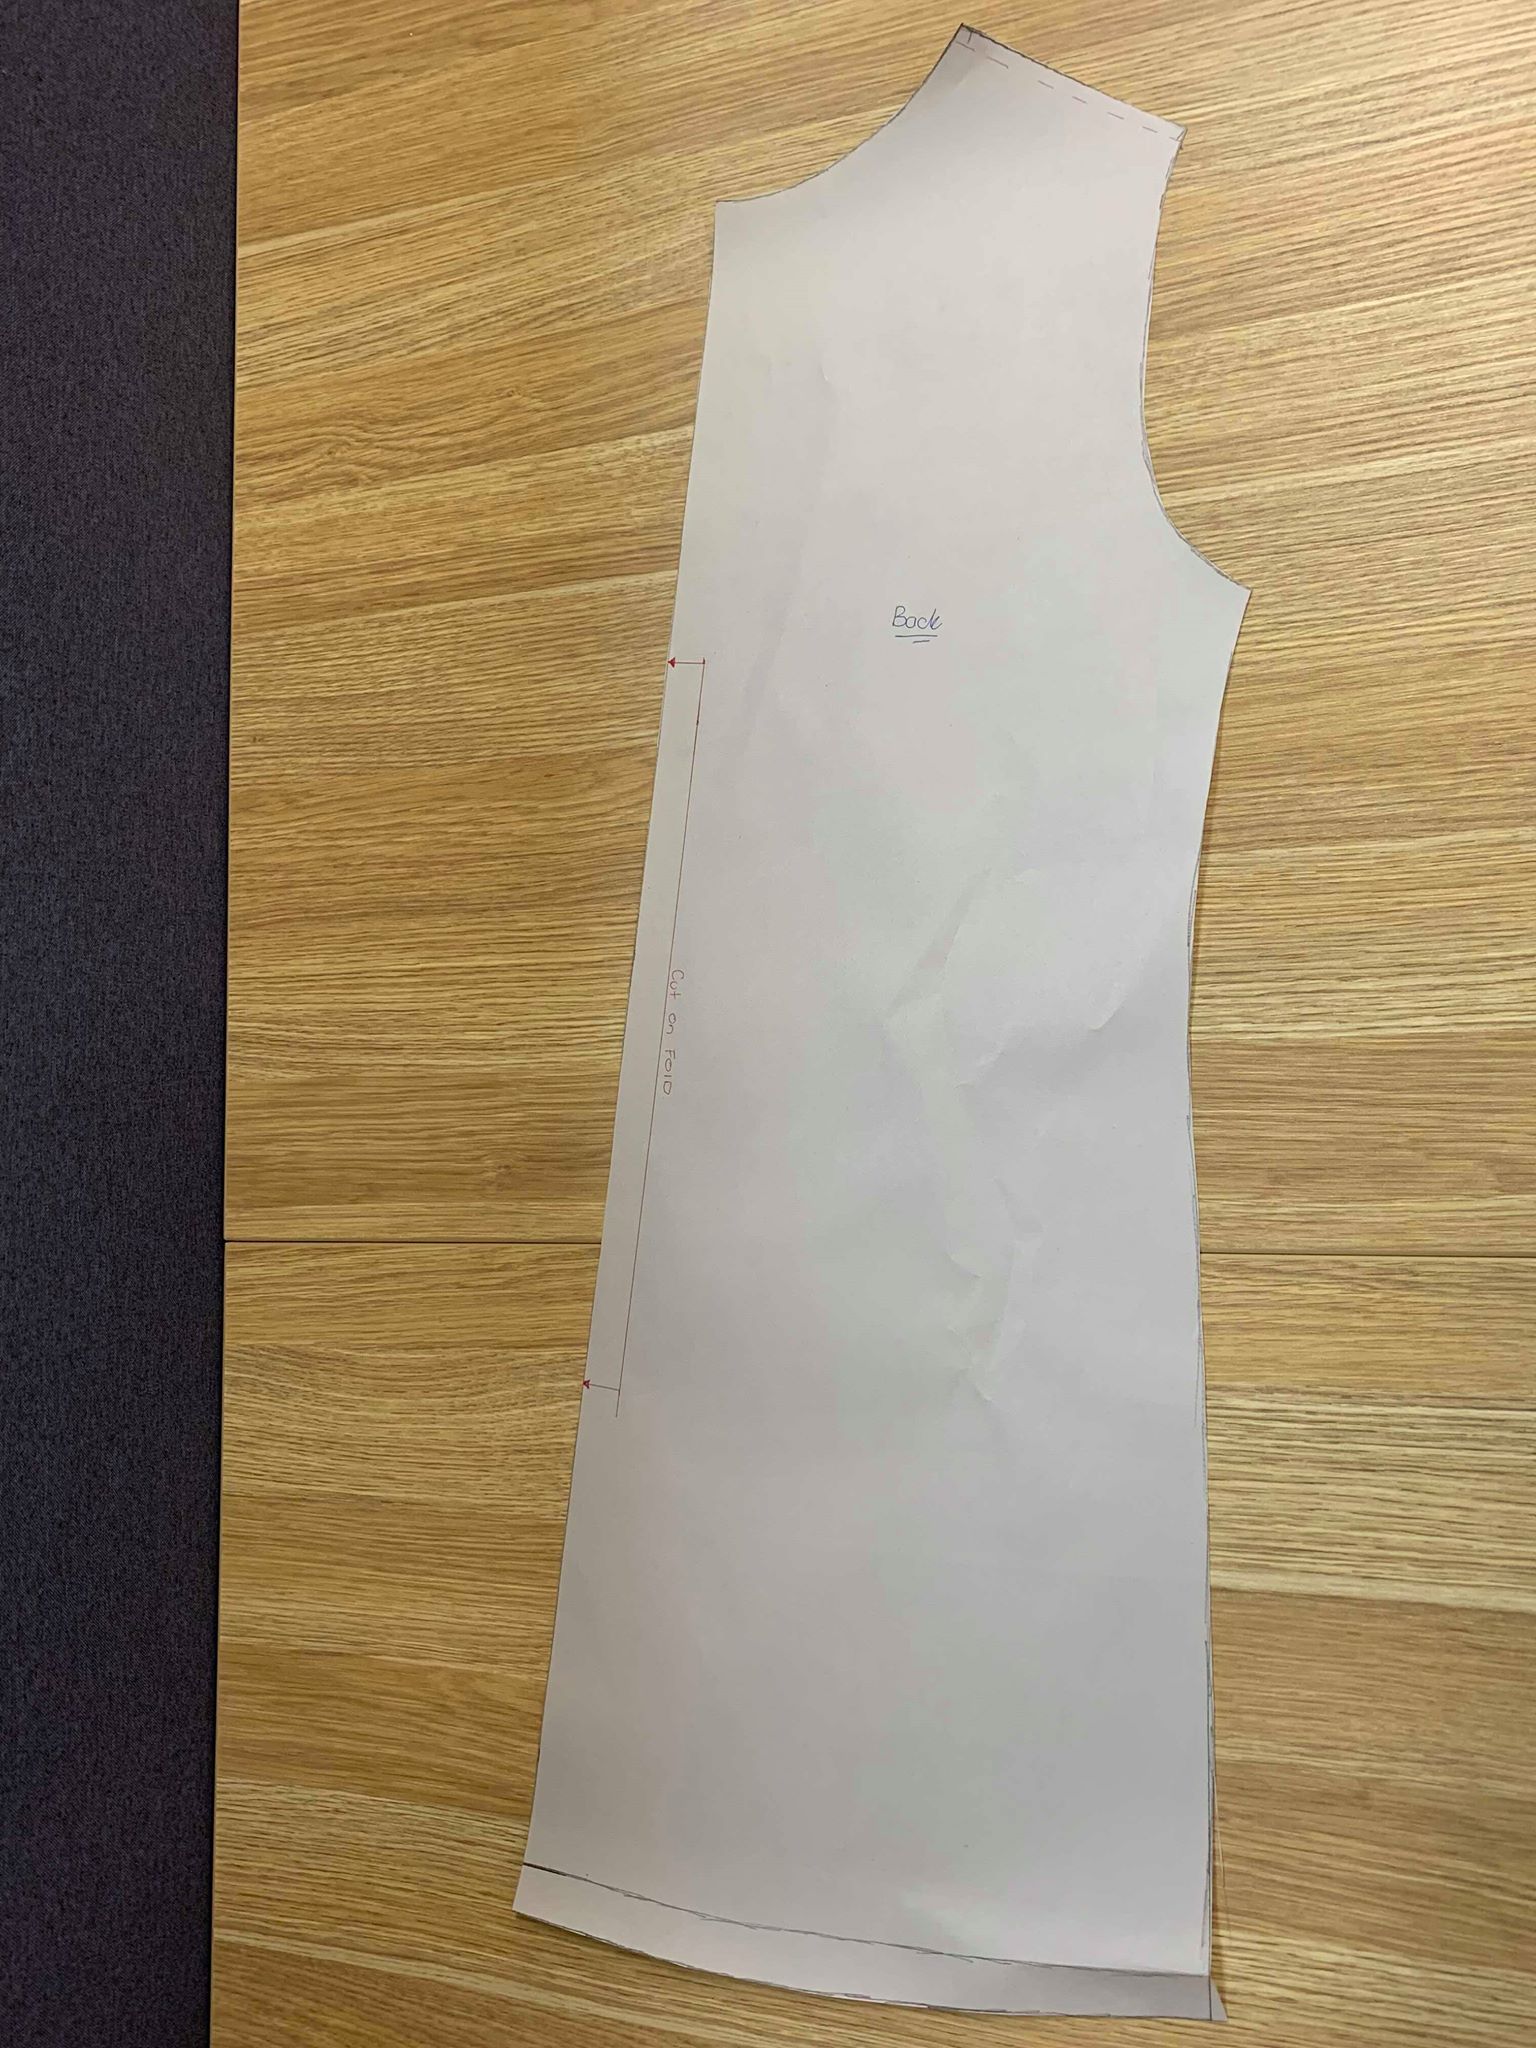
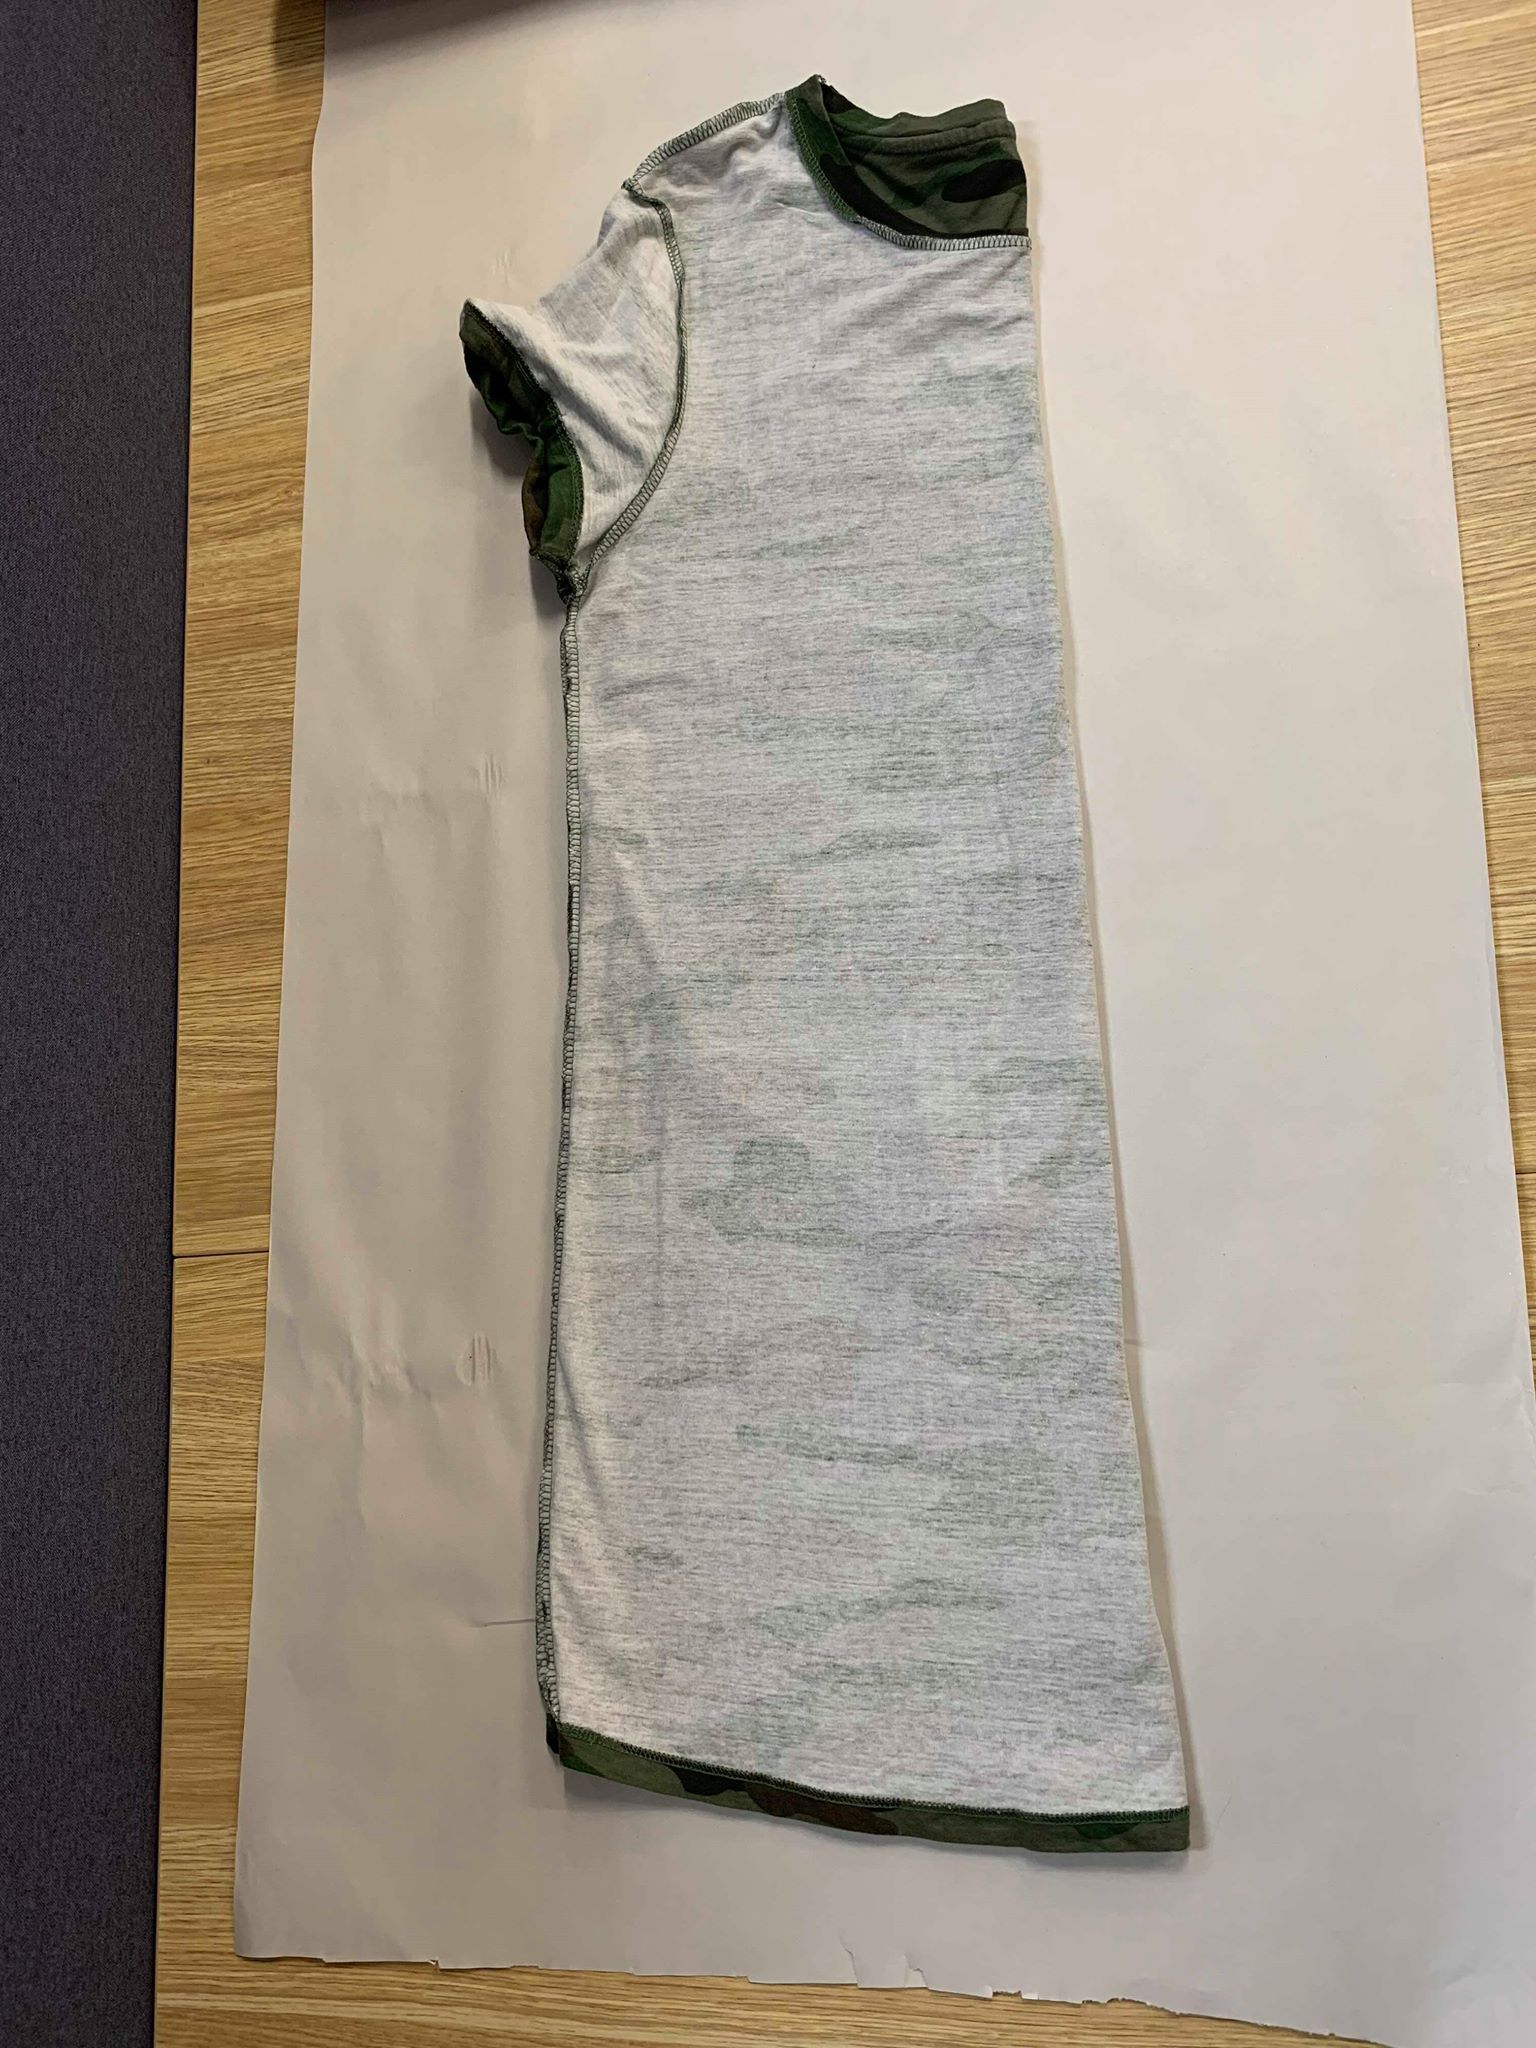
- Using a pen and ruler, draw a straight line down to one side of your drafting paper. Fold your front panel in half, exactly, and lay the fold line on the drawn straight line. This will represent the center front of your garment. Trace around all the seams to create a full pattern, making sure you include all the seam allowances. Typical seam allowance is 12mm, or overlocked seams are 6mm, you may need to measure your clothes if you are unsure what to add.
NOTE:
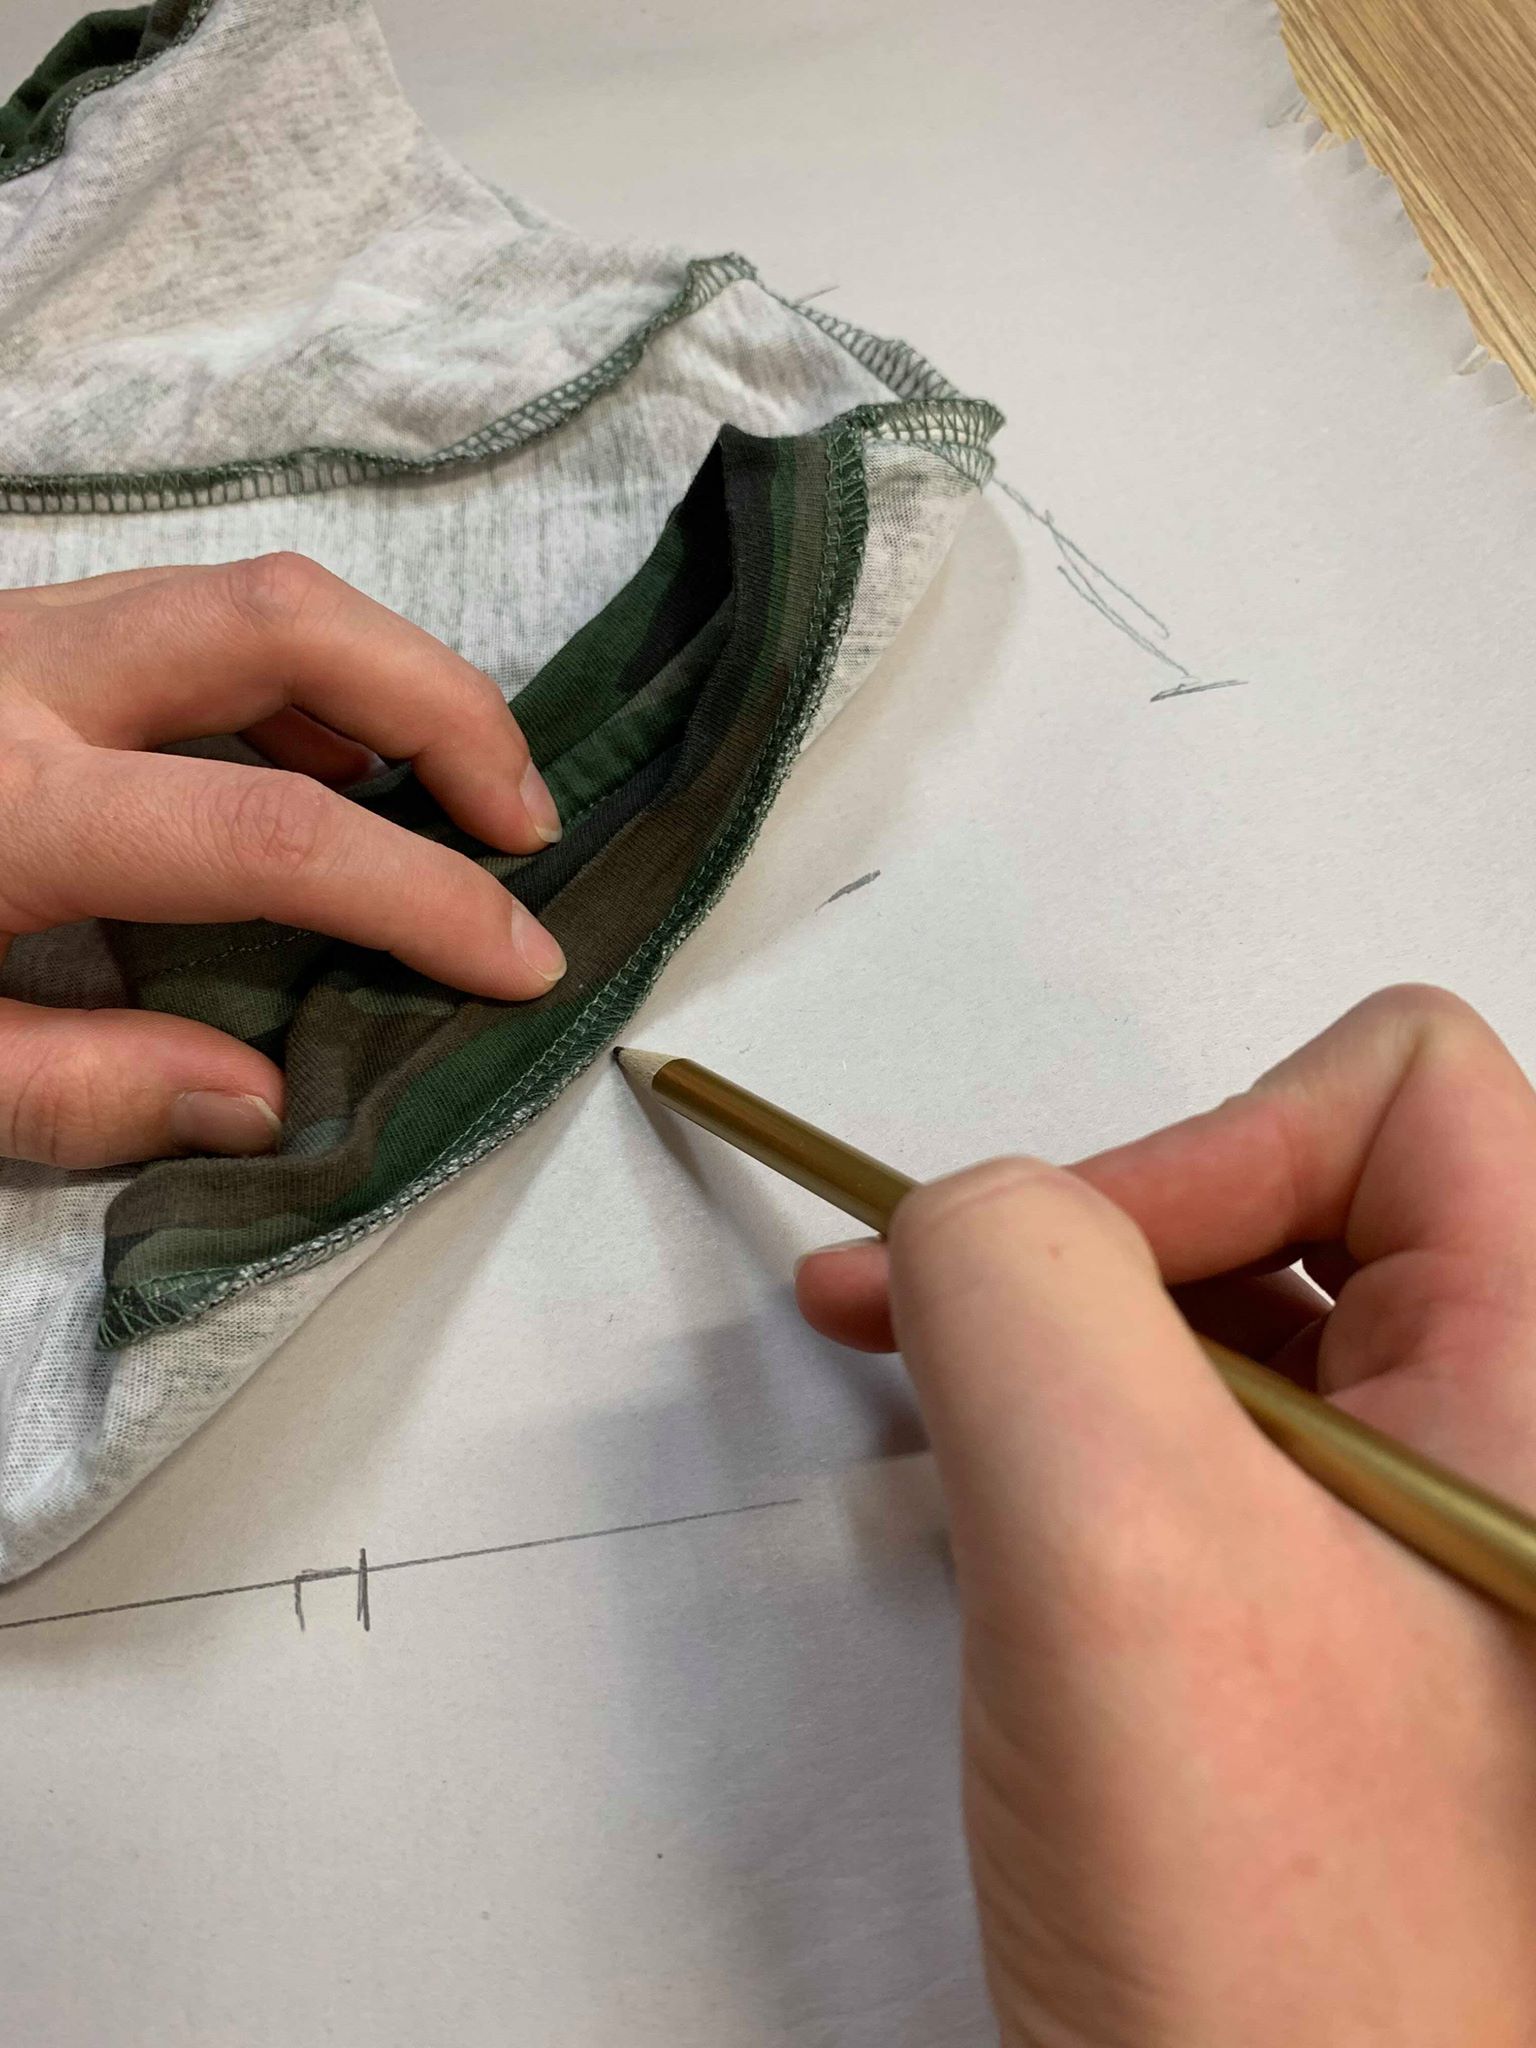
- Ensure that you fold back the neck and sleeve to only make the seam allowance.
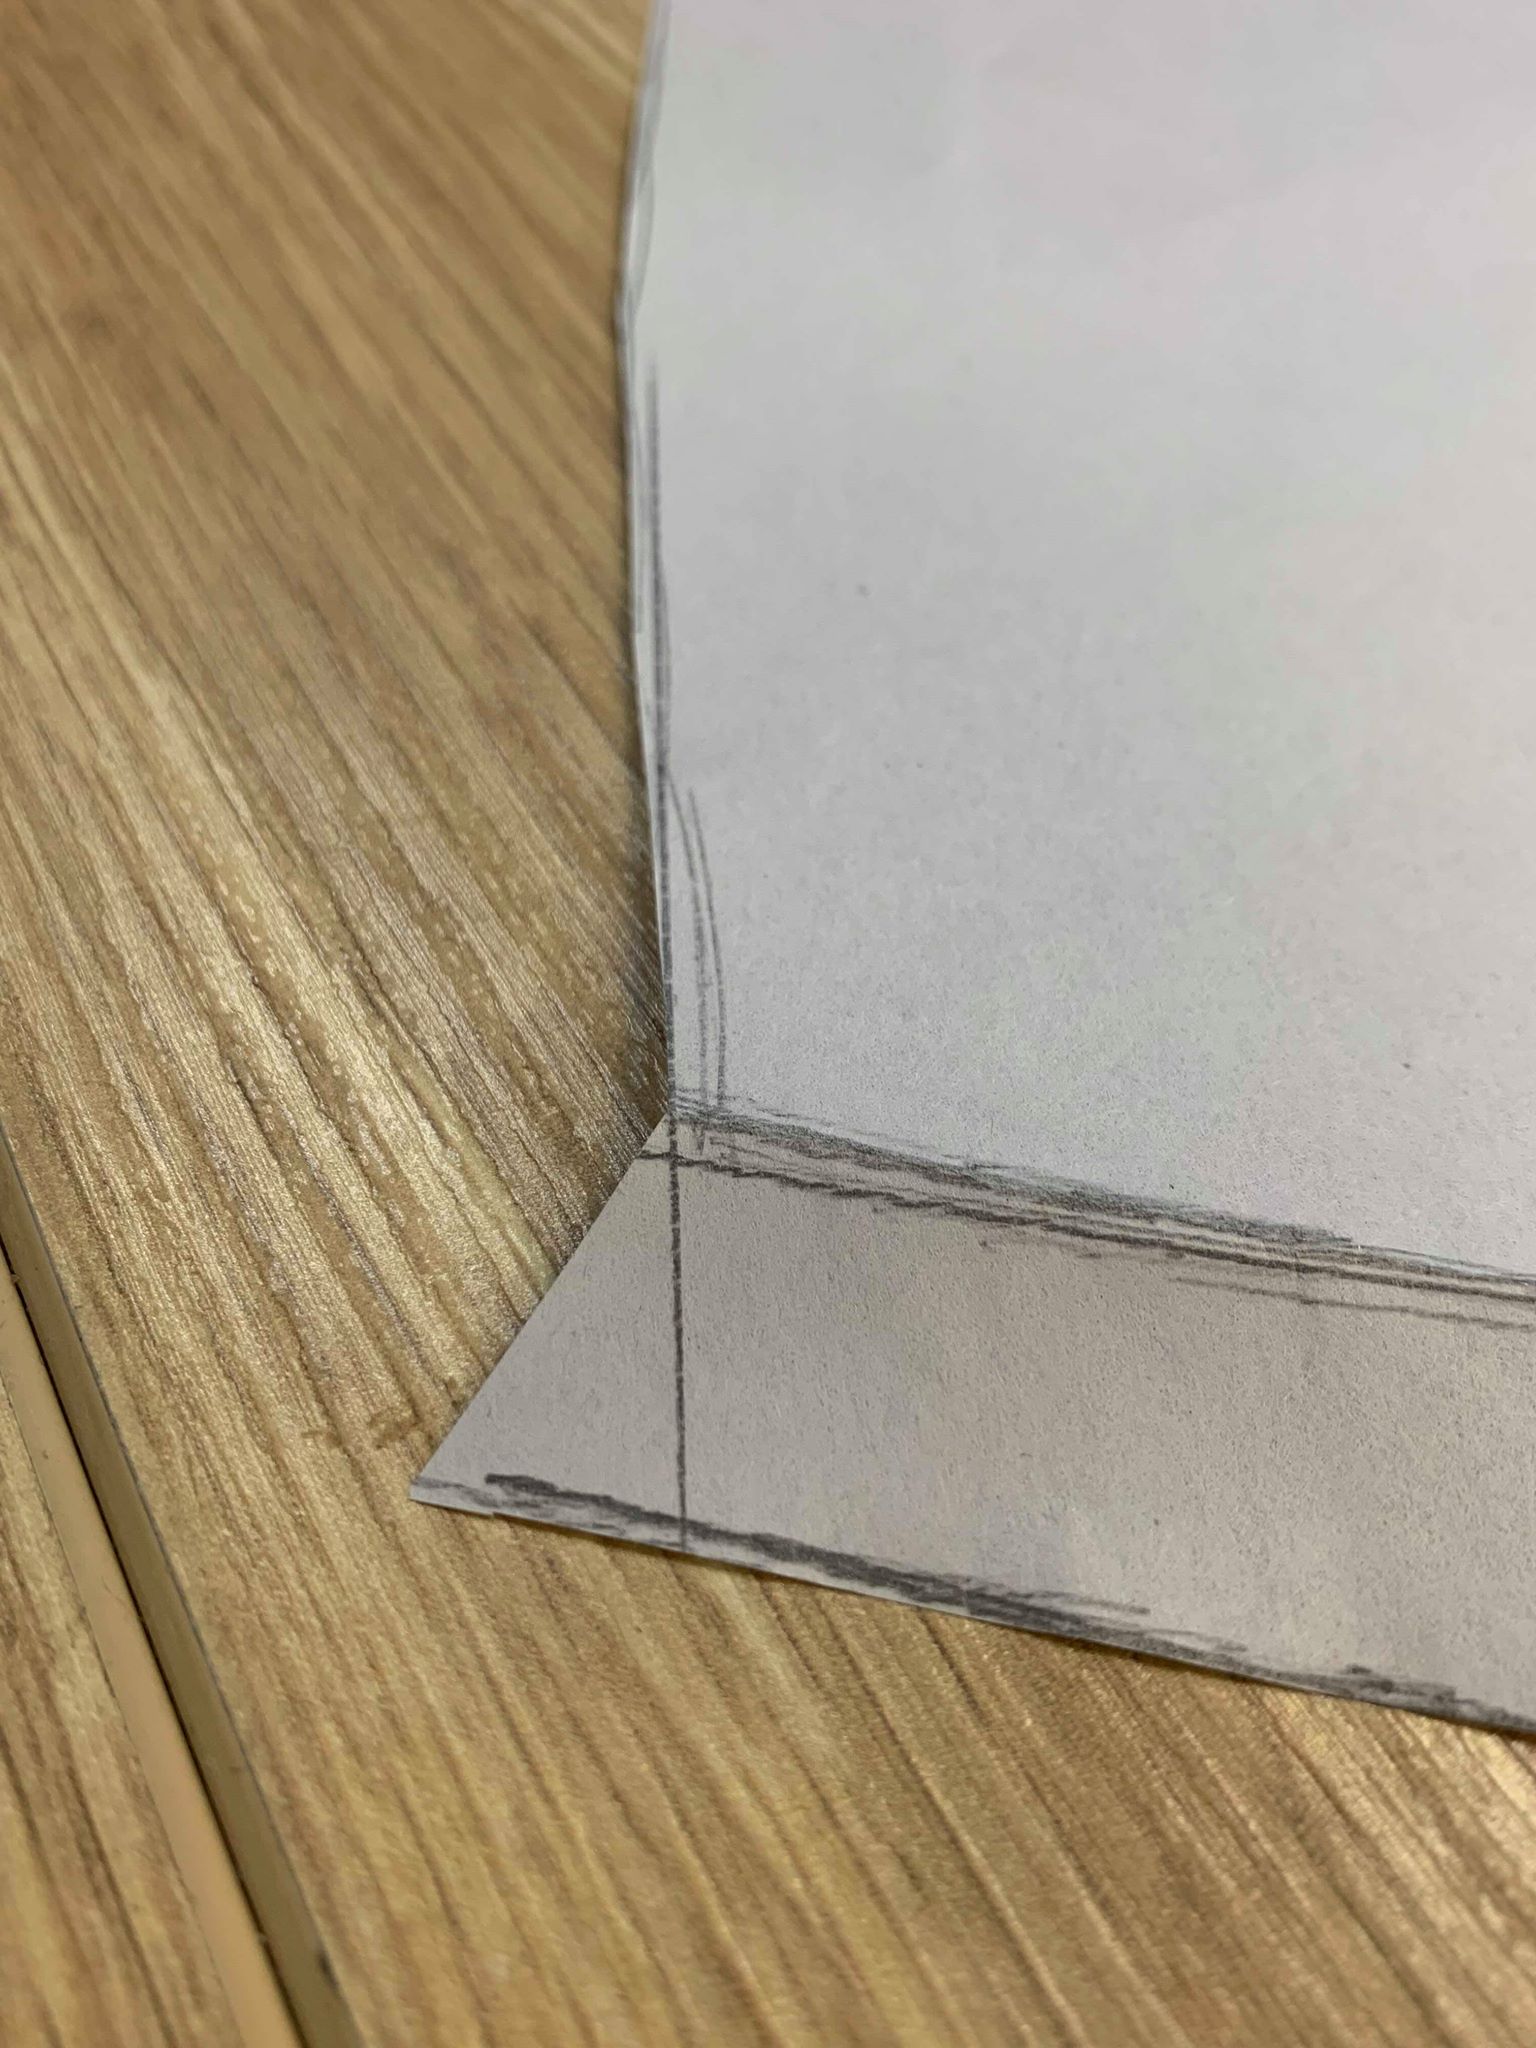
- Measure the hem on your clothes and add this to the bottom of your traced line as a second line.
- Once you have traced the front with added seam allowance, cut out your front pattern. Before cutting the hemline, fold tracing paper at finished length line, prior to cutting. This will ensure any shaping of the garment is included.
- If you wish to make a full pattern. Fold your paper in half, ensuring there is enough room for your clothing. This will be your center front line, place your clothing in half and trace as stated in previous steps.
- To create back pattern, new drafters can repeat the steps above. If you would like to try something more challenging, follow point (a) below.
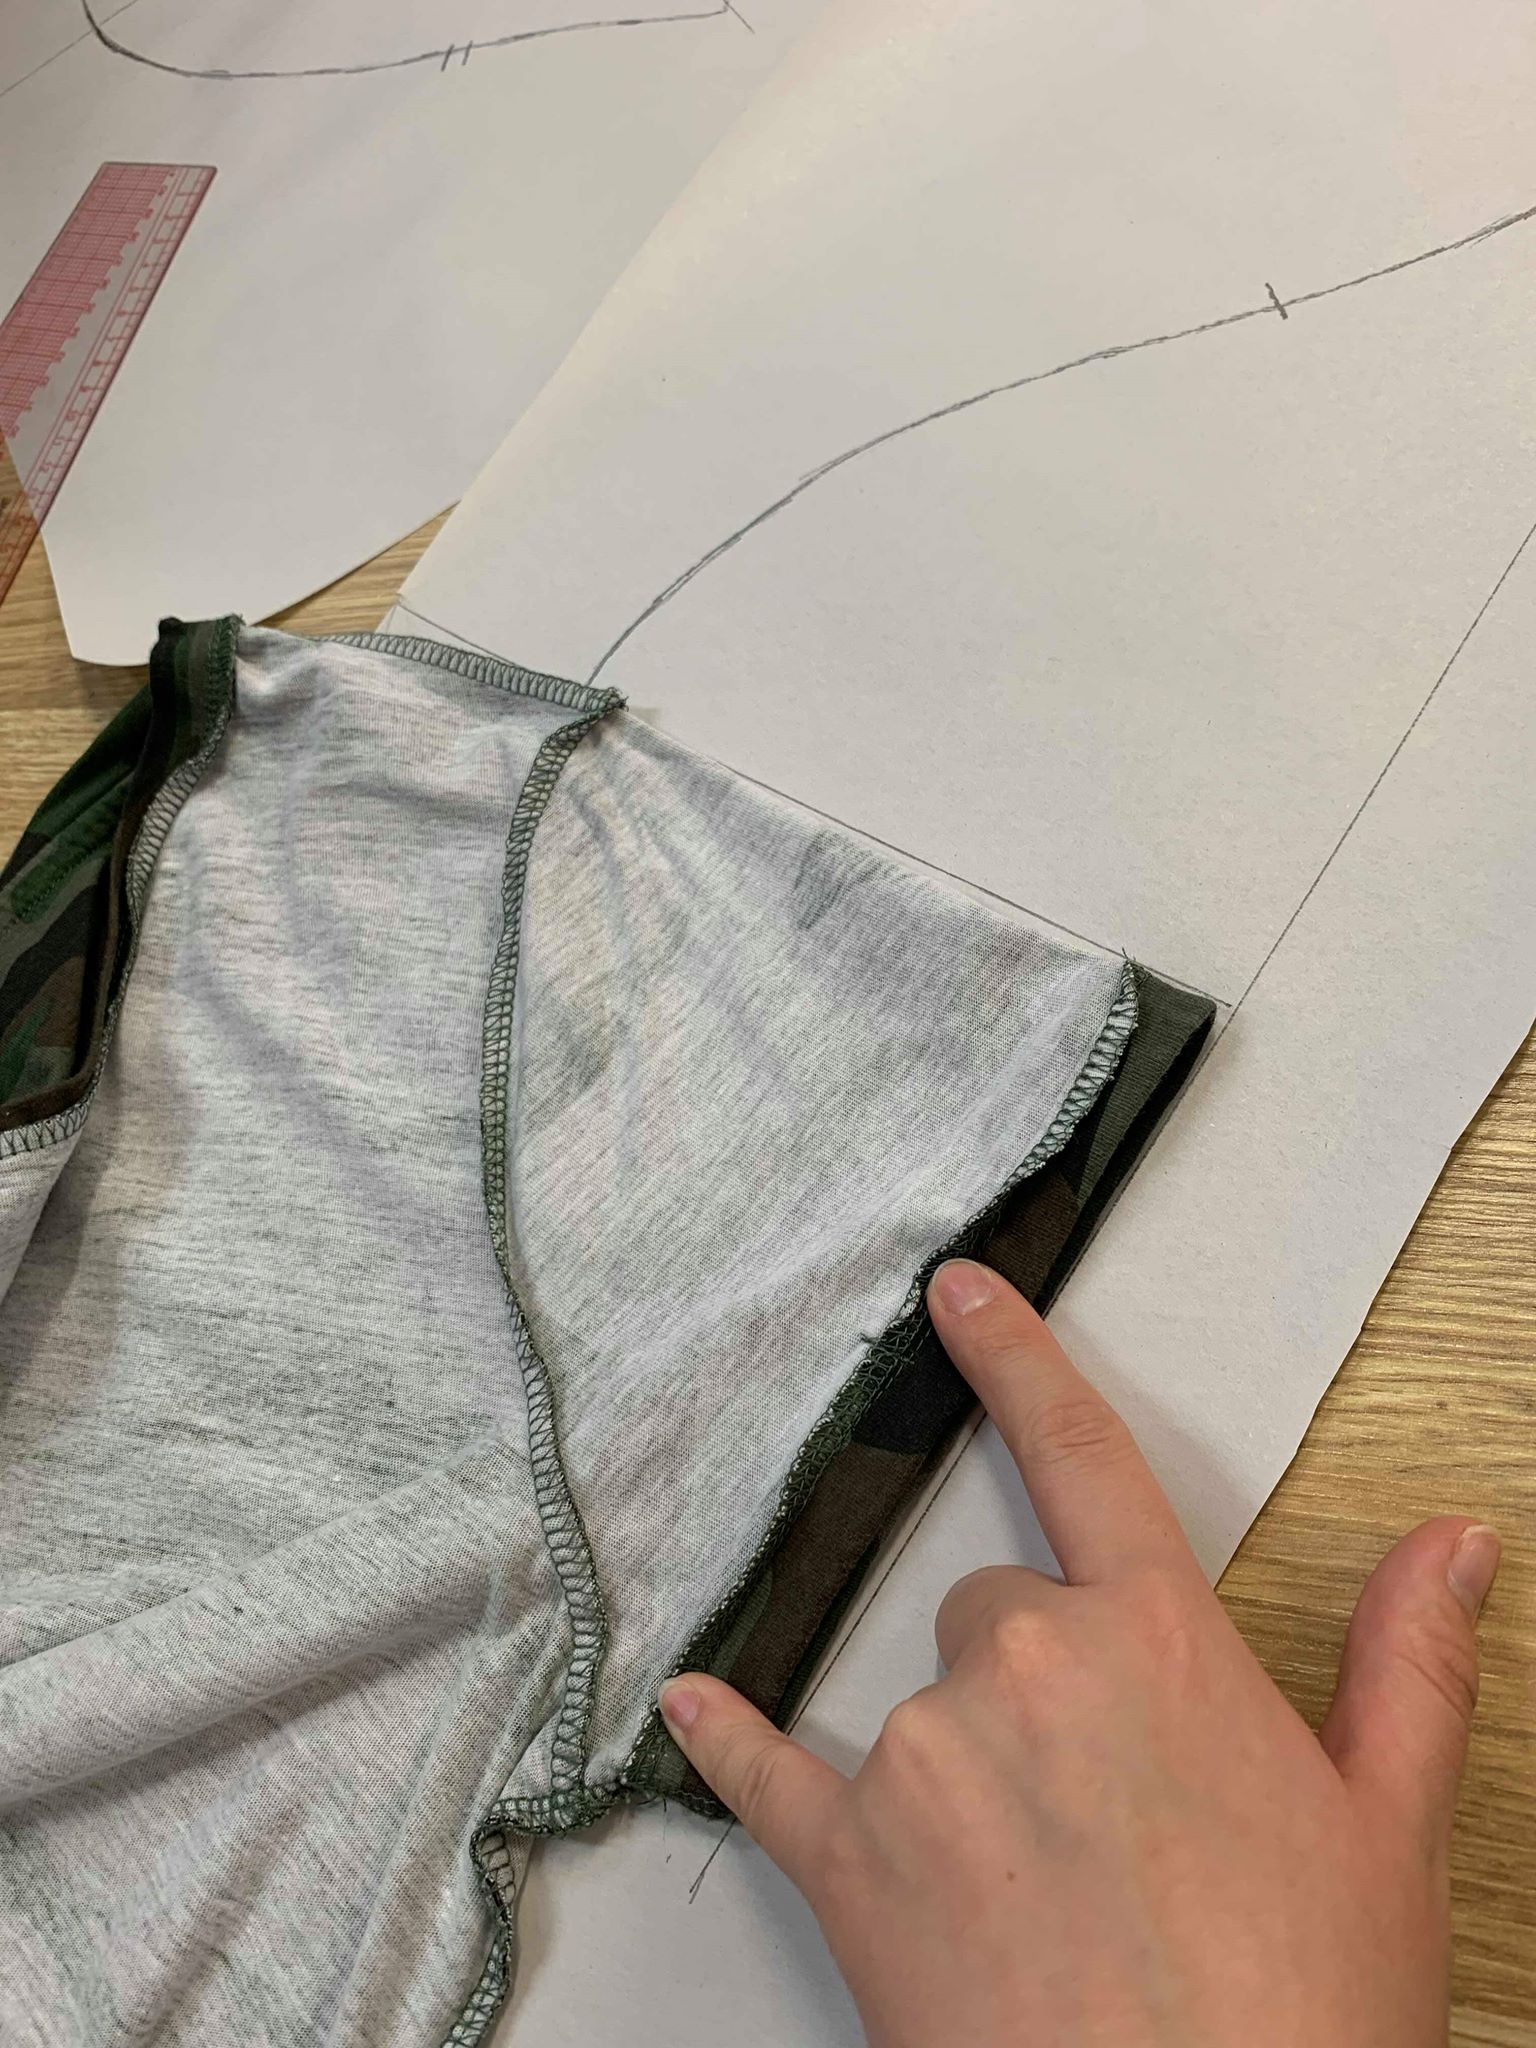
- a) Lay the garment flat and look at the size and shape of the back. Ours turned out to be the same as the front. Using your front pattern, trace a second pattern from the existing front pattern leaving neckline. Using this draft, lay the pattern on the back of the shirt matching shoulder seams. Trace the back neckline and include a 2cm hem allowance. If your back is not the same size and shape, you will need to follow steps 2-3 above and adjust.
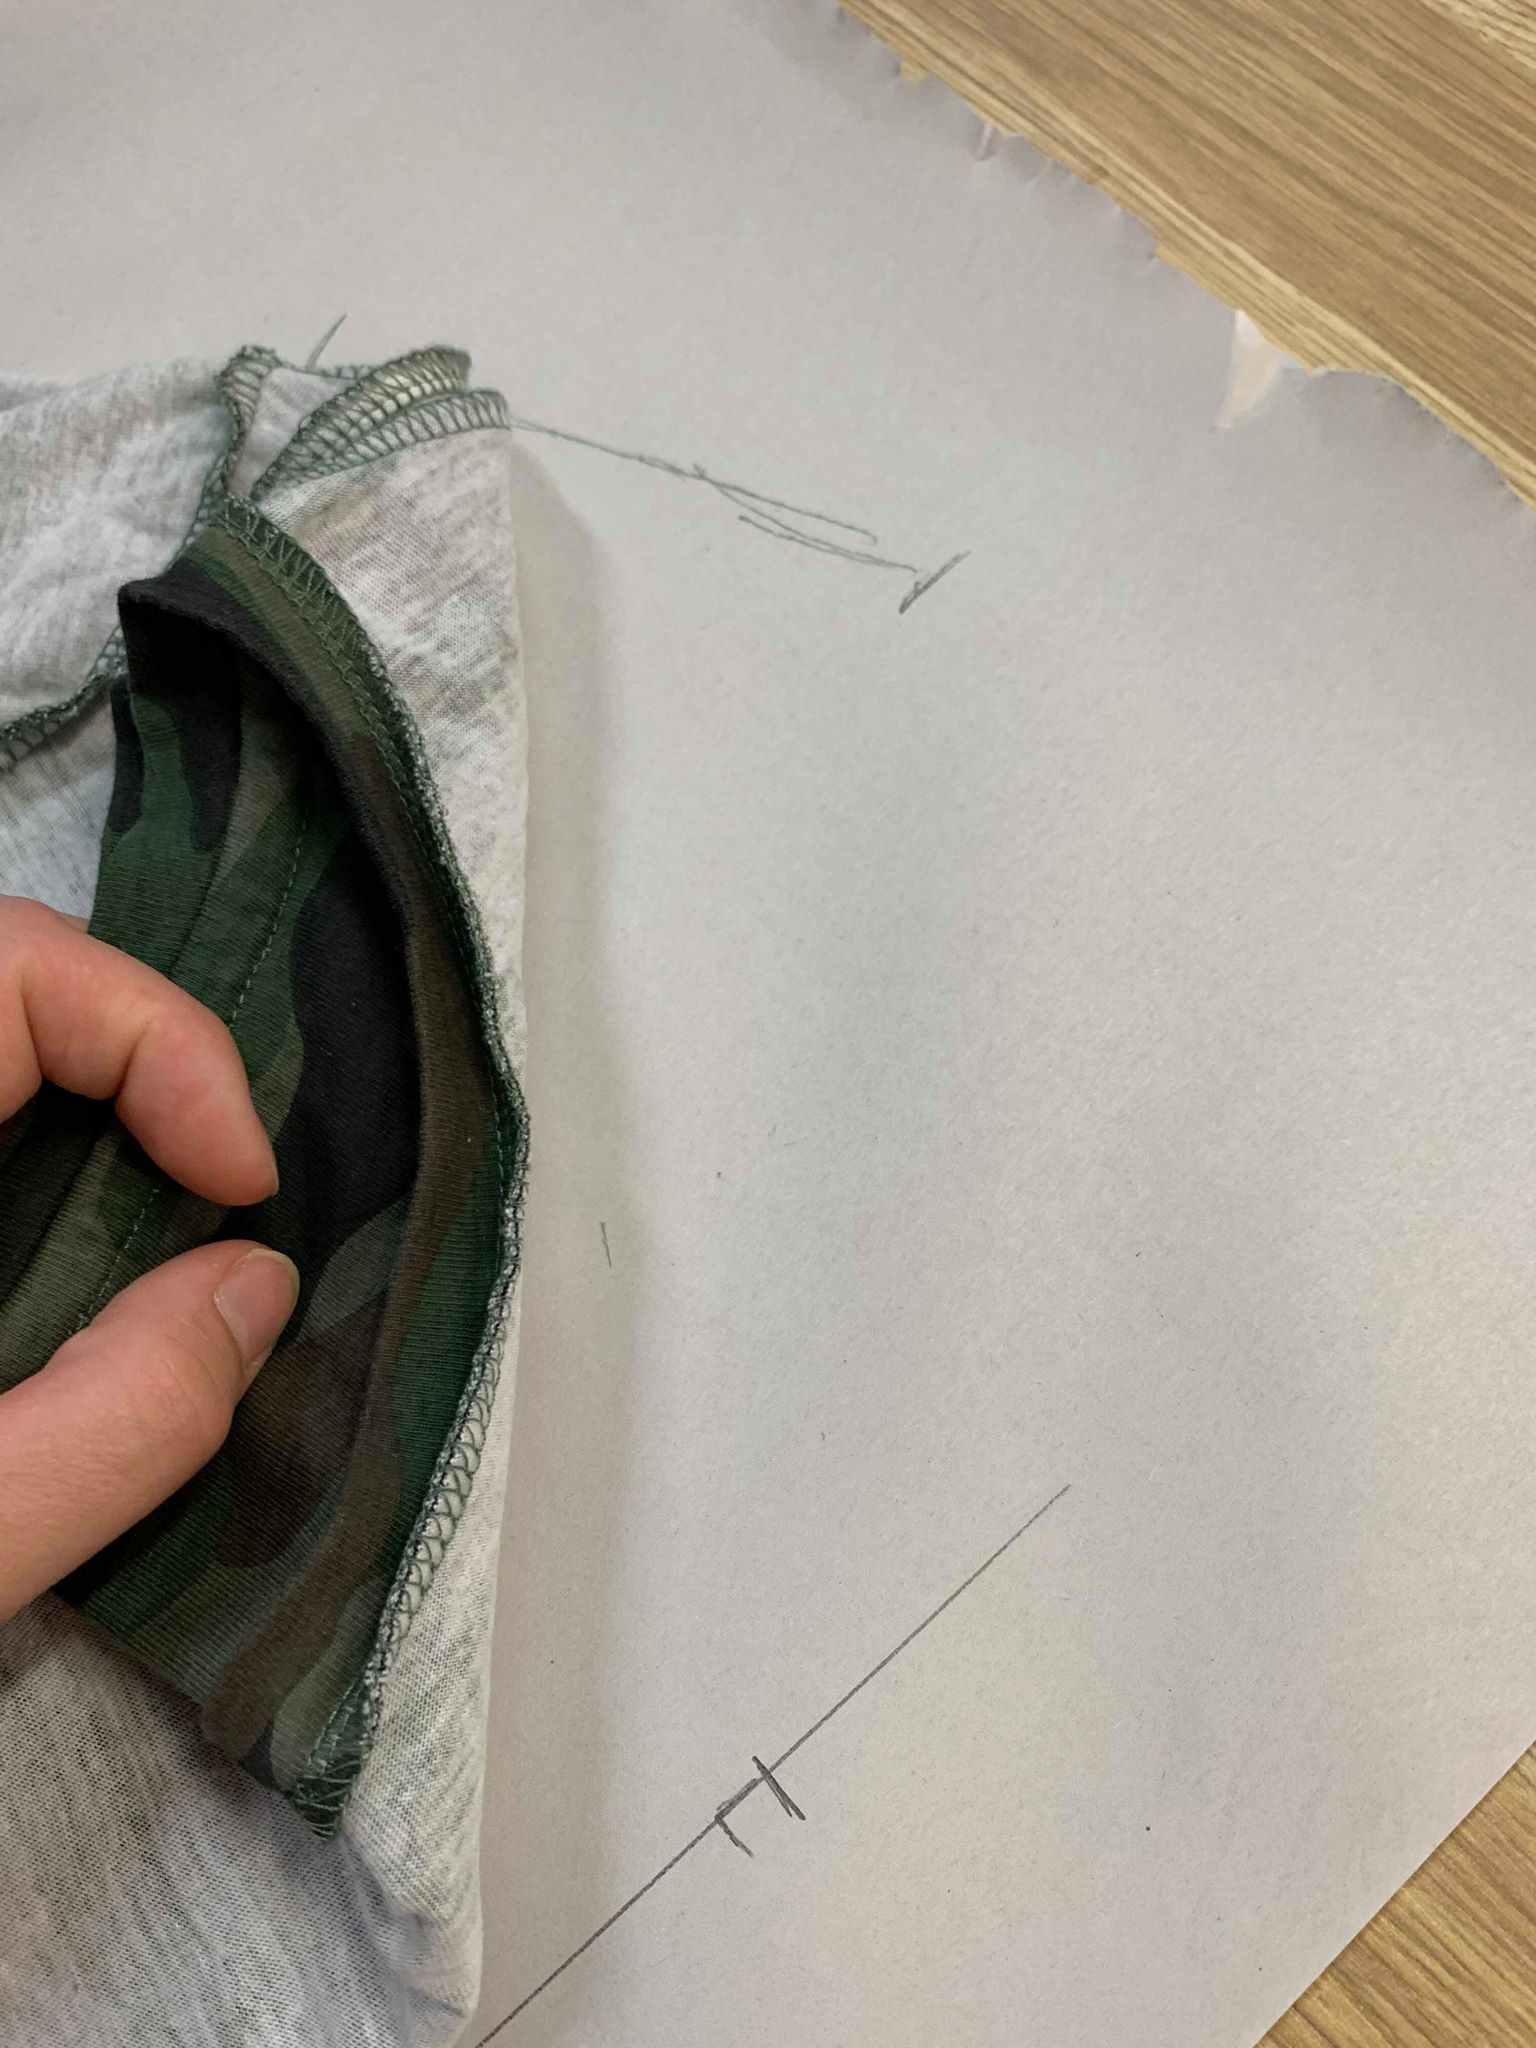
- Repeat the tracing process for the sleeve. You will need to trace the sleeve in two steps, front half and back half. Trace front seam, mark the center line, turn shirt over and trace back seam. The center fold line will be needed later for matching shoulder seams. Don’t forget to include your seam allowance and sleeve hem allowance.
- Check your seams to ensure they are the same length for front and back.
- Cut out all pattern pieces.