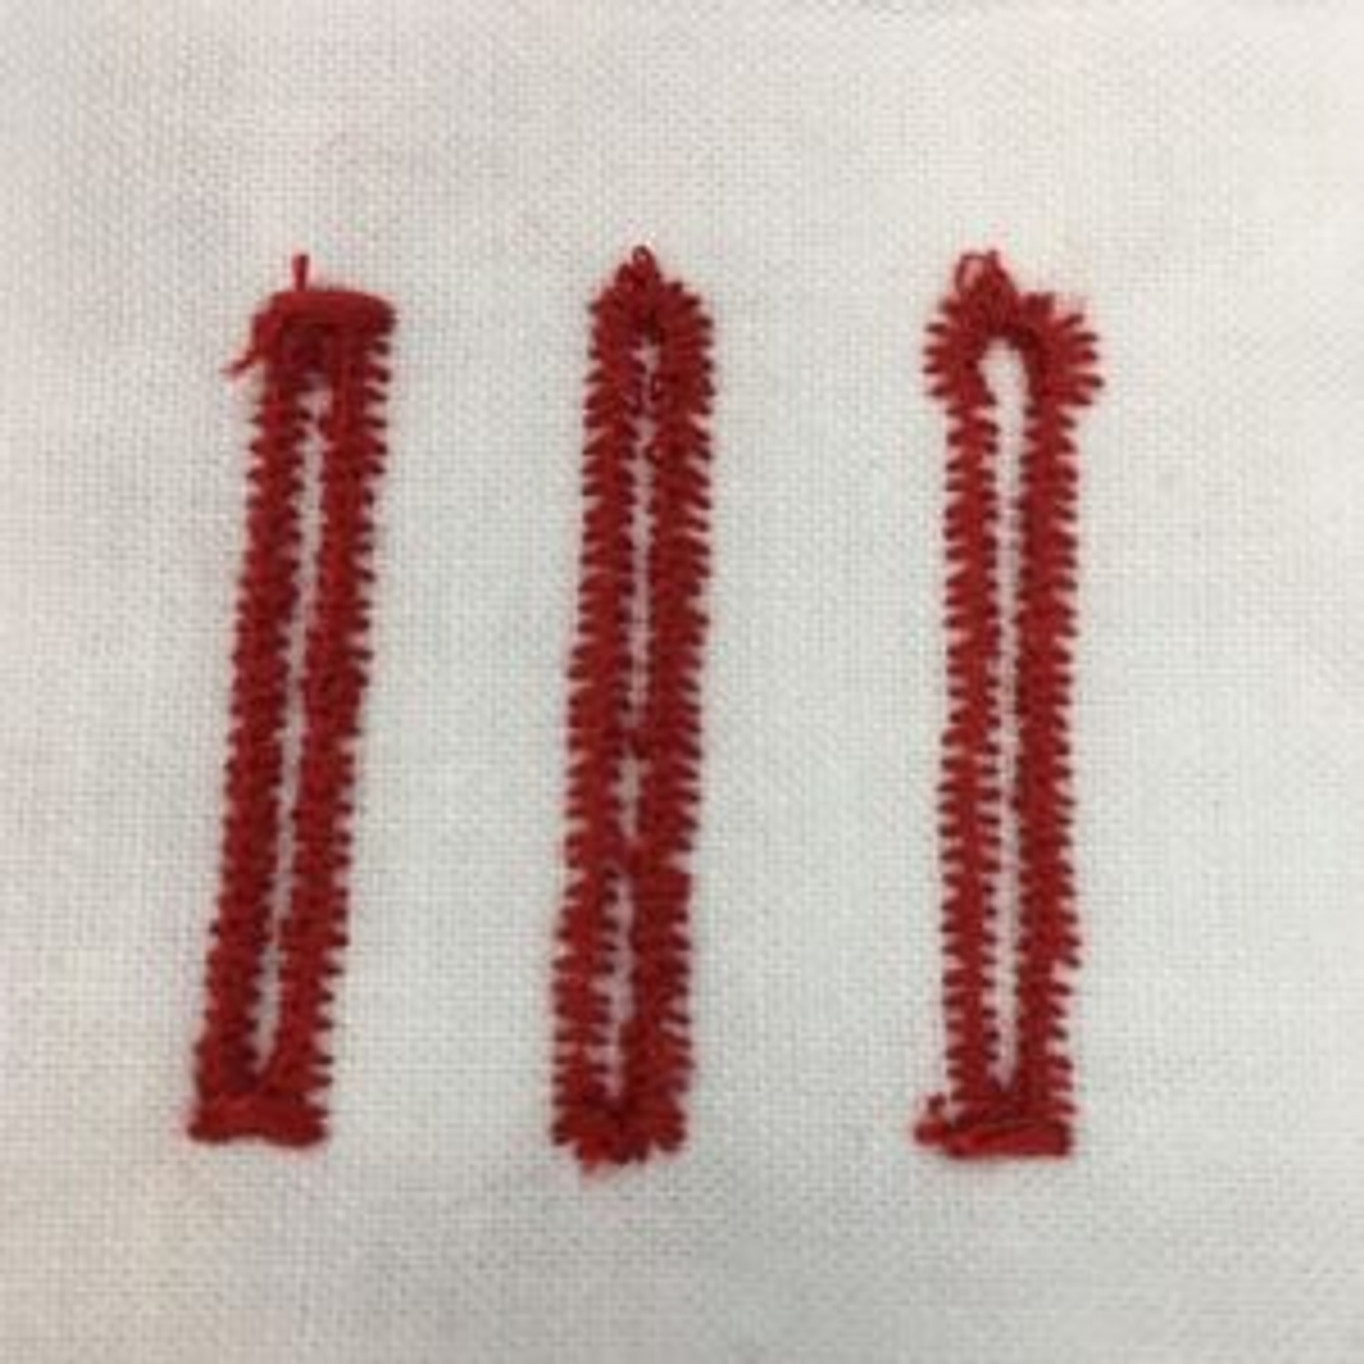
If your four step buttonhole symbols are located on the stitch length dial on the front of your machine read the Manual instructions or watch this VIDEO
If your four step buttonhole symbols are located on the pattern selector of your machine read the Automatic Instructions.
4-Step Manual Buttonholes
Preparation: Measure the diameter and thickness of your chosen button and add 1/8" for bar tacks and mark the button hole size on the fabric.
Figures 1 & 2:
1. Raise the presser foot.
2. Place the fabric under the foot.
3. Center three red guidelines (refer Figure 1) of the buttonhole foot around the beginning line of the buttonhole.
4. Turn the buttonhole dial to the button symbol "1" for the first step.
5. Position the needle in the fabric at point #2 by turning the handwheel towards you.
6. Stitch down to point #3. Your buttonhole should appear as shown in Figure 2.
Figure 3:
1. Raise the needle out of the fabric.
2.Turn the buttonhole dial to the buttonhole symbol "2" for the second step.
3. Make at least four stitches, ending at point #4
Figure 4:
1. Raise the needle out of the fabric.
2. Turn the buttonhole dial to the buttonhole symbol "3" for the third step.
3. Stitch up to point #5.
Figure 5:
1. Raise the needle out of the fabric.
2. Turn the buttonhole dial to the buttonhole symbol for "4" for the fourth/last step.
3. Make at least 4 stitches, ending at point #6.
4. Raise the presser foot and remove the garment from the machine.
5. Clip thread ends.
6. To open the buttonhole insert a seam ripper from both ends towards the middle.
4-Step Automatic Buttonhole
Preparation: Measure the Diameter and thickness of your chosen button and add 1/8" for bar tacks and mark the buttonhole size on the fabric.
- Remove the General Purpose presser foot from your machine and attach your Buttonhole presser foot.
- Place your fabric under the foot so the markings on the Buttonhole presser foot align with your markings on the fabric.
- Adjust the stitch length dial to 0.5 - 1 to set the density. Note: Density varies according to the fabric. Always sew a test buttonhole first.
- Follow the 4-step sequence changing from one step to another with the stitch pattern selector dial. Take care not to sew too many stitches in steps in 1 and 3.
- Insert a seam ripper to open the buttonhole from both ends towards the middle.
Tips:
- Reduce the upper thread tension slightly for better results.
- Use a backing for fine or stretchy fabrics.
- It is advisable to use heavy thread or cord for stretch knit fabrics.
