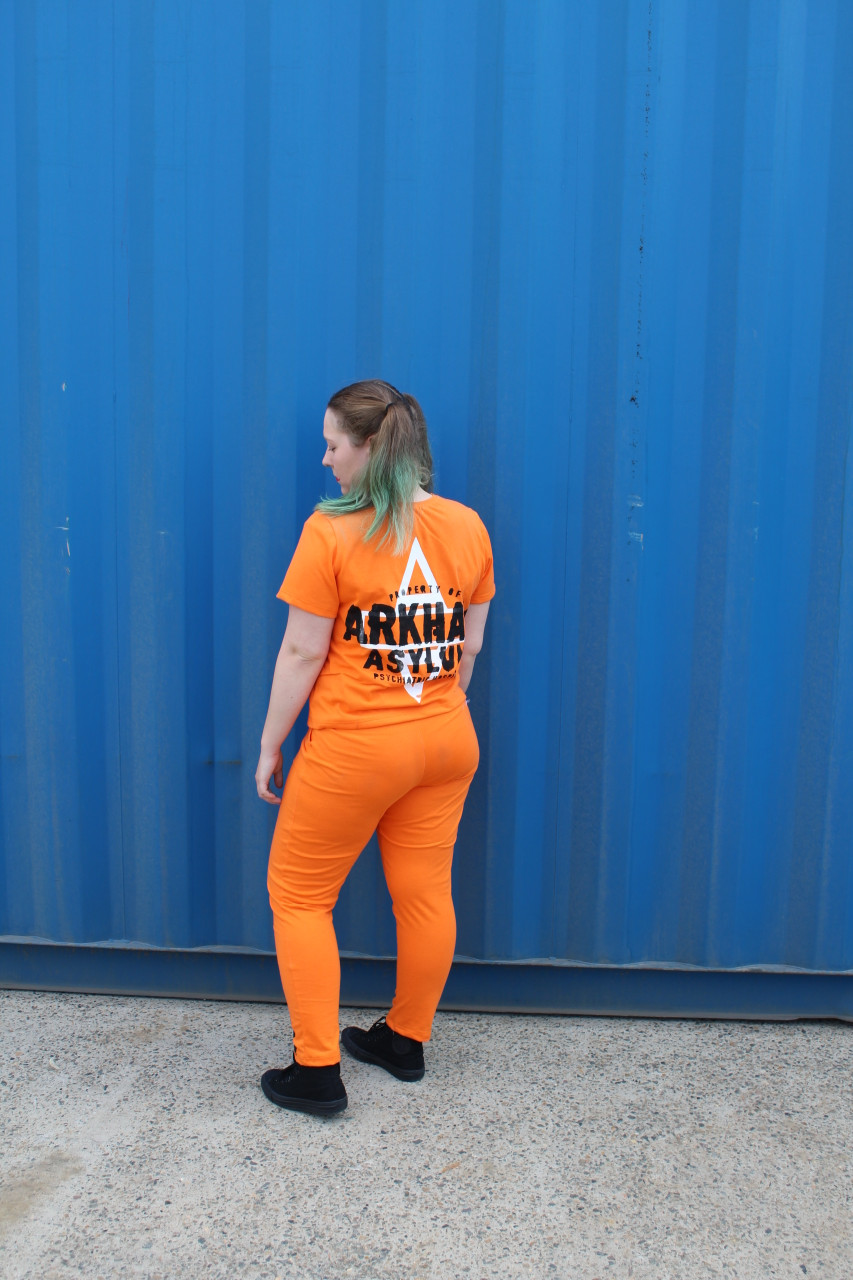
Create your own set, ready for any sleepover.
Shopping list
- Existing pyjamas
- Pattern making equipment
- Sewing machine
- Overlocker
- Zipper foot
- 4m of cotton jersey fabric (will depend on size of clothing)
- 2m of elastic 25mm thick
- 35m Zipper
- Scissors
Preparation
Prepare patterns, following steps in Drafting Patterns Part 1. If you make any changes to the existing patterns (e.g. Longer hem or shaped seams) ensure that you do this for all corresponding patterns.
Note: If pants have an elastic ankle band you will need to allow for the stretch of the band when drafting.
Cutting & Embellishing:
- Position pattern pieces on your fabric, without overlapping. If your fabric has graphics be aware of pattern placement. Note: ensure you have spare fabric to draft the waistband and collar later.
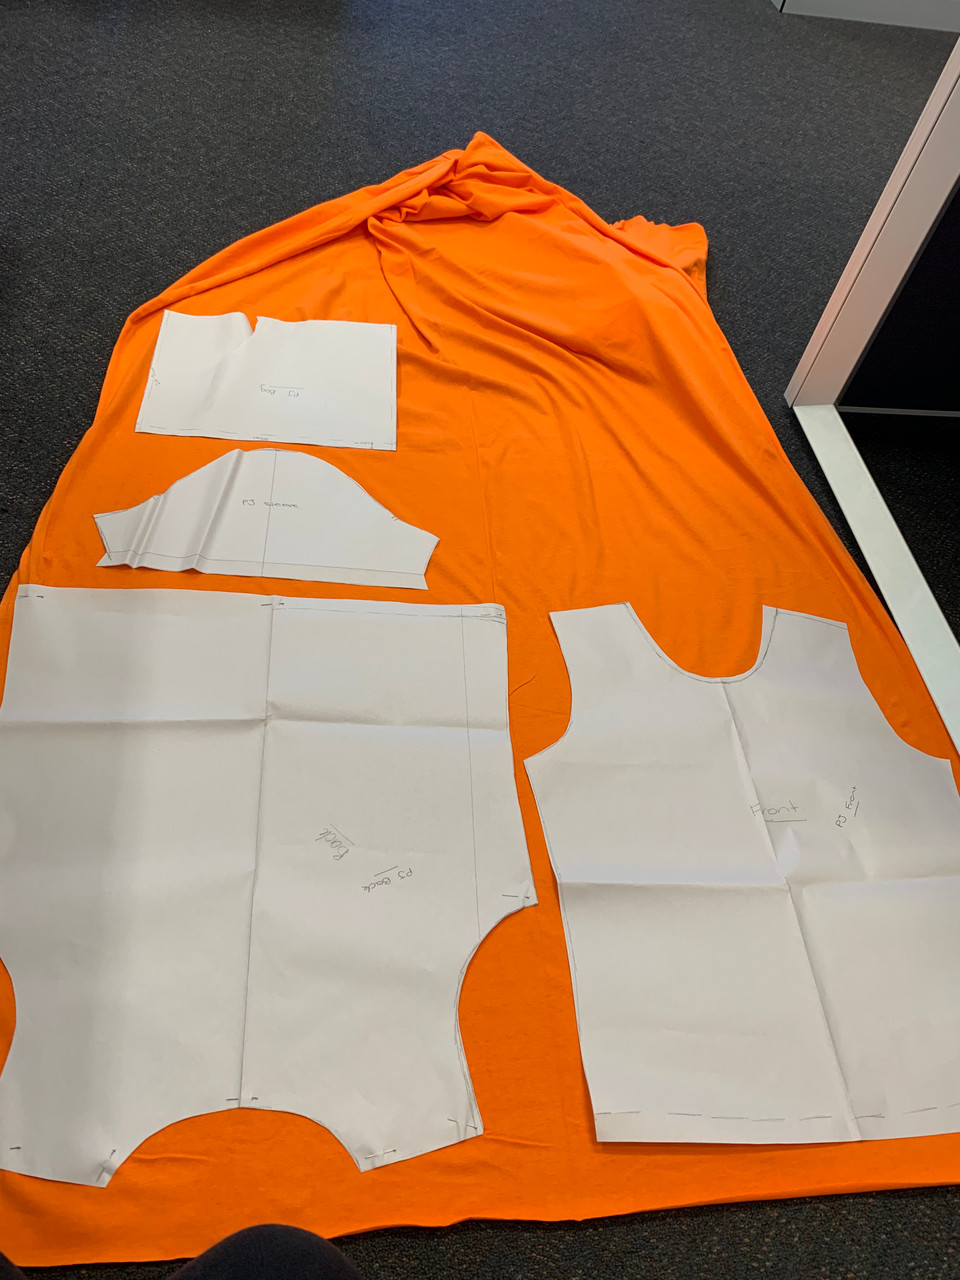
- If you choose to add a personal touch to your fabric, like decorative stitching, before construction is the best time to add. Ensuring that they are within the stitching line.
Ideas: embroidery, applique, beading, dying or printing.
Construction
Shirt
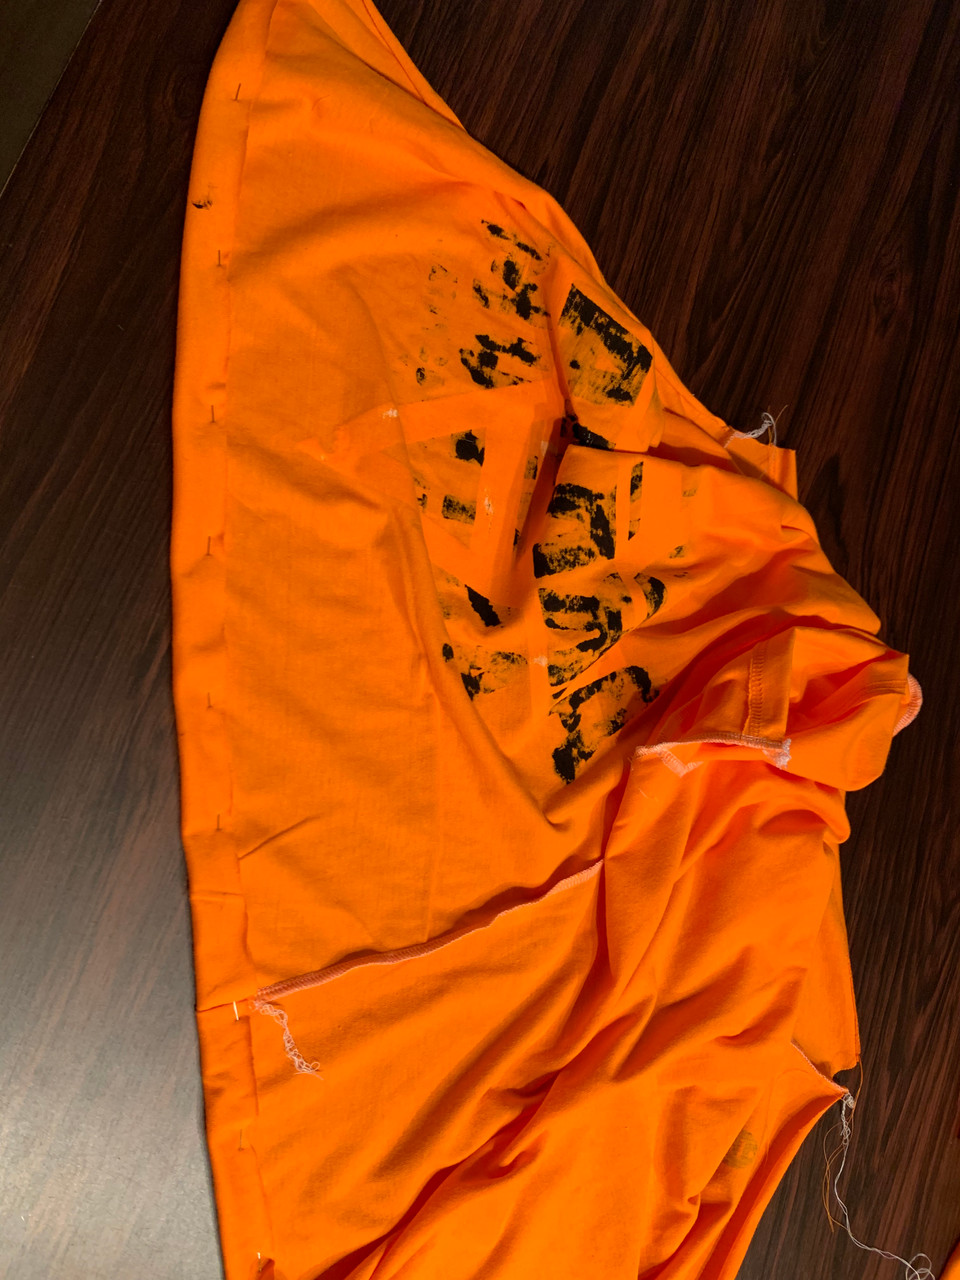
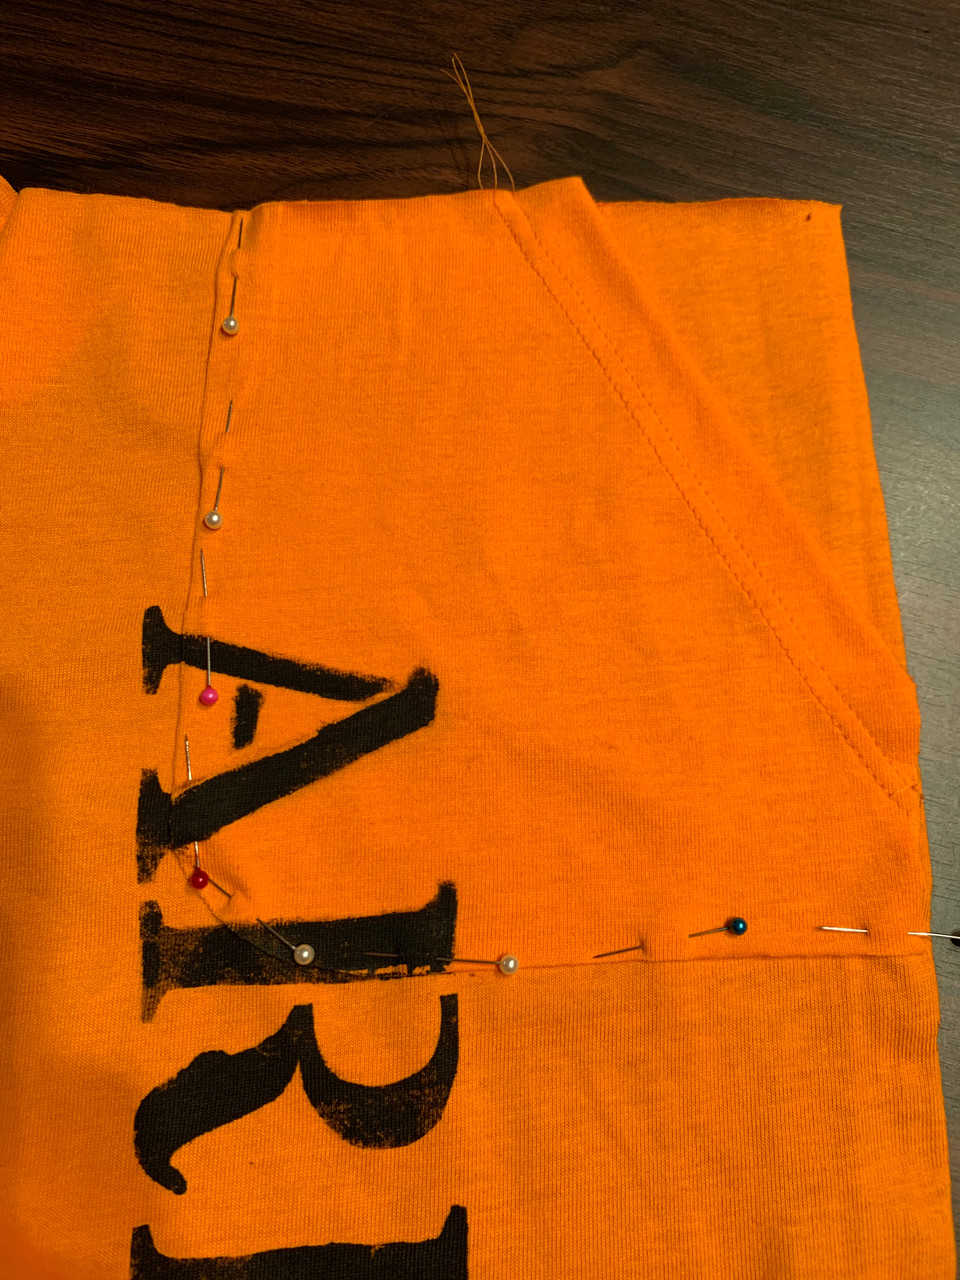
- With right sides together, pin front to back and overlock or sew one shoulder seam only.
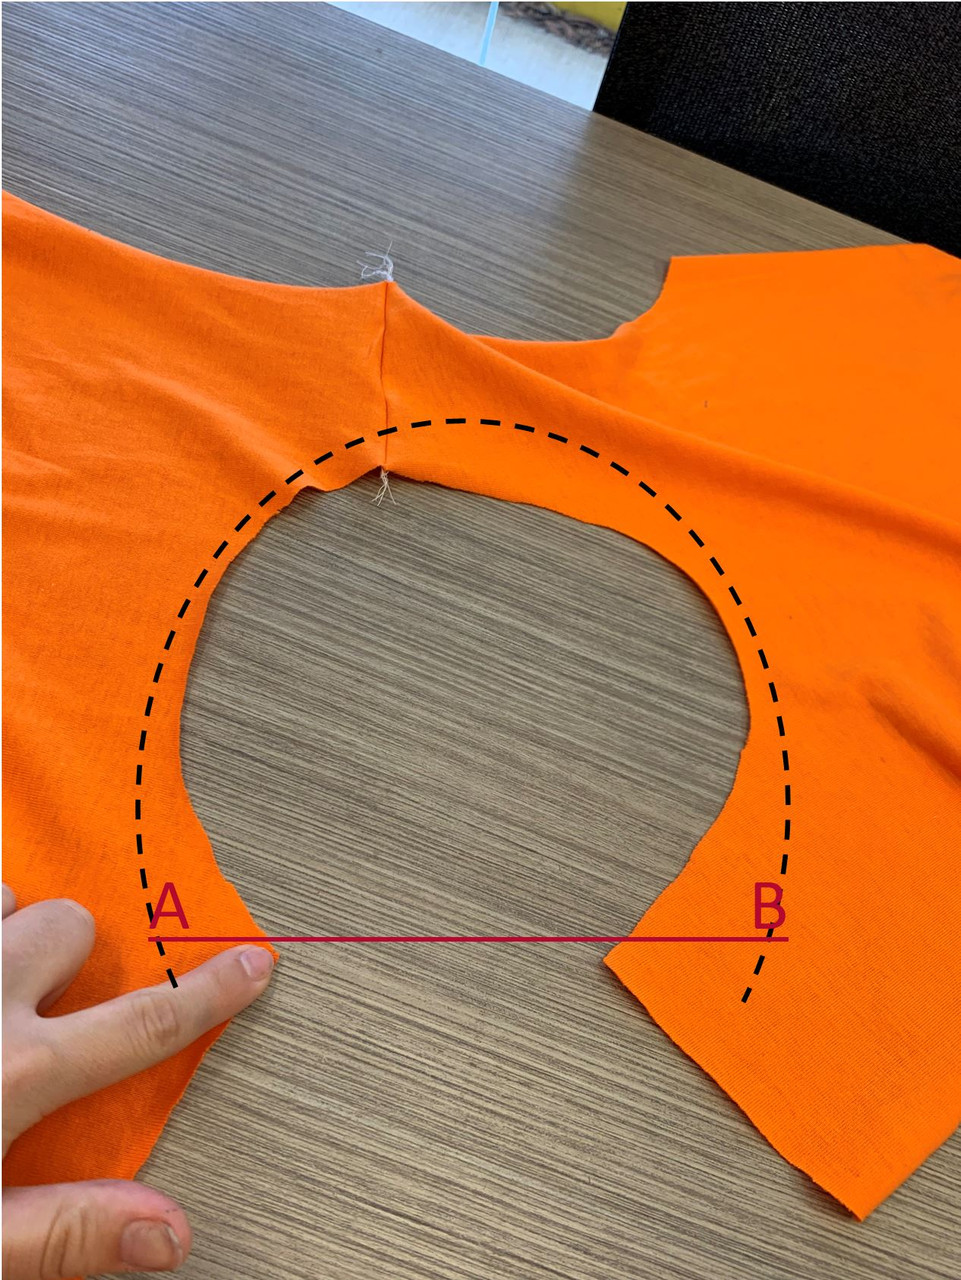
- Measuring your neckline (point A to point B), note down the measurement (59cm).
- NOTE: Depending on the stretch level of your fabric you may need to take more or less away, you will need to experiment, so the neckline will sit flat. For our fabric, we had medium stretch jersey and took 33% from our neckline length (59cm x 33% = 19.47cm). Minus this amount from 59cm to get the total distance we need to create the neckline. (59cm-19.47cm = 39.53). Roundup to a whole figure to make it easier for measuring (40cm).
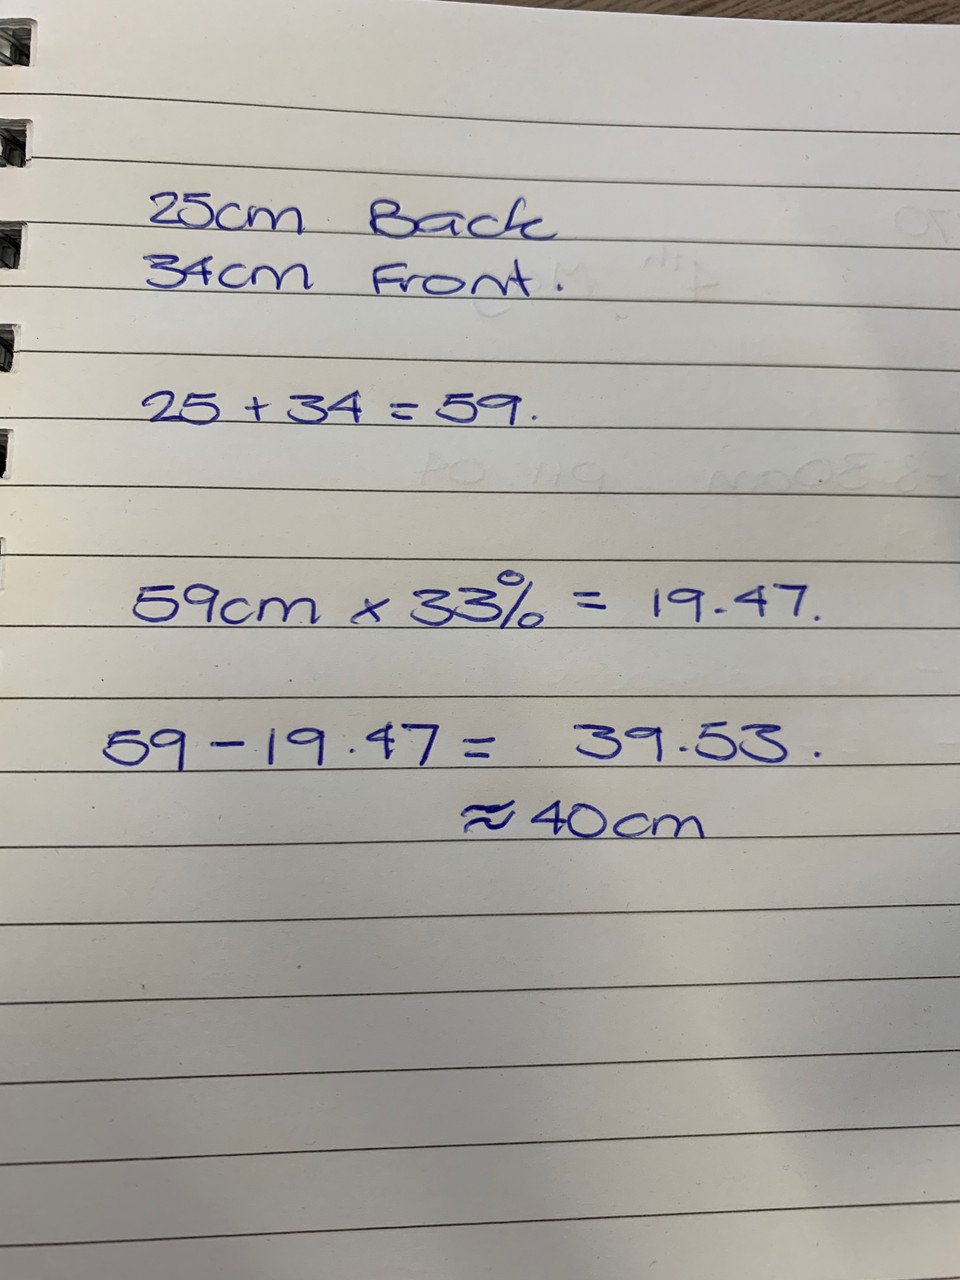
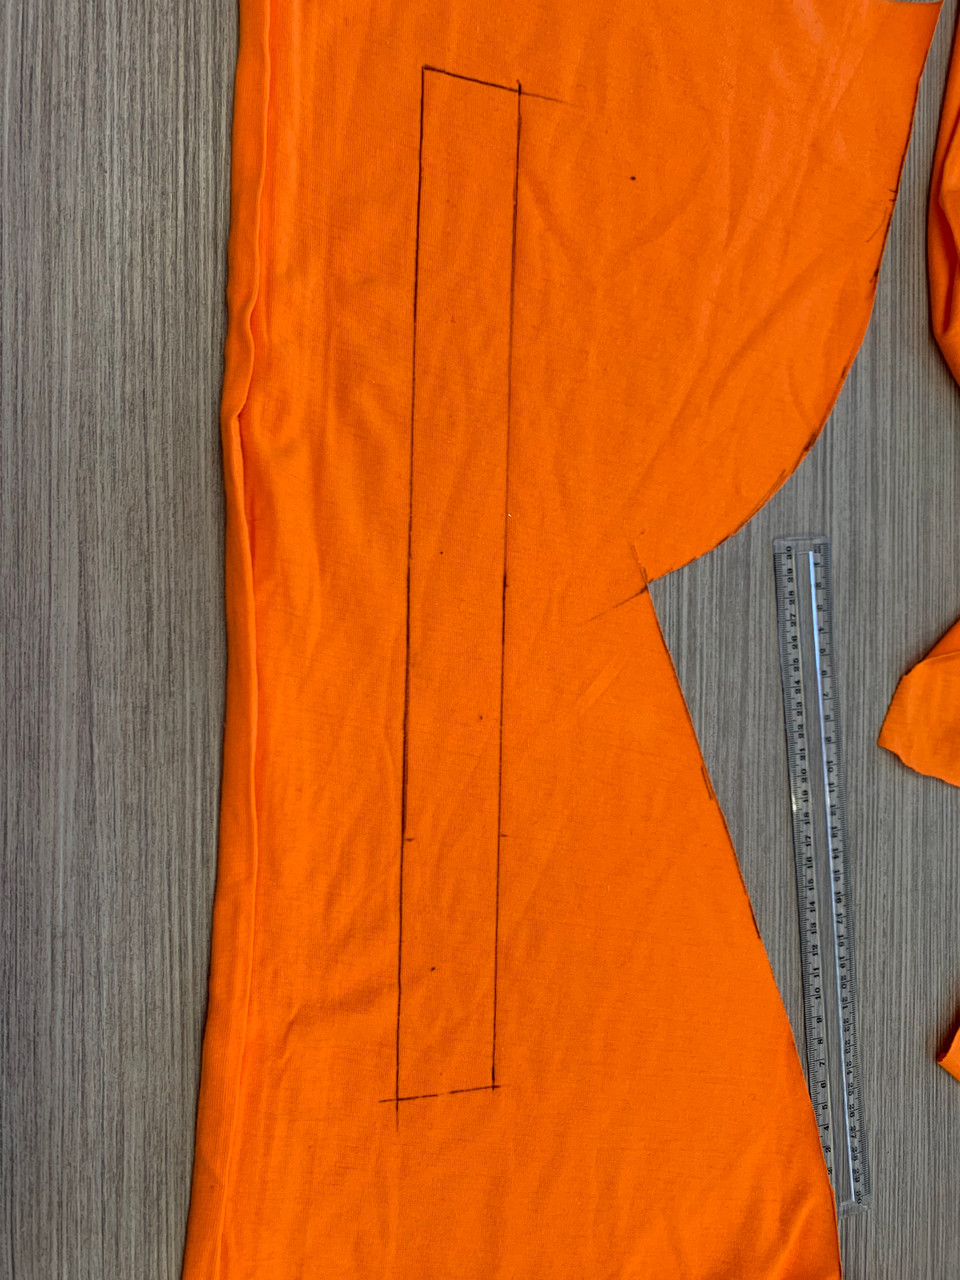
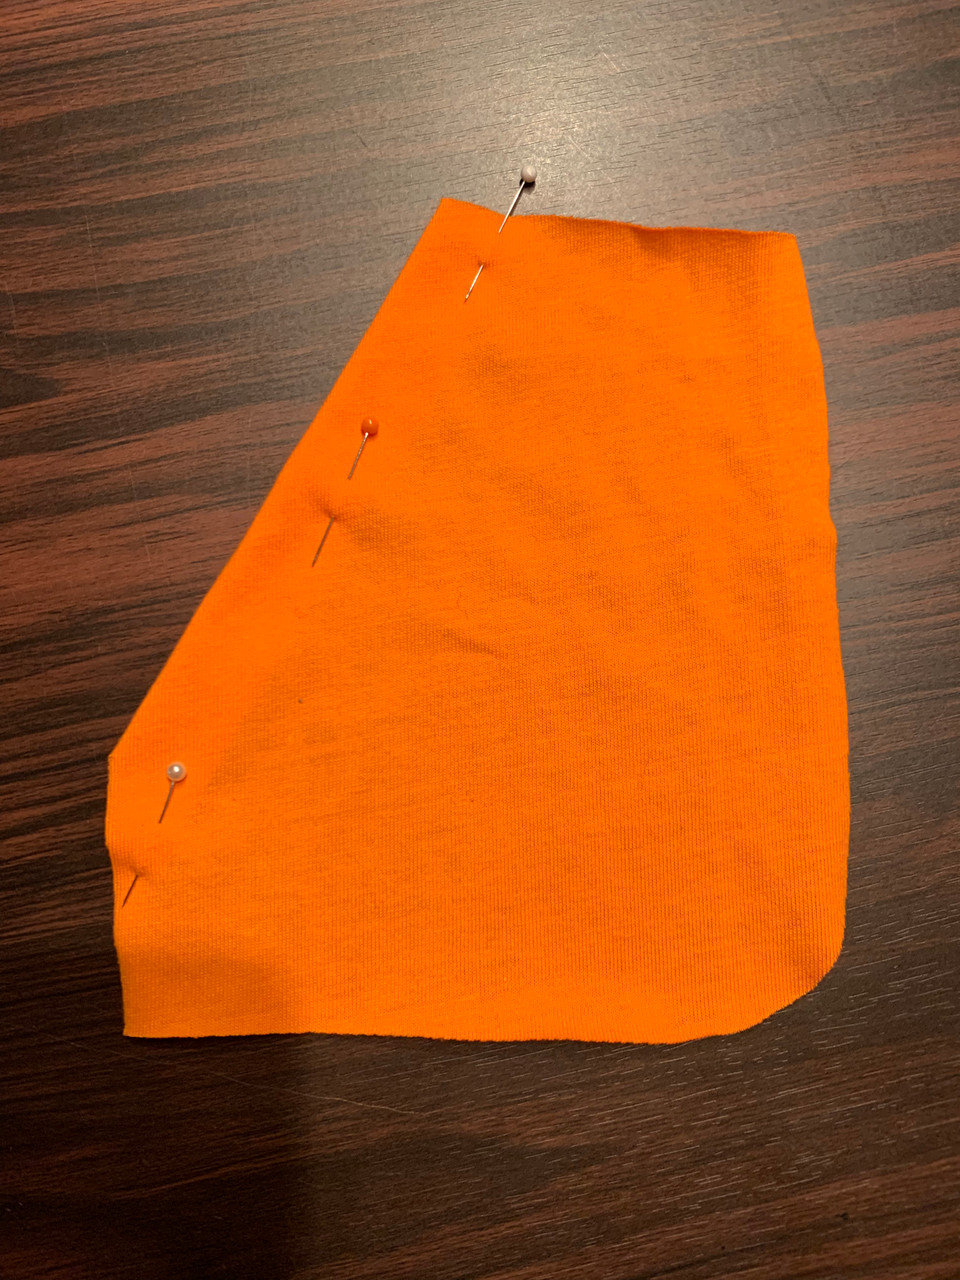
- Measure out 40cm on your fabric, decide the height you wish your band to be, e.g. 2cm. You will need to double to allow for fold over. 40cm x 4cm. Cut out your band and fold in half lengthways.
- Starting at one end of the neckline opening (A) start pinning one end of the neckline. NOTE: Pin the band lengthways to the right side facing with the folded side down so you would be sewing the open side together. You will need to stretch the remaining band along the neckline opening, pin halfway points and quarter points to ensure the ends will reach and the stretch is achieved evenly.
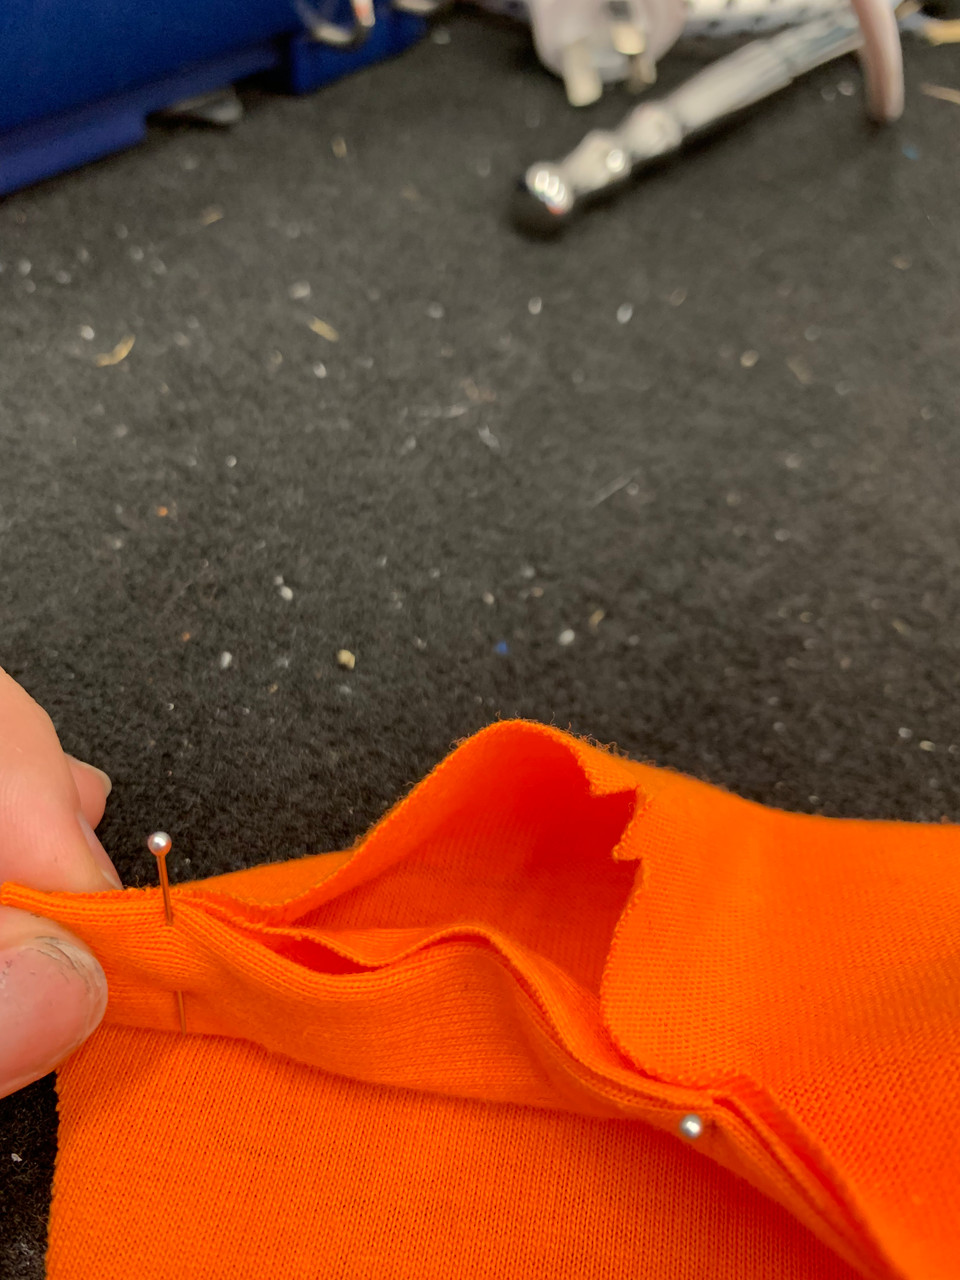
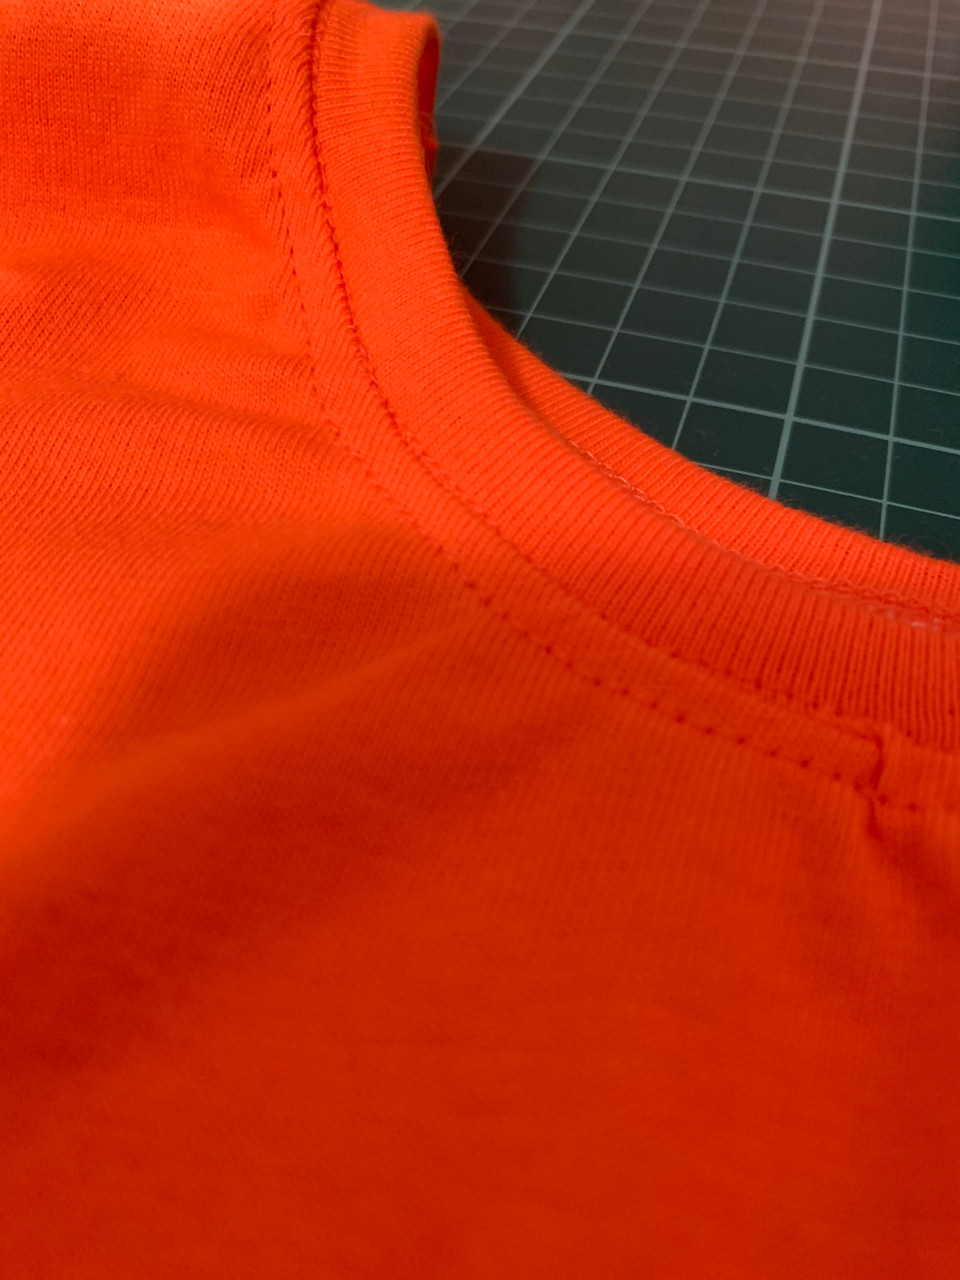
- Overlock band and neckline together.
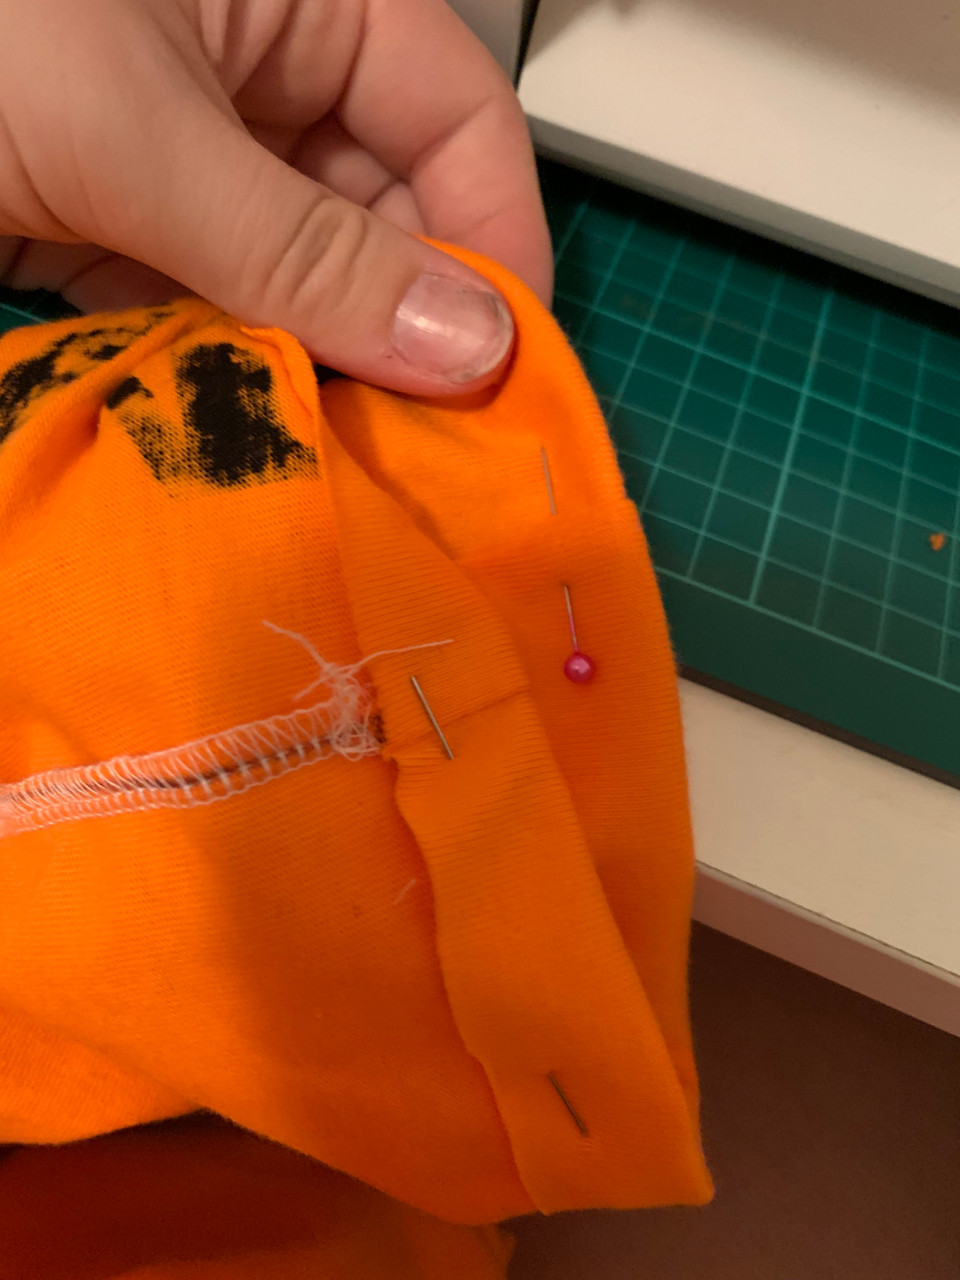
- Join remaining shoulder seam front and back, joining neckline band at the same time

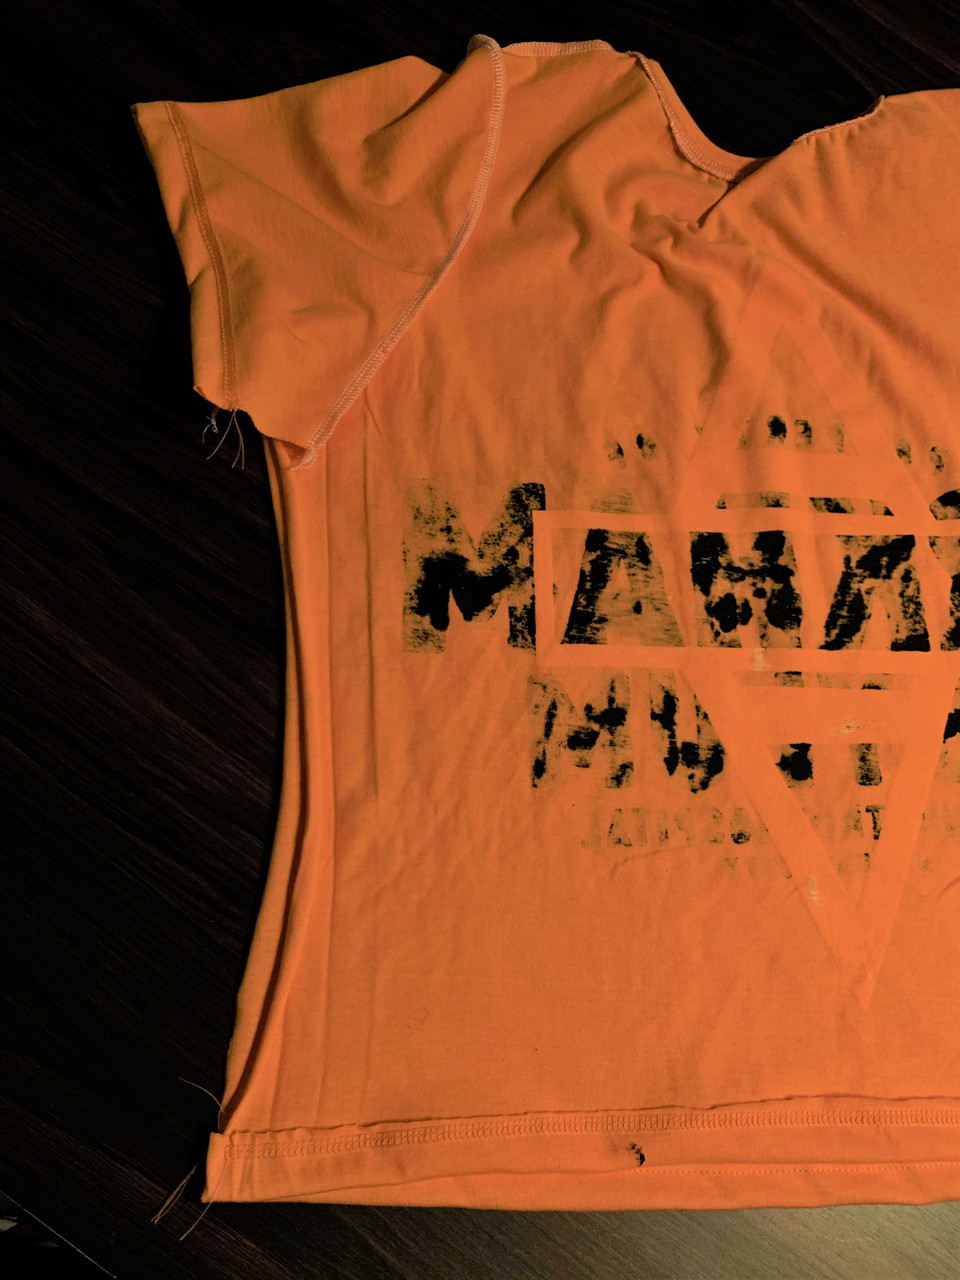
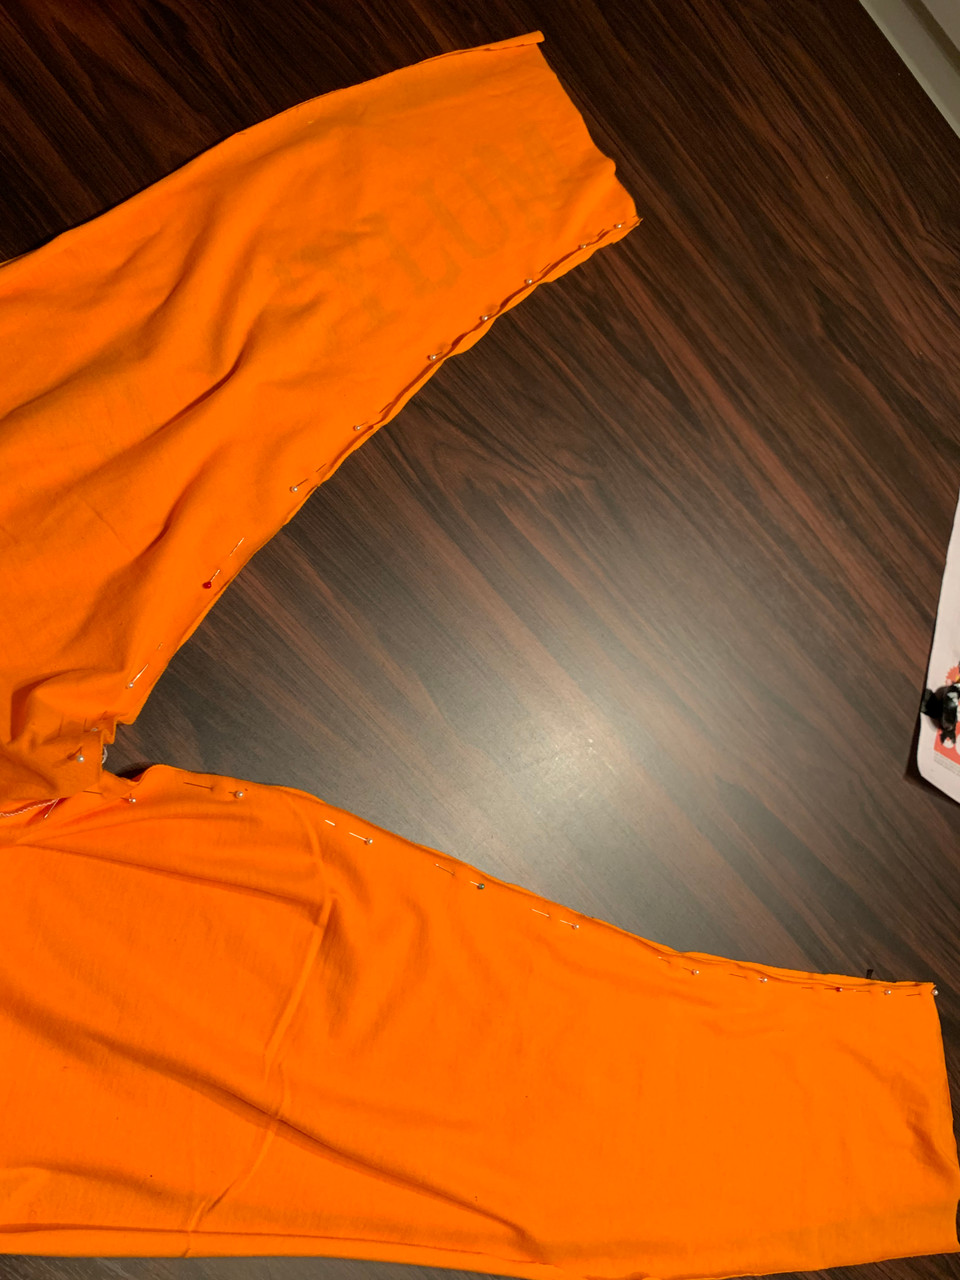
- With right sides facing, pin sleeves to shirt and overlock seams. (We will sew them into sleeves in a bit – you should still have a flat piece of fabric.)

- Fold back 2cm of sleeve hem, and hem using a twin needle. Repeat for second sleeve.
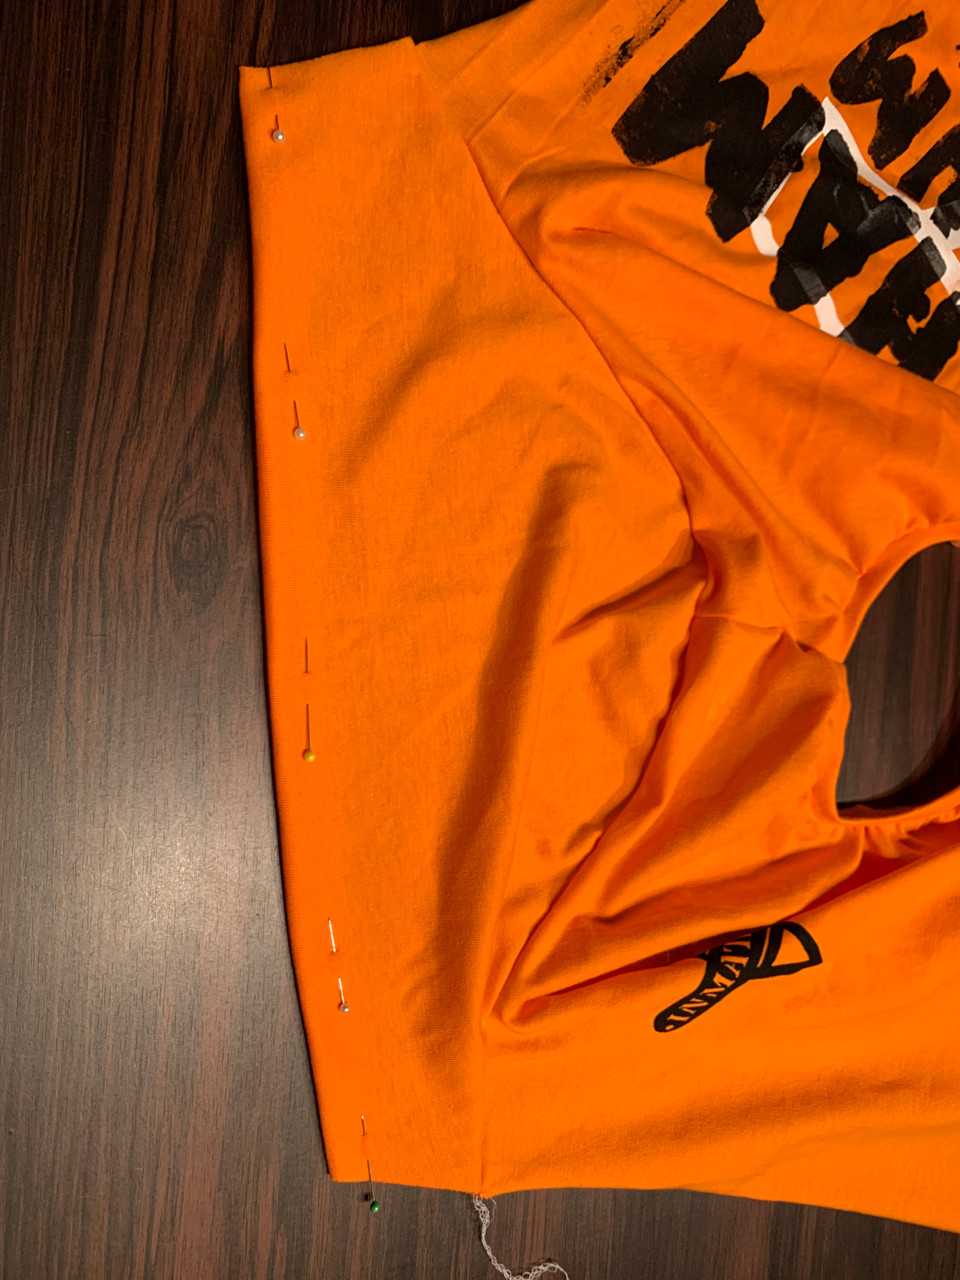
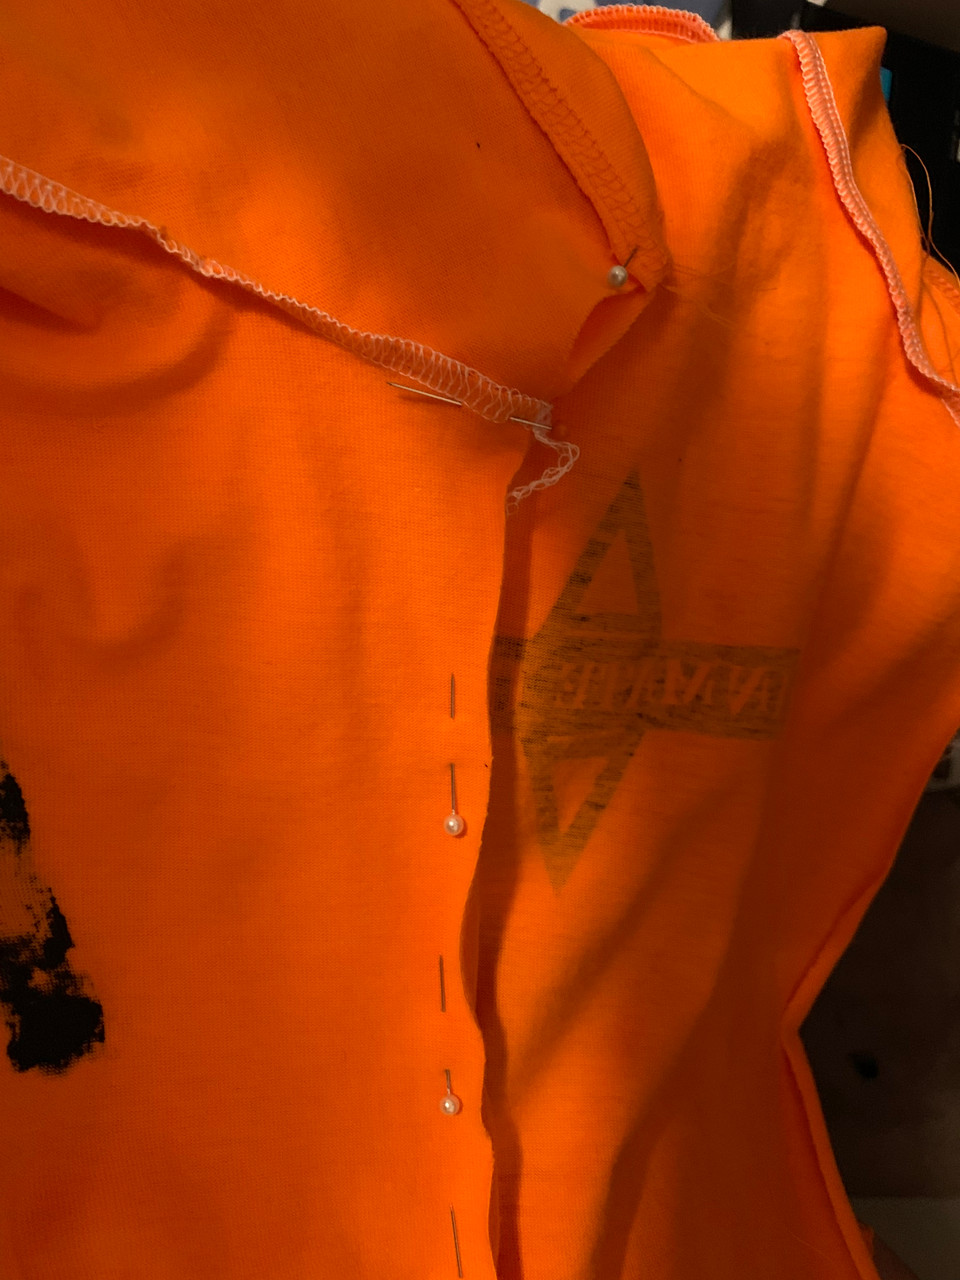
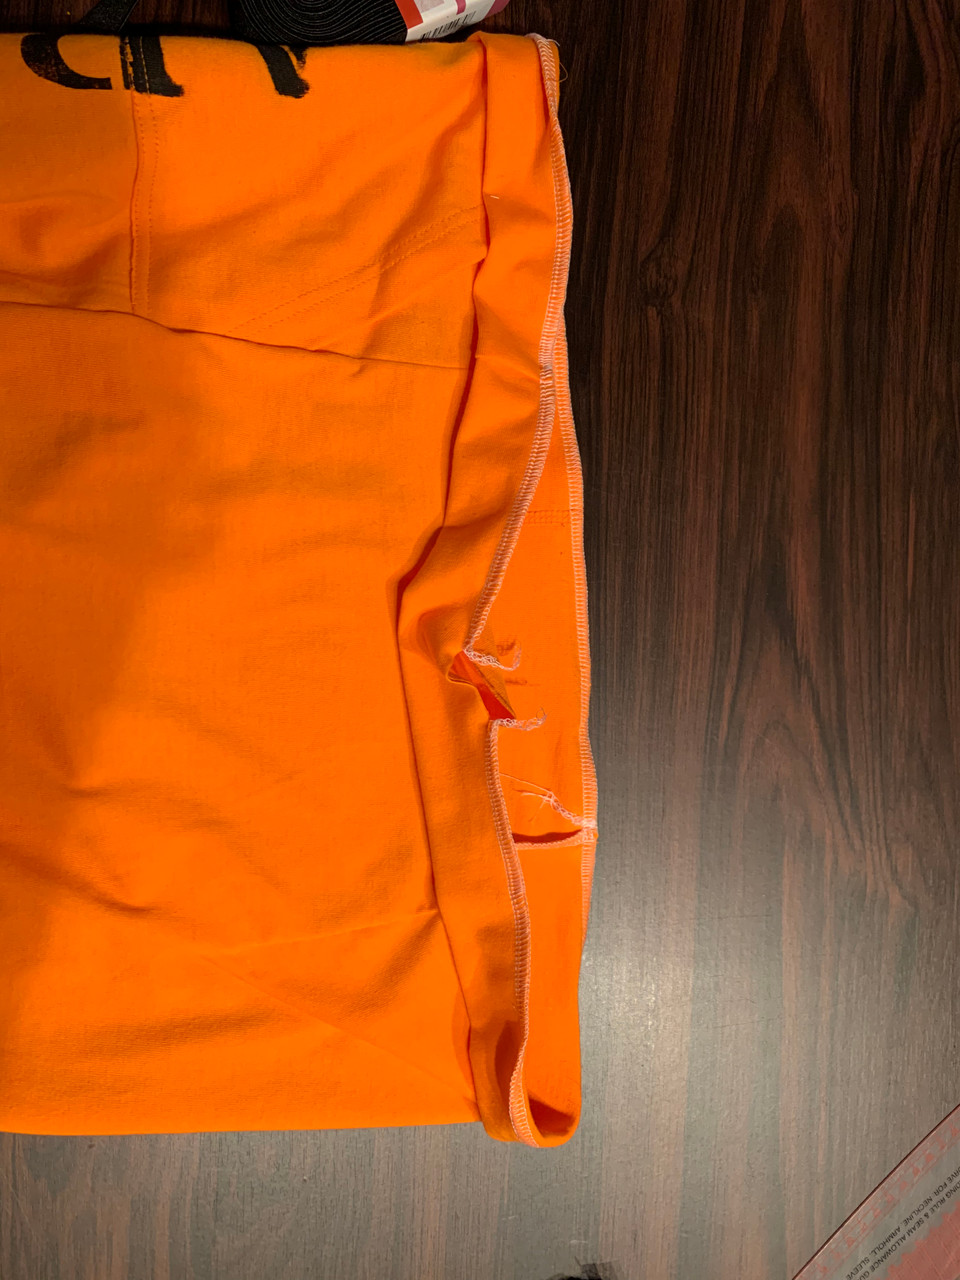
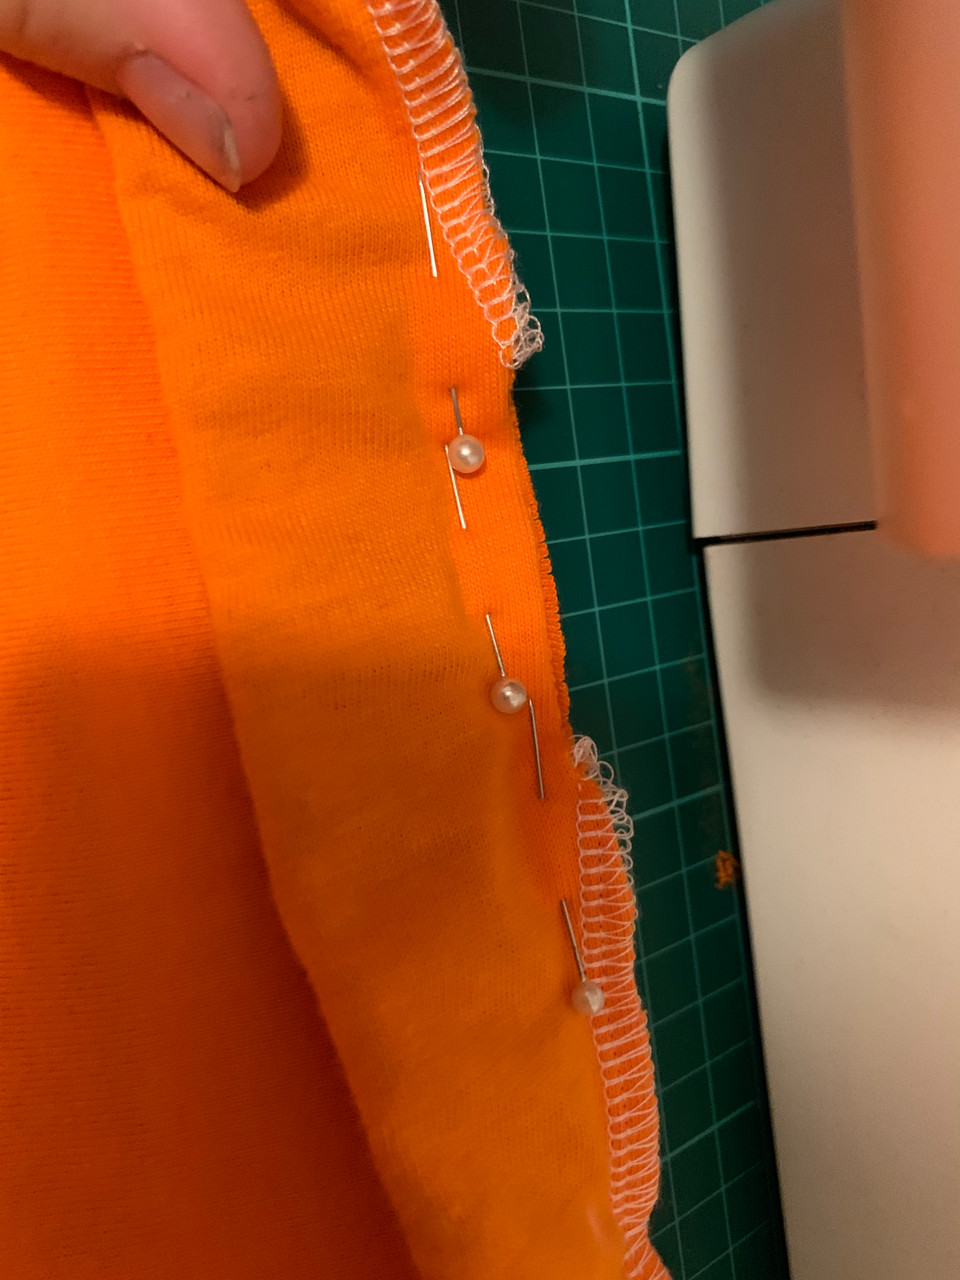
- With right sides facing, pin one side seam of shirt and overlock. Ensuring that you join sleeve opening too.
- Fold 2cm of shirt hem up and pin. Using your sewing machine twin needle stitch around.
- Overlock remaining seam of shirt.
- Optional: perform a twin needle stitch around neckline opening to secure overlocking seam down flat.
Pants
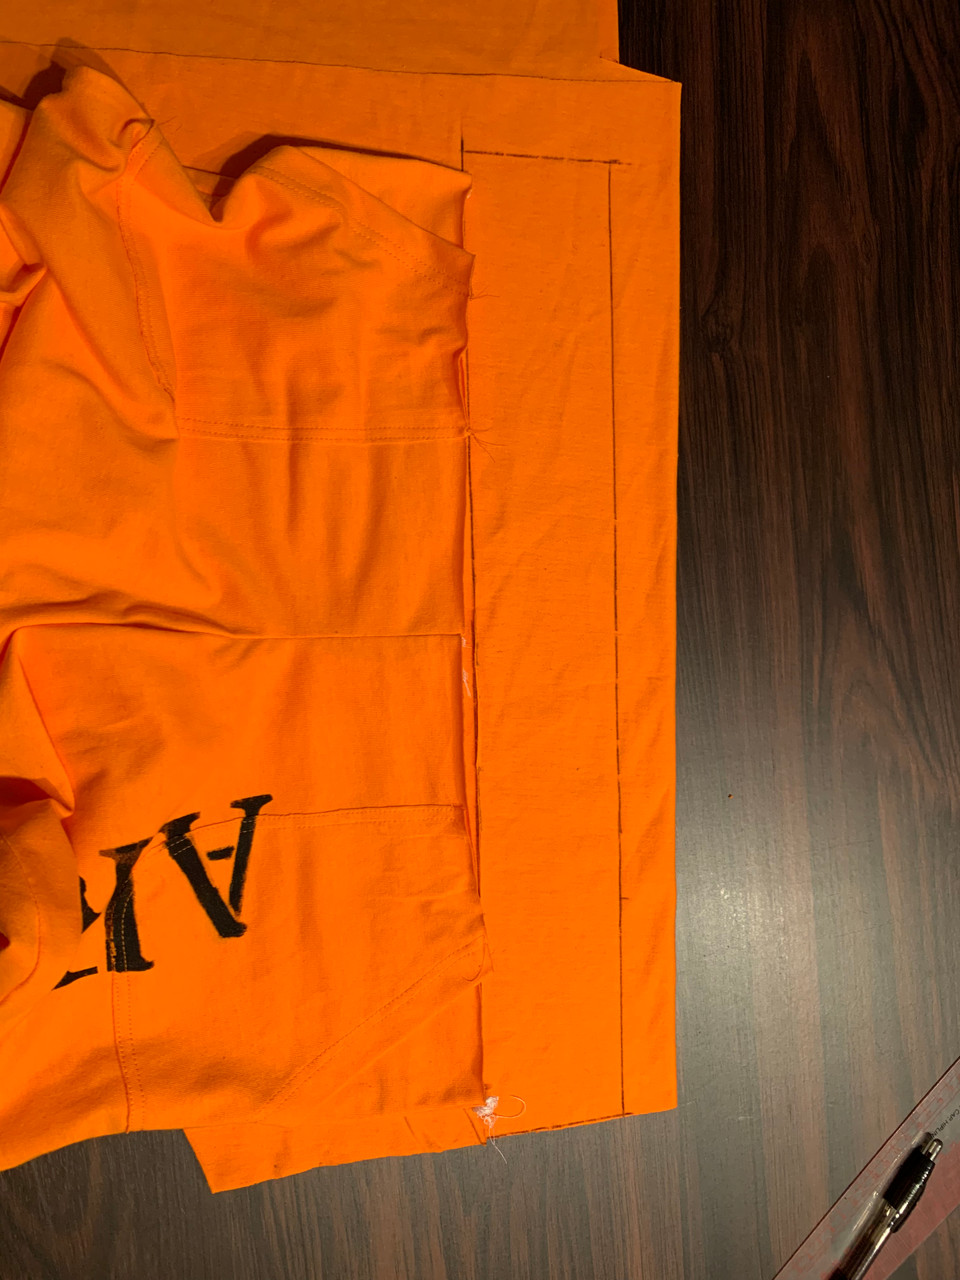
- On front panels, lay one leg over the other and overlock crotch seams together.

- Repeat for back pieces.
- Fold opening of pocket down, twin needle.
- Place pockets in position on front of pants, twin needle around the pockets to attach them to the pants.
- Overlock side seams and inner leg seams together to form pants. Ensure that you catch the pockets when overlocking the side seams.
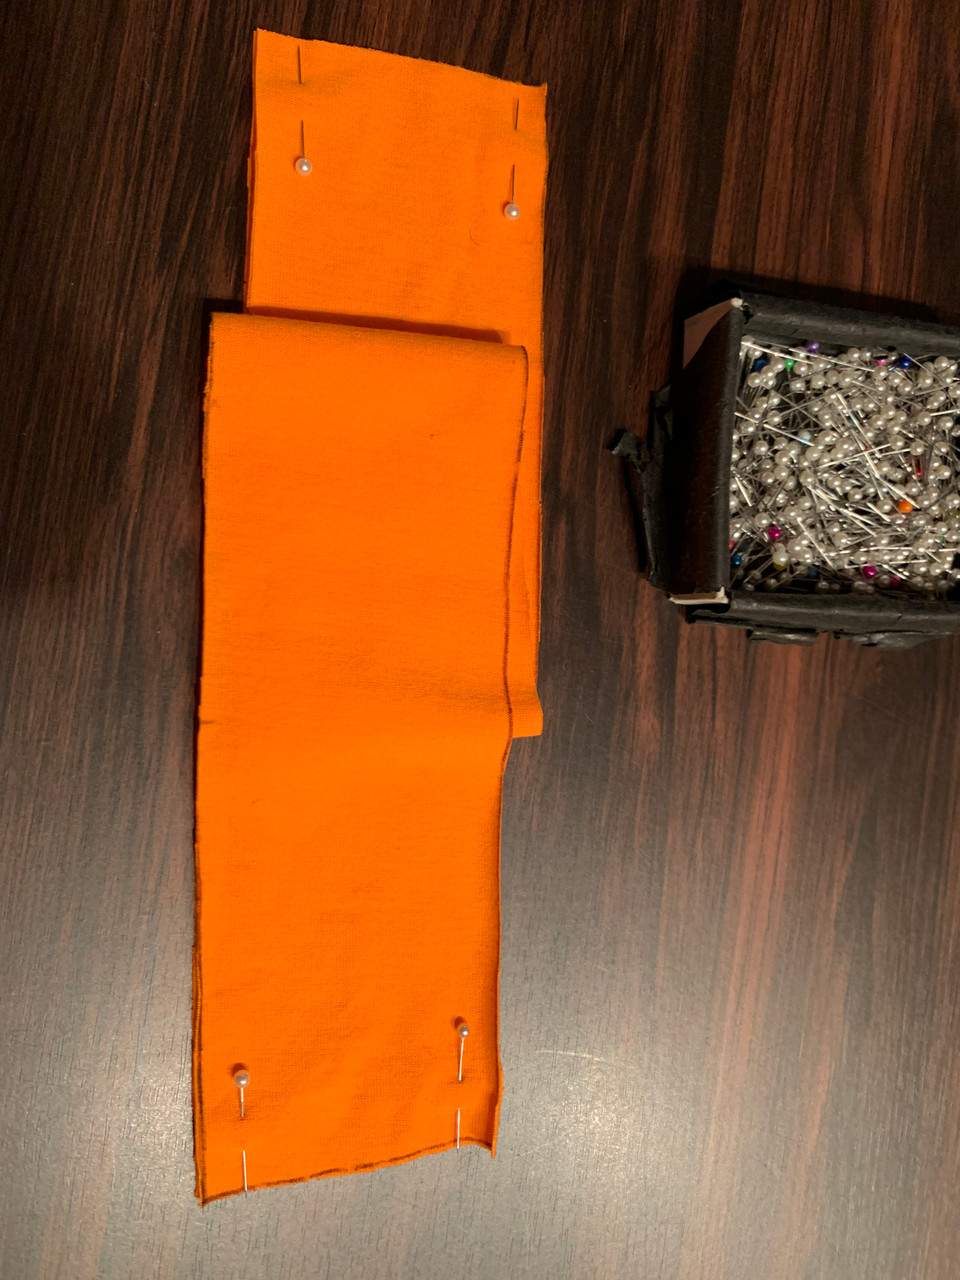
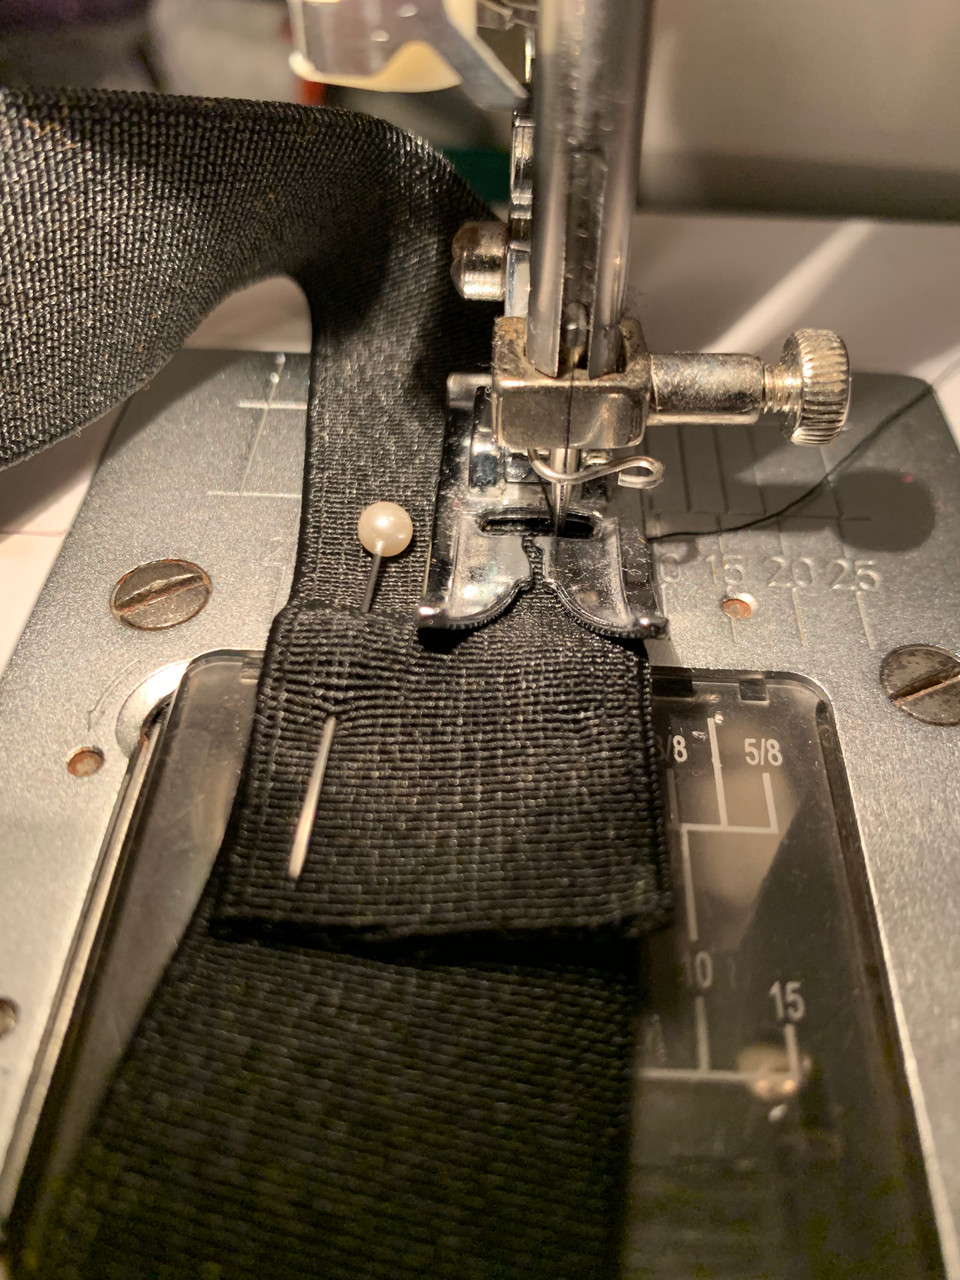
- Lay the pants flat, measure the top of the pants to find out the length of your waistband and double. Mark this measurement on your spare fabric, measure your elastic width (25mm in requirement list) and double this; this will be your height plus 12mm. Cut out two.
- Sew both side seams of waist band together to create a circle
- Fold your band in half lengthways and pin to your pants. Ensure that you leave a gap to thread the elastic through.
- Using your elastic, measure your waist with it. Ensure that you pull it a little tight (not too tight that it is uncomfortable) to keep the pants up. Cut elastic, using a safety pin, thread through pants and sew the ends of the elastic together.

- Once elastic ends have been joined, push elastic through waist band and pin the opening seam shut. Overlock gap enclosing elastic.
- Pin leg hem up, and twin needle to finish. Optional: twin needle waist band seam down to secure.
Gift bag
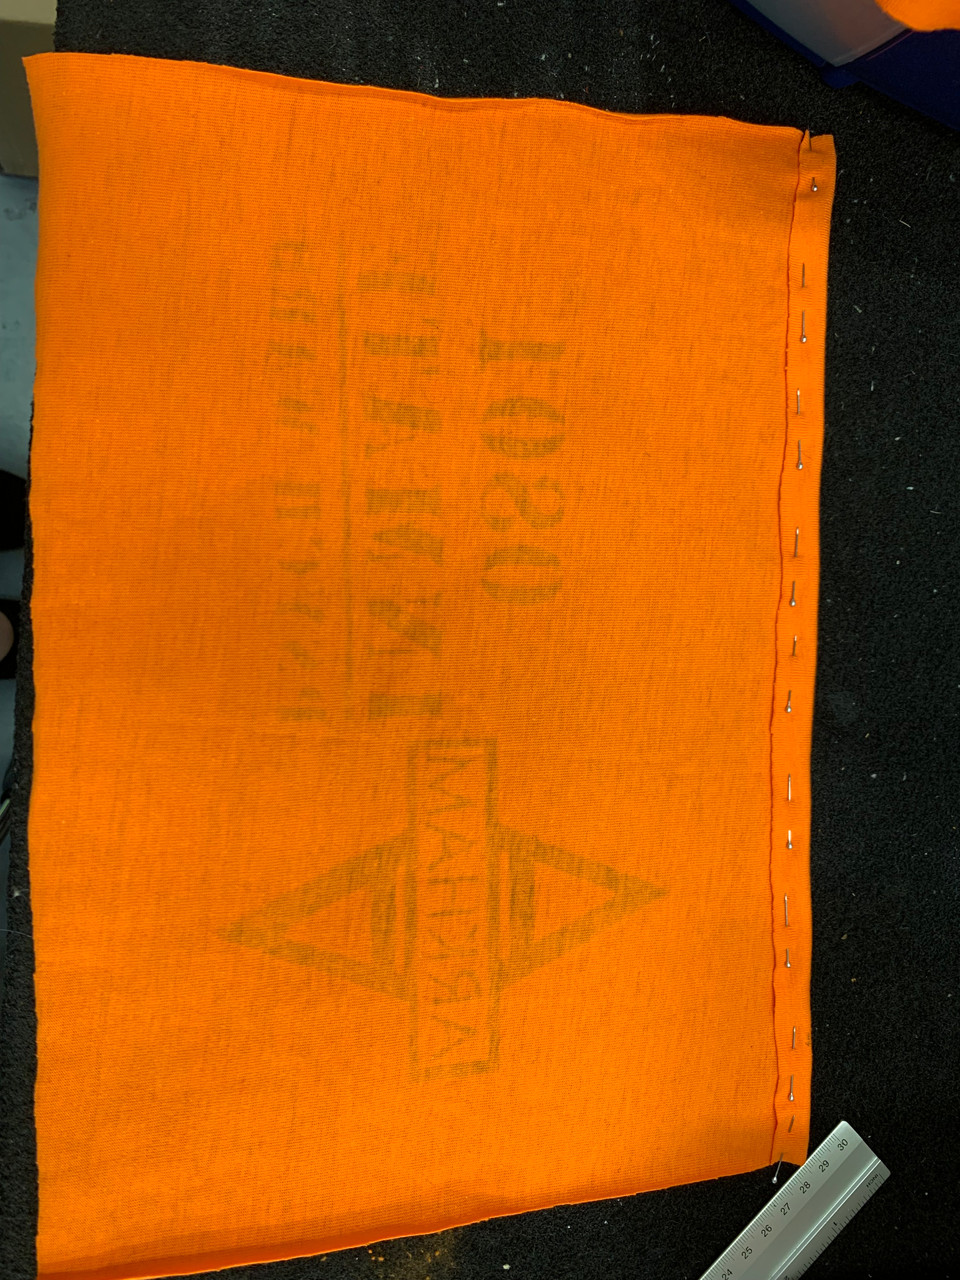
- Cut out 2 rectangles 40cm x 27cm.
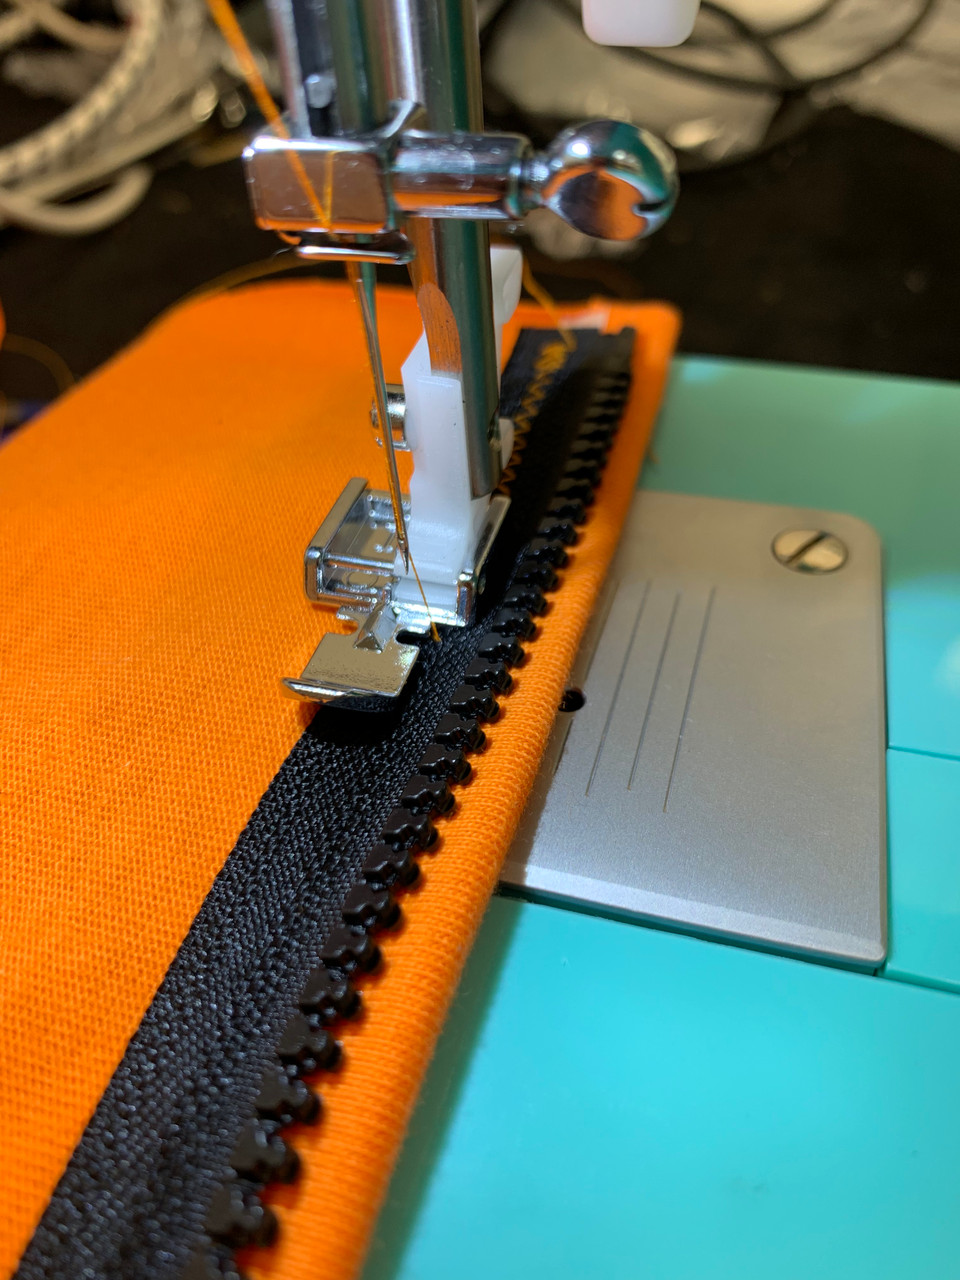
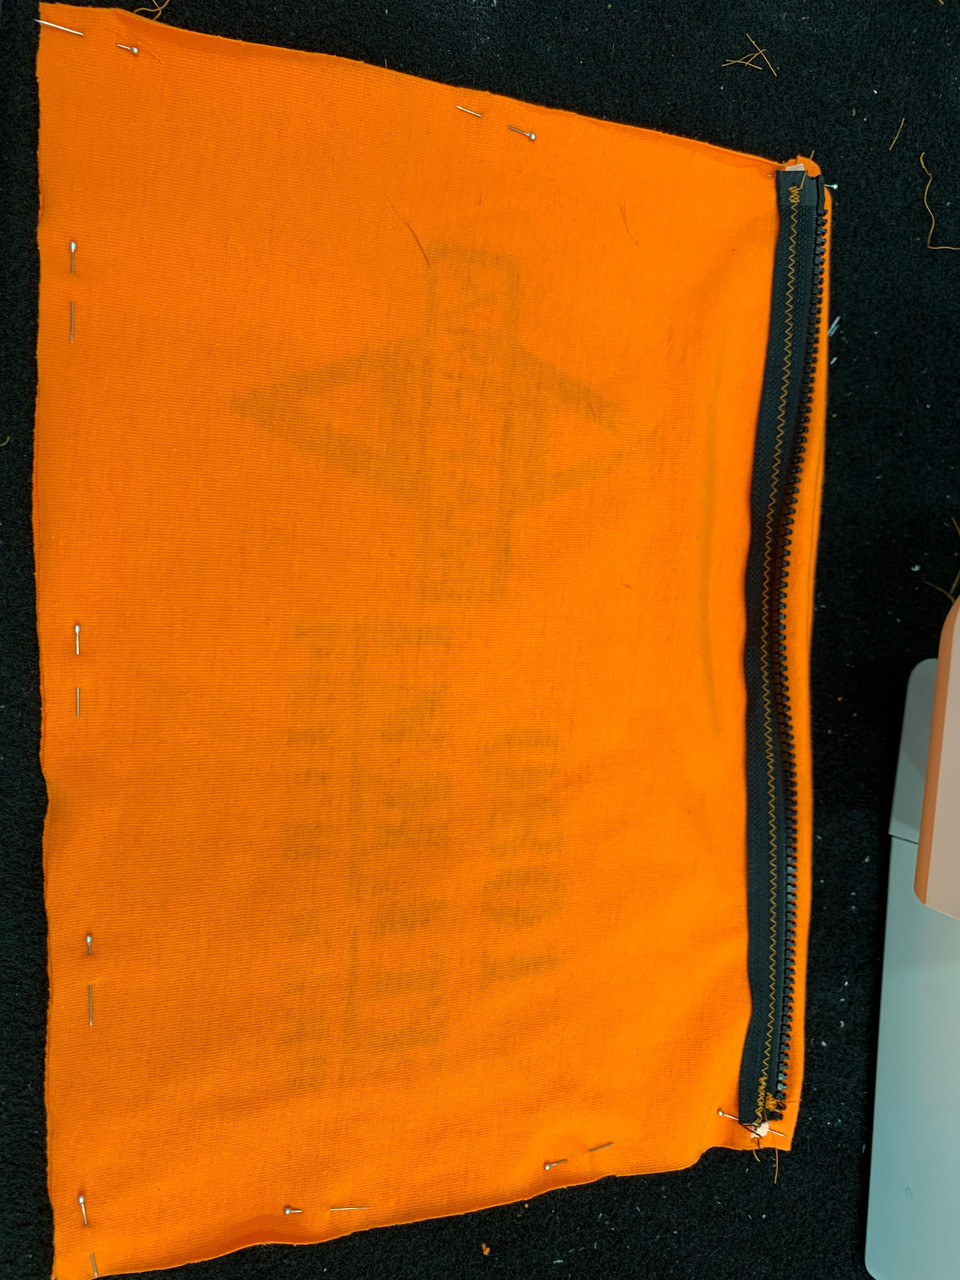
- Fold down top openings and pin the zipper, one rectangle to either side. Note: you can use double sided quilting tape to help stop fabric stretching while sewing. Sew the zipper onto the top of each side using your zipper foot.
- Match right sides together and overlock around remaining sides.
Congratulations on finishing your Pjs and Gift bag, decorate your set and create as many as you possibly can to share with everyone.
ALL IMAGES ON PYJAMAS ARE NOT OWNED BY SINGER, ALL RIGHTS RESERVED TO DC COMICS. THEY WERE INTENDED AS A PERSONAL COSPLAY / PYJAMAS.