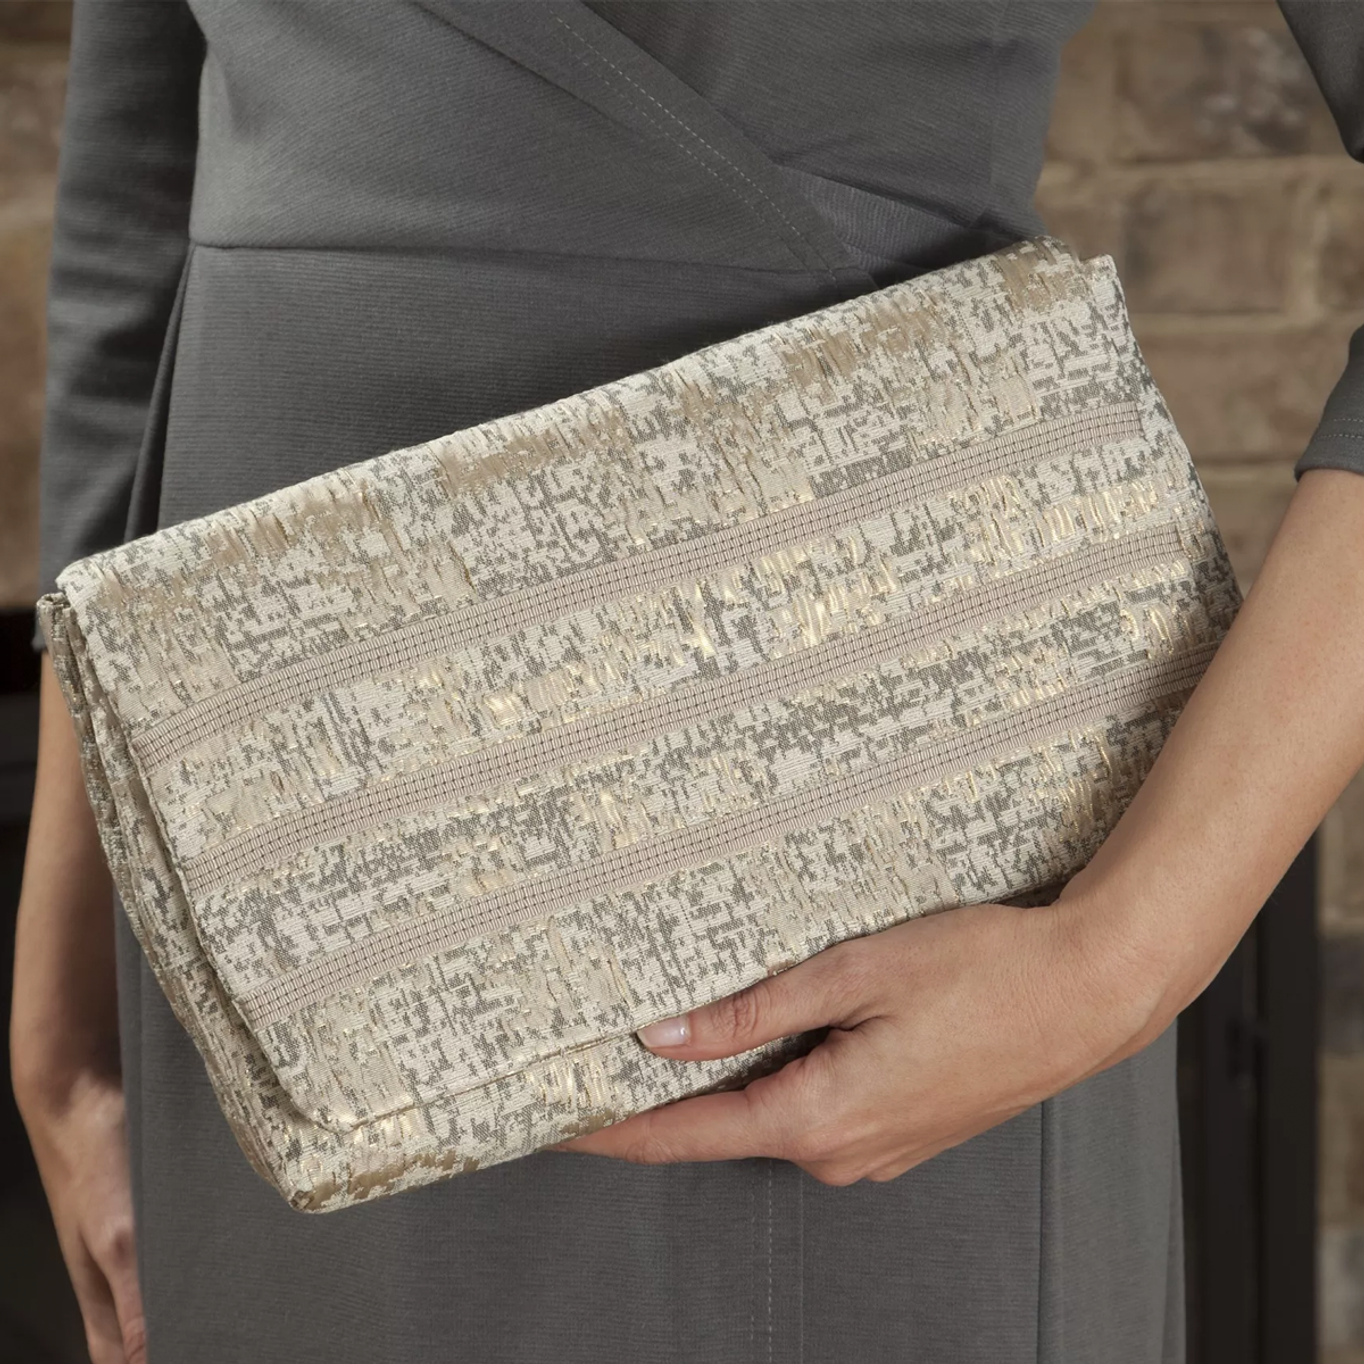
This easy to make clutch features cover stitching on the flap to attach the ribbon detail. Although the cover stitch is most often used for hemming and edging is can also be used for decorative embellishment. Try it with contrasting thread colours for a dramatic effect!
Materials Needed:
- 60cm fabric for purse
- 60cm fabric for lining
- 80cm lightweight fusible interfacing
- 80cm heavy weight interfacing
- 125cm of 1cm wide grosgrain ribbon
- 4 spools all purpose thread to contrast ribbon
- 1 pkg wash-away basting tape
- 1 spool all-purpose thread to match fabric
- One large sew-on snap
- Hand sewing needle
- Fabric marking pen/pencil
- Ruler
Preparation:
- Cut one each from the fabric, lining and the lightweight interfacing:
- Clutch body pieces - 43cm x 38cm wide
- Flap body pieces 23cm x 33cm wide
- Cut from the heavy weight fabric interfacing
- One piece measuring 42cm x 31cm
- One piece measuring 22cm x 31cm
- Apply the interfacing to the wrong side of the fabric for the flap and clutch body, following the manufacturer's directions.
- Round the corners on the lower half of the flap and flap lining. Mark and trim, as shown below:

- Angle the top corners on the flap and flap lining. Mark and trim, as shown below:

Overlocker Instructions:
- Set up the overlocker for the three-needle clutch cover stitch, following instructions in the machine manual. Use all purpose thread in the needles and the looper.
- Cut three 33cm long pieces of ribbon. Apply basting tape to wrong side of each ribbon piece.
- Position ribbons one inch apart on right side of flap with first ribbon placed 5cm from bottom edge of clutch flap.
- Secure ribbons in place by stitching a three needle cover stitch over each of the basted ribbons.
Sewing Instructions:
- With the right sides together, fold the clutch body piece in half matching raw edges. Stitch the side seams, from the top edge to the fold.
- To box the corners, fold so that the side seam matches the crease at the bottom of the clutch. Mark 1" from the point. Draw a line across the fabric from fold to fold. Stitch on the drawn line. Trim off the excess from the point, leaving a 1/4" seam allowance.

- Repeat the previous step on the other side of the clutch
- Baste the heavy weight interfacing to the wrong side of the clutch, 3/8" from the top edges and 1" from each side seam.
- With right sides together, fold the lining piece in half matching raw edges. Stitch the side seams, from top edge to fold, leaving a 5" opening on one side seam.
- Right sides together, place the lining to the clutch bag body, matching side seams and top raw edges. Stitch around the entire top edge using a 1/2" seam allowance.
- Turn right side out through the opening in the lining. Press.
- Stitch the opening closed.
- Topstitch around bag top edge close to seam. Right sides together, stitch a 3/8" seam 1" down from the top edge of the clutch at the side seams to help shape the bag.
- Place the flap and flap lining, right sides together. Stitch along the side and bottom edges. Trim the seam, then turn right side out.
- Insert the heavy weight interfacing into flap opening. Trim the sides and bottom edges of the interfacing, if necessary, to fit shape of flap. Baste the open edge of flap through all layers.
- Place the right side of the flap to back side of the bag, having raw edge of the flap 1/4" down from the top edge of the clutch and centering the flap between side seams. Stitch the flap in place 1/4" from the raw edge.
- Turn the flap toward front. Press. Top-stitch the flap 1/4" from the seamed edge keeping clutch front free.
Happy Sewing.
