
It has taken me ages to finally get photos of my newest dress. The weather and life has conspired against me but finally, here it is, if slightly blurry and windblown!

This is another Papercut La Sylphide which you may recognise from My Lady in Red post.
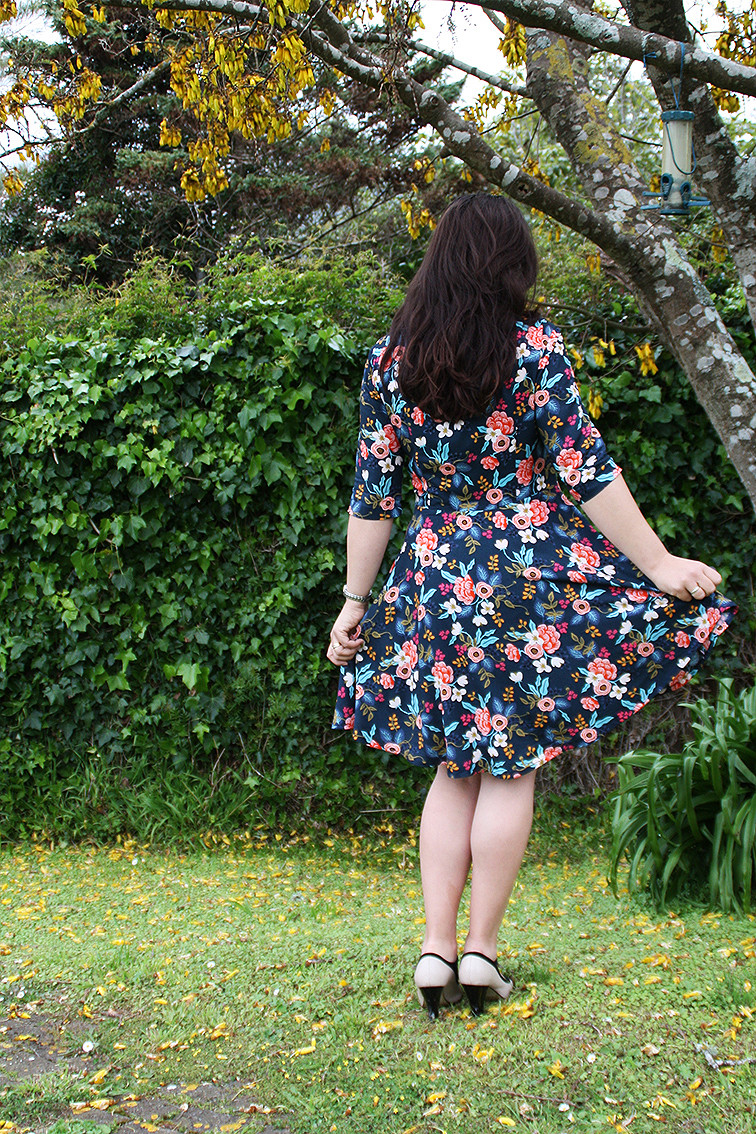
The fabric might look familiar too, it has been very popular in the blogosphere/Instagram sewing circles. This is of course Cotton and Steel's Rifle Paper Co
Les Fleurs Rayon (8008-25).

I caved in after seeing so many pretty dresses and bought a few meters earlier this year. It’s so floaty and soft that I knew it had to be another La Sylphide.
This is La Sylphide number six to be exact!

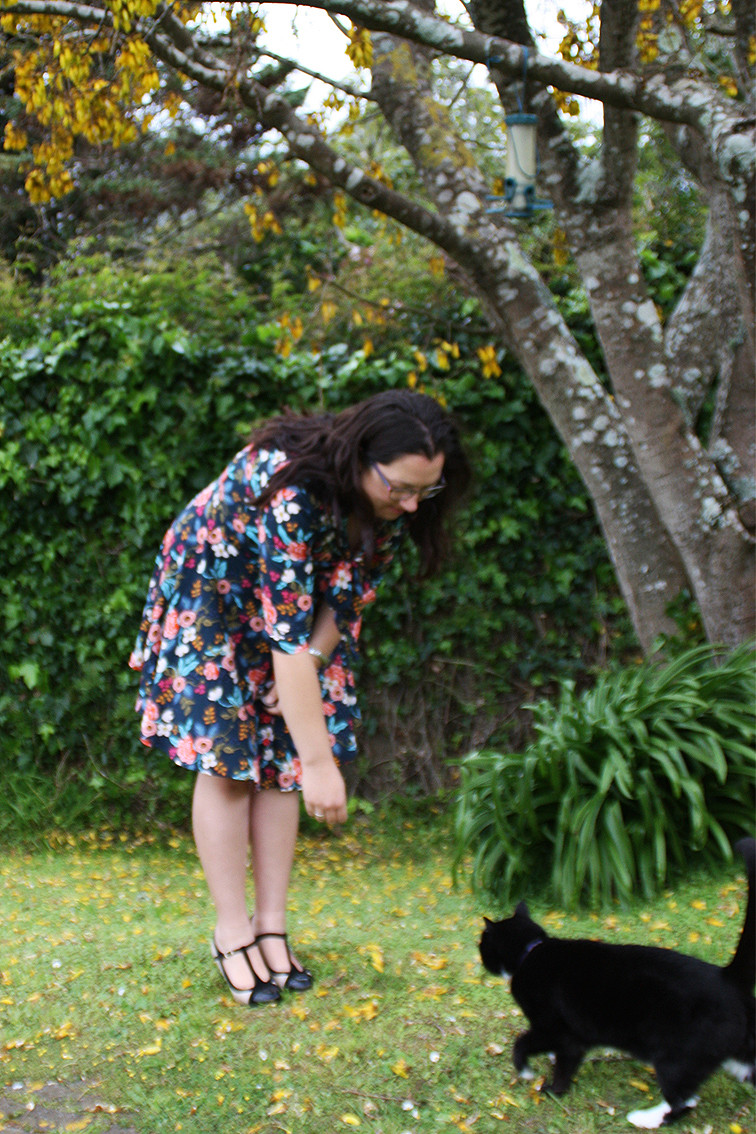
It feels a little lazy and not very inspired but I always get compliments in these dresses and everyone likes compliments, right? Even Harriet agrees!
This dress has A LOT of buttons. The original pattern calls for 8 but I prefer my buttons closer spaced and because I lengthened the skirt by about 16cm I ended up needing a total of 12 buttons.
That means this is the perfect time to share an easy button spacing/placement tip!
First of all, you definitely need to find yourself a Simflex Expanding Sewing Gauge (Google your local source, it's worth every cent!) I recommend this contraption so often I should really be on commission! 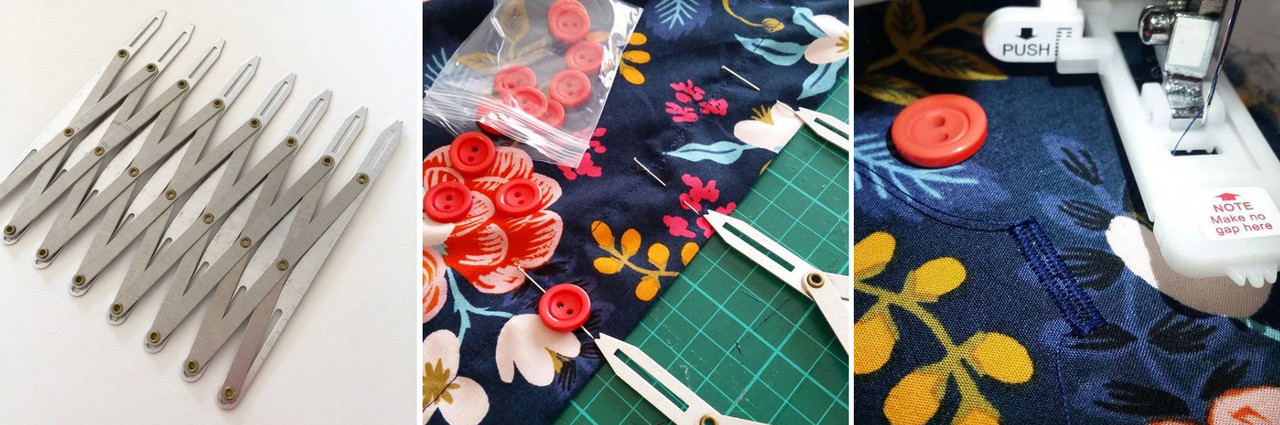
This crazy looking thing expands while keeping each point equal distance apart. It's perfect for spacing buttons and pleats or anything else that you need evenly spaced.
For my buttons I know I want one at the waist and one at the bust apex. I use the gauge to space the button markings in between these two points and up the neck. You can mark the placement with chalk or a pin.
Next, keeping the gauge at the same expansion, I move it lower to mark the skirt button placement, lining up one of the gauge endpoints with the waist marking. You can keep moving the gauge down the garment until you've got all your buttons marked.
Next, I sew my buttonholes. I usually do a test before I even begin spacing to check tension and final length. The pins in the center photo above are marking the bottom of the buttonhole, this is where I will start sewing from.
Once the buttonholes are all finished I cut them open using a tiny chisel against a cutting mat. You can also use a seam ripper but make sure to place a pin across the end to catch the seam ripper in case you slip!
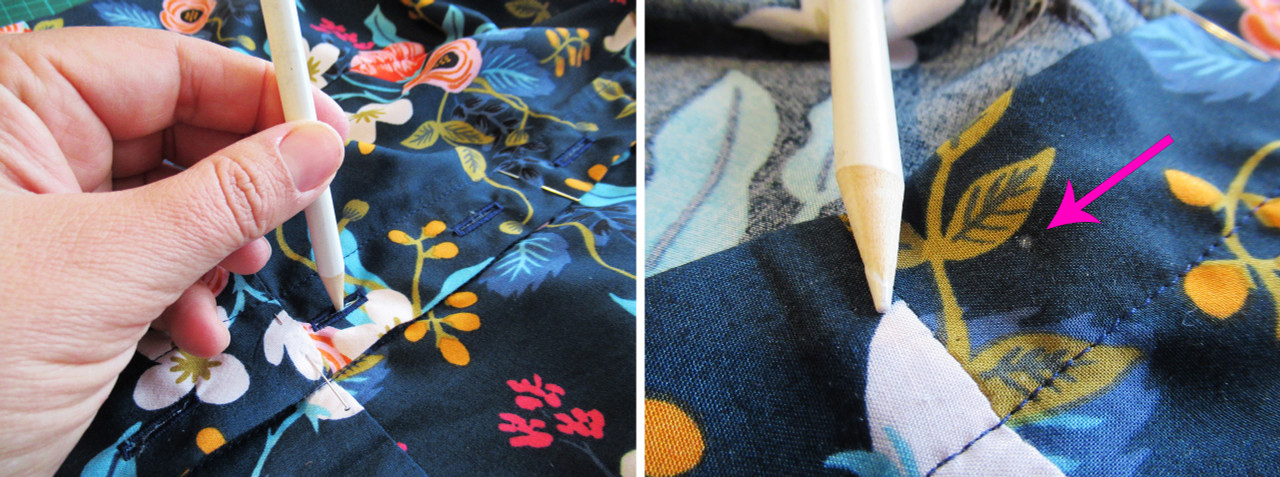
Finally, I pin the dress shut lining up the waist seam, top, and bottom, and then I simply mark the button placement by twisting a chalk pencil in the center of the buttonhole, marking the placket behind.
I sew my buttons on using the machine. You can buy a special foot that has a rubber grippy section but you can also use a regular foot if you're careful. Set your stitch length to zero (or drop feed dogs) and select your zig-zag stitch. Handwheel the first few stitches while you adjust the zig-zag width to move the needle cleanly between the buttonholes and then sew that button on! Easy!

Spring is finally here in Wellington which means rain…lots and lots of rain. But also, as you can see from the mess on the ground, delightfully yellow Kowhai trees.
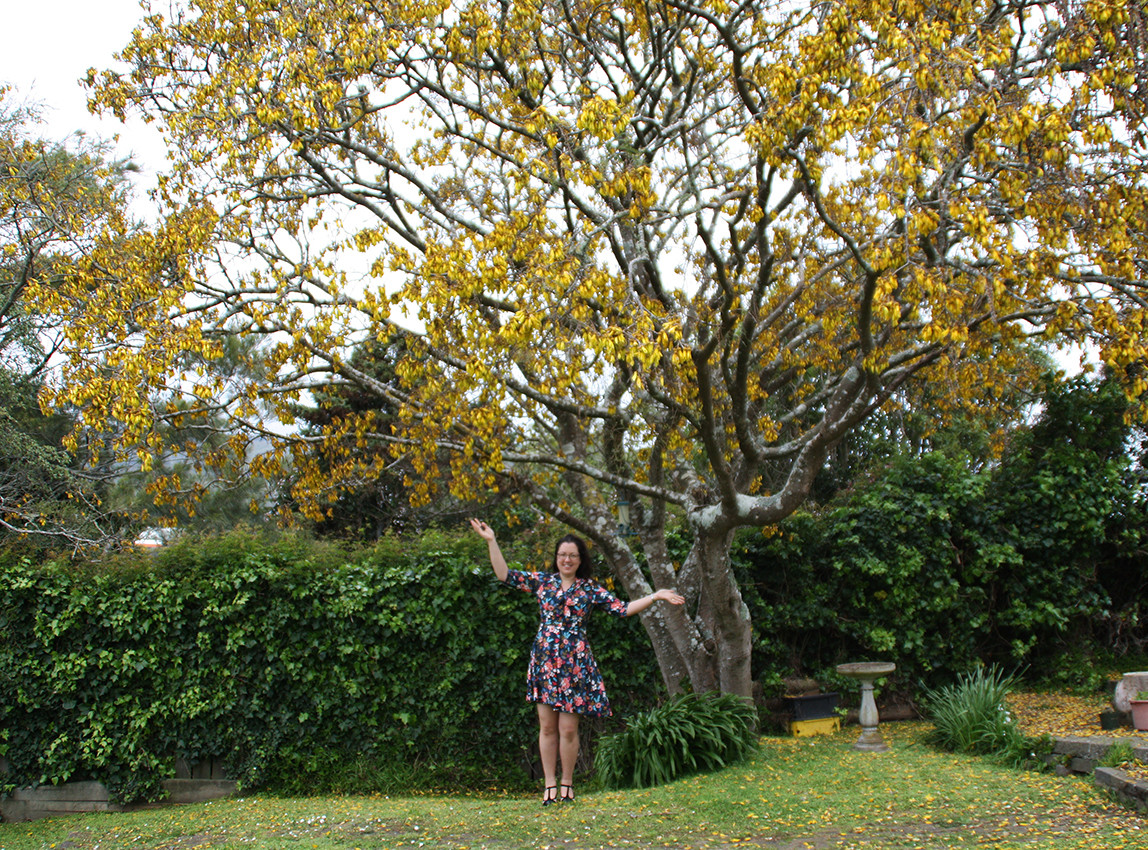
The Kowhai is New Zealand's national flower and this tree came with our house. I have no idea how old it is but it's pretty huge, if it's the same age as our house it will be almost 60 years old!

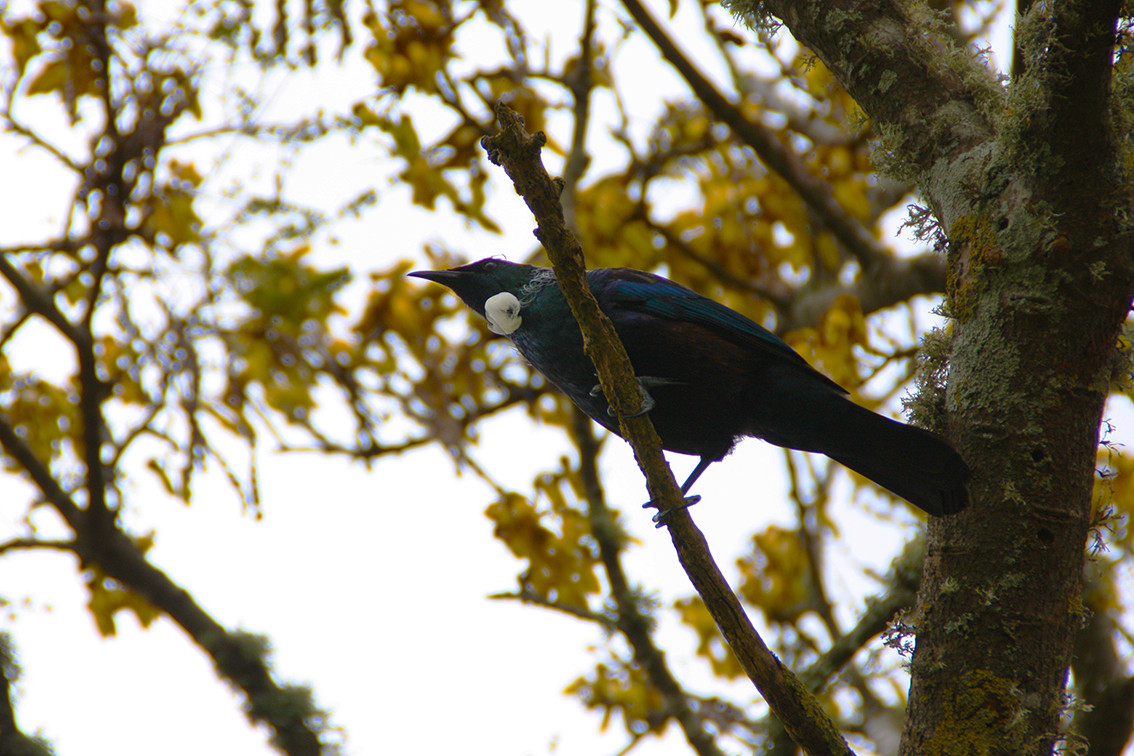
Once the tree is in flower they don’t last long, maybe 2 or 3 weeks, but until they all fall off every day the tree is full of Tui’s and Kereru getting drunk on nectar.
Bring on summer!
Happy Sewing xx