
Santa Cutlery Holders are a fantastic way to dress up your table for the festive season. They are super easy and can be finished in an hour.
Shopping List:
- 2 Pieces 4 ½” (11.5cm) x 10 ½” (27cm) White Fabric
- 1 Piece 4 ½” (11.5cm) x 6 ½” (16.5cm) Red Fabric
- 1 Piece 4 ½” (11.5cm) x 1”(2.5cm) Black Fabric
- 1 piece 4 ½”9 (11.5cm) x 10 ½” (27cm) Wadding
- Fabric marking pencil
- Coordinating thread
- Scissors
- Ruler
Construction:
- Place your wadding in between the 2 white pieces of fabric, making a sandwich and pin.
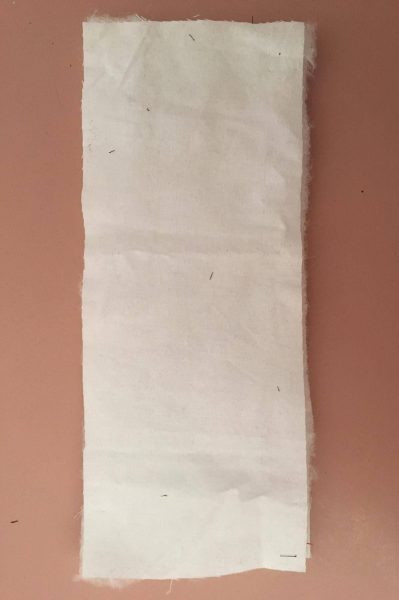
- With your fabric marking pencil mark out 1” (2.5cm) along each long side of the sandwich. Using a ruler, rule lines on a diagonal matching the marks you made along each side of the sandwich. Do this up each side so you get a diamond pattern.
- Once you are happy with what you have drawn out with a pencil. Select straight stitch on your machine and sew along the lines you have ruled.

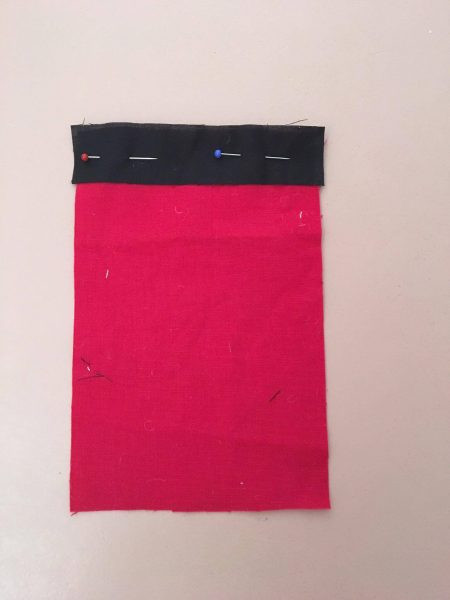
- Fold down one short side of the red piece of fabric 1” (2.5cm) and press. (this will become the top of the pocket).

- Pin the black piece of fabric to the side where you have made the fold. Sew all the way long the top and bottom as close as possible to the edges of the fabric.
- Pin the red fabric to the sandwich and stitch a ¼” (0.7cm) seam all the way around the outside of the sandwich.
- Snip all around the edges being very careful not to cut into your stitching.

- Place the cutlery holder into a washing machine and then dry it. This will create a frayed effect around the edges. The more you wash the more frayed it will become.
- Press the center of the cutlery holder, and try not to press the frayed edges.
Your cutlery holder is now complete.