
Use a lightweight fabric for these cheeky and practical headbands!
Requirements List:
- Fabric for main part 40cm x 25cm
- Fabric for tubing 30cm x 12cm
- 18cm rubber band (cut length)
- Matching sewing machine thread
- Sewing machine
- Rotary cutter, mat and ruler
- Scissors
Construction:
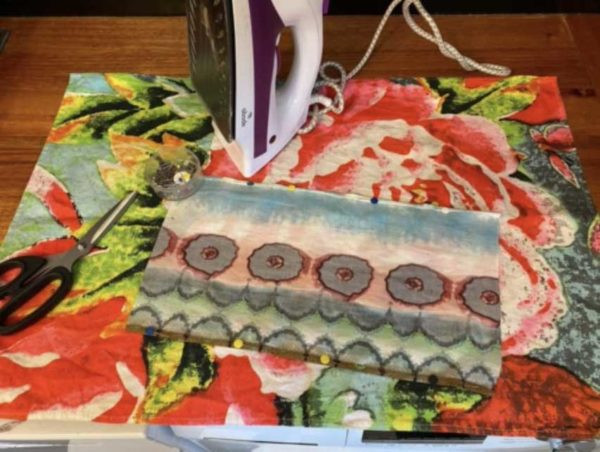
- On each long edge of your main fabric, press over a very narrow 5mm seam then press over again. Stitch. Place to the side.
Tip: Some of the Singer machines like the Quantum Stylist 9960 come with a roller foot- you may wish to use this instead.
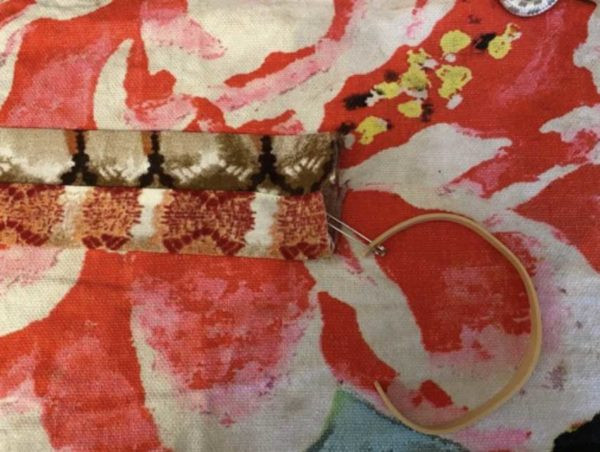
- Now get your smaller fabric which will make the tube and pin right sides together lengthways.
- Sew a nice chunky seam allowance of 1.5cm. This is both easier to sew and trim.
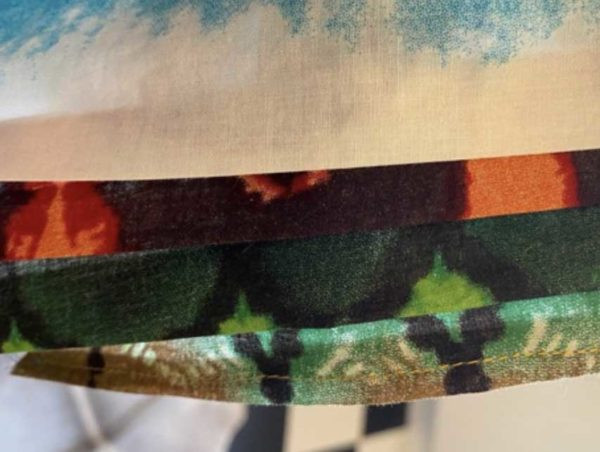
- Turn your tube the right way around. This is easy enough to do with your fingers as the tube isn’t that narrow.
- Press tube with the seam in the middle.
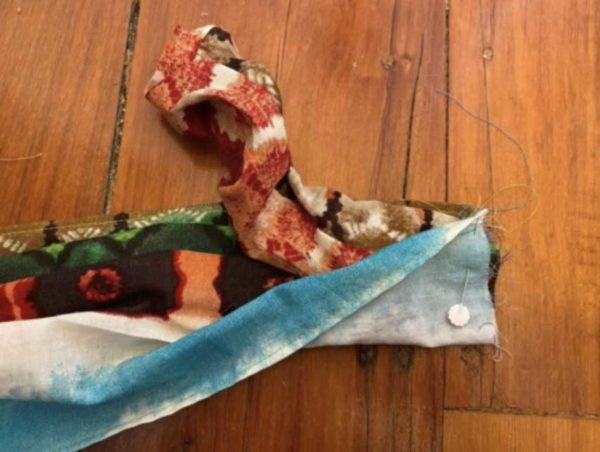
- Put a safety pin on the end of your rubber band and thread it through your tube.
- Pin the rubber band in place so it is flush to each end and then zigzag several times to anchor it in place- sandwiching the rubber band securely inside your tube. Your tube will now be all bunched up. Place to one side.
- Retrieving your main fabric and make 3 pleats on each of the shorter ends. These will be approximately a fold over of about 2cm each- you don’t need to be too perfect with this measurement. (See image below) Pin and baste in place.
Tip: Concentrate the pleats at one end with a flatter piece of around 5cm on the other end, which will make wrapping around your tube easier.
- Place the tube on the right side of your fabric over the edge with the pleats as below. Fold over the flat part, sandwiching your tube inside. Keep all edges aligned.
- Stitch a 1cm seam and then zig-zag to reinforce and zig-zag in reverse- there will be quite a bit of strain on this join. Repeat on the other side. You may like to use a Singer Overlocker here if you have one. Turn the right way around.