
There's no denying that scrunchies are making a big comeback! Scrunchies are quick, cheap and easy to make, they are also great fun! They can be made in any colour or fabric type you like. You can even coordinate them with some of your favorite outfits if you like, or give them to your friends and family as gifts.
As a result of the project, you will be able to reduce your waste and use up your scraps to save them from being thrown away.
This is a great sewing project if you're new to sewing, as it will require you to use basic skills like machine straight stitches, threading elastic, and hand slip-stitching.
Slip Stitch Definition: noun (in sewing) a loose handstitch joining layers of fabric and is not visible externally.
Requirements:
The requirements below are what you will need to get to make 1 scrunchie. Any Singer sewing machine will be suitable.
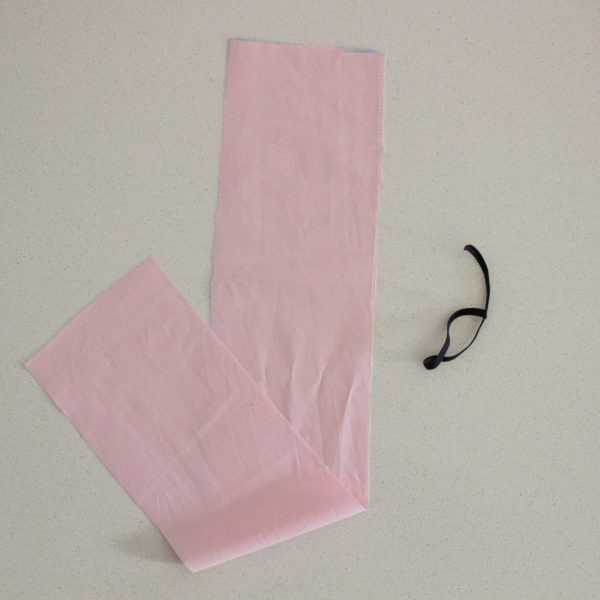
- 12cmx60cm piece of fabric. Any fabric will work, some ideas Cotton, Linen, Silk etc.
- 20cm piece of 5mm elastic
- Co-ordinating thread
- Sewing machine
- Iron
- Scissors
- Safety-pin
- Pins
- Fabric marker or chalk
Cutting:
If you haven’t already cut your elastic and fabric to the required dimensions, mark and cut out as per below:
- Mark out your 12cmx60cm rectangle onto fabric and cut out.
- Cut your elastic to 20cm
Construction:
Here comes the fun part, it is time to sew our scrunchie together!
Seam allowances are 1cm unless otherwise specified.
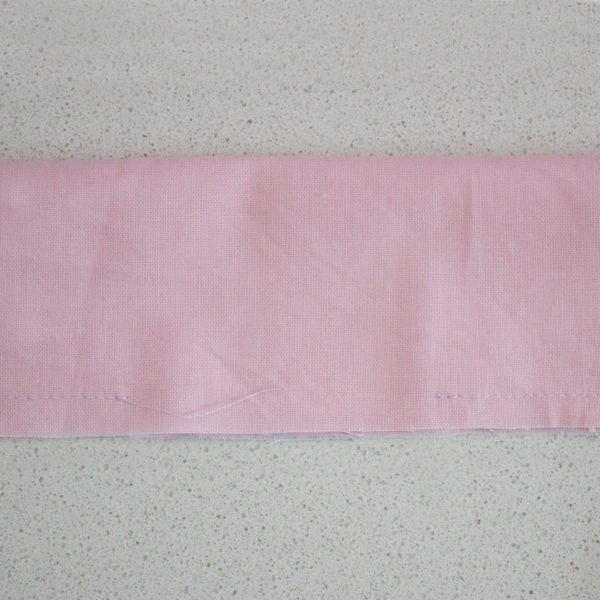
- Fold your rectangle in half lengthways right sides together. Pin. Sew side seam leaving a 3cm close to one end.
- Turn right way out using a safety pin. Press.
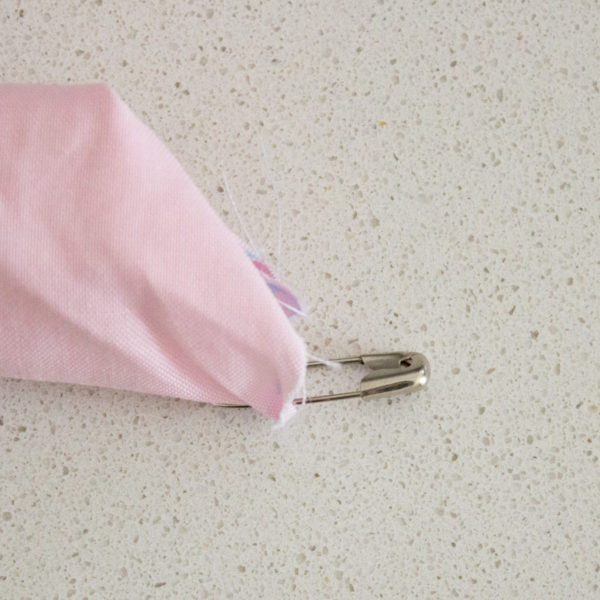
- Turn the shorter end of the tube back through the gap.
- Insert other end through the gap and align the ends of the tube. Pin and Sew.
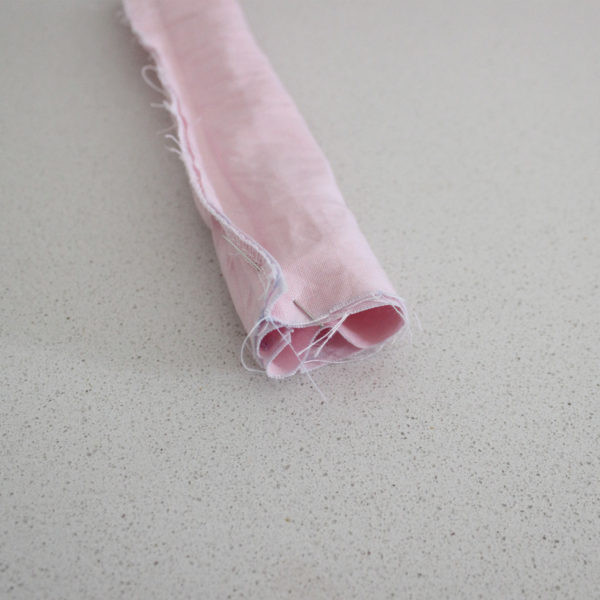
- Pull back out through the gap and now you should have a fabric donut! Pin the safety pin to one end of your elastic and thread the elastic through the donut. Once all the way through, secure elastic with a knot.
- Slip-stitch the gap closed and snip any loose threads.
- Knot your thread and insert needle inside seam allowance where the gap begins.
- Insert needle across into the fabric on the otherside where you first inserted your needle.
- Continue this with a small gap in between each stitch until the gap is closed.
- Pull thread tight so the gap closes, but not so tight the fabric gathers. Secure with a knot.
Conclusion:
Once you have made one scrunchie, you will be sure to make one in every colour and fabric type. Now that you have made a basic scrunchie why not try:
- Experiment with the rectangle size and make some giant scrunchies or tiny scrunchies.
- With the skills learned in this project why not sew up another rectangle and use it to tie a bow on the scrunchie?
- Personalise and make your scrunchies a bit extra you can even add some lace, ric-rac or other trims to the seam. It would look super cute!
- Looking to make an edgy tote bag? Why not even use this tutorial, but lengthening the rectangle to make some slinky tote bag straps!
We would love to see your personalities shine through your creations be sure to tag us @singersewinganz on Facebook and use hashtag #sewitwithsinger so we can see what you have been busy making!