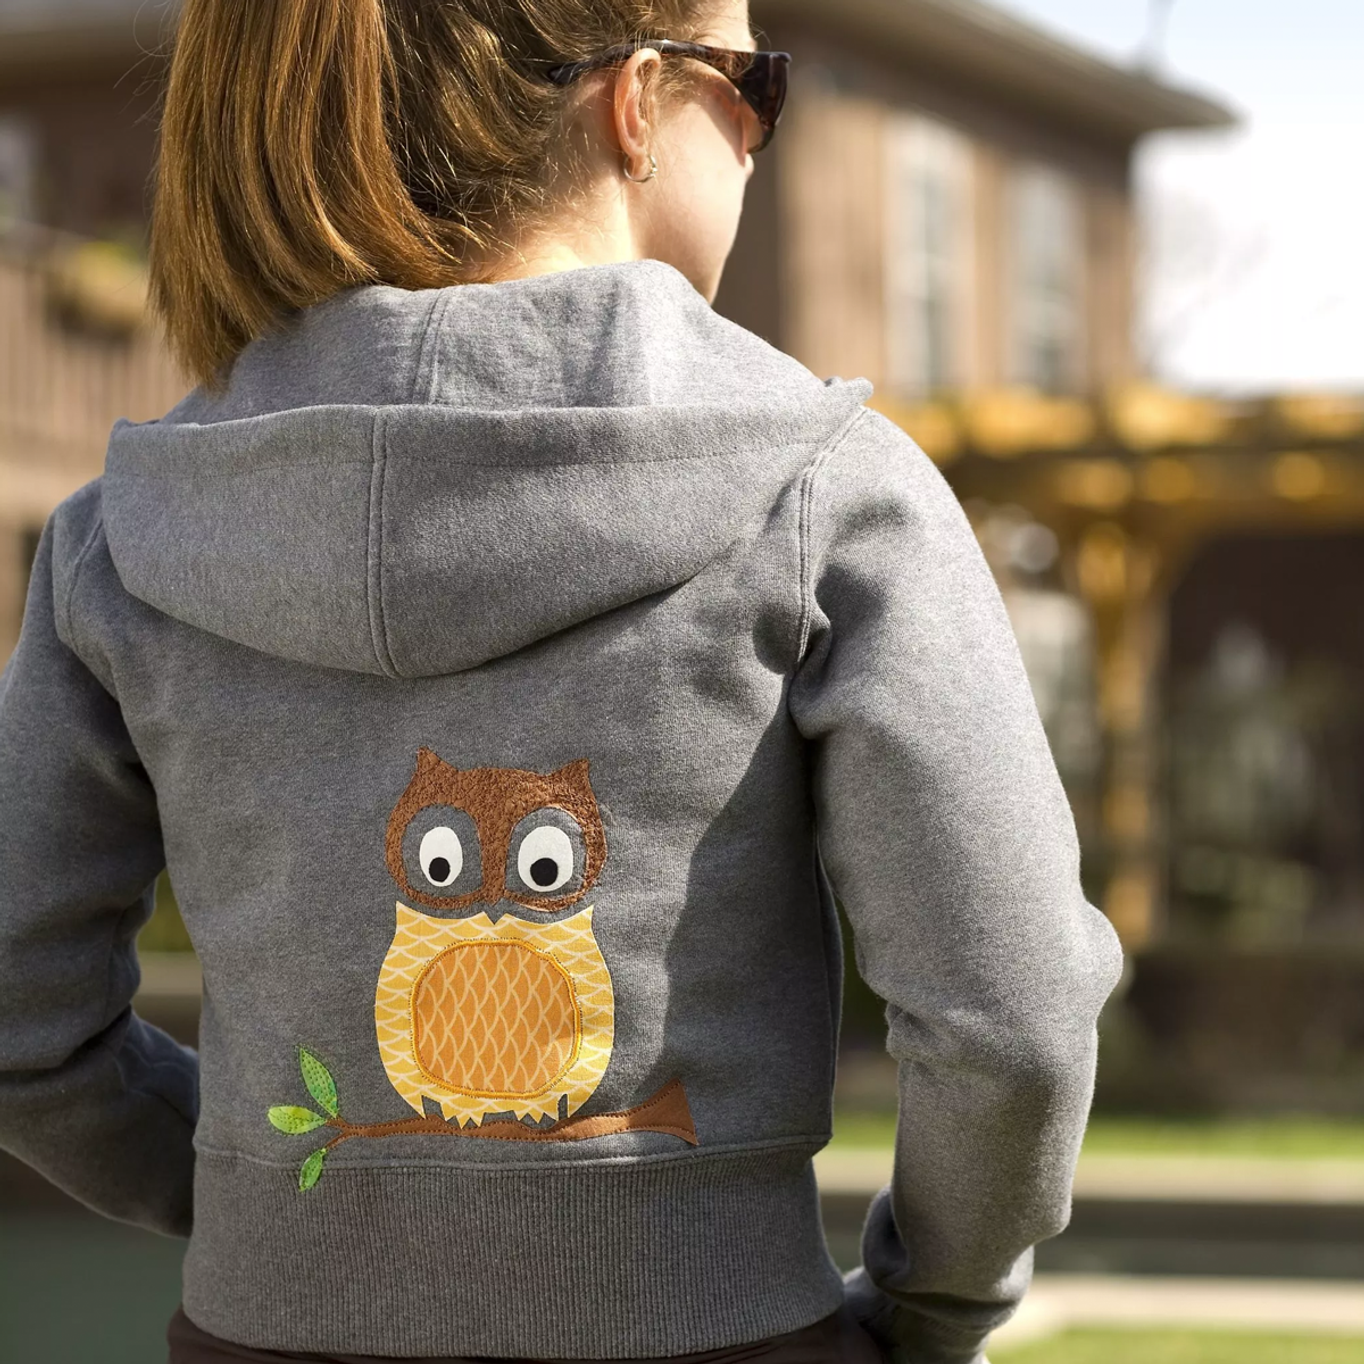
Get ready for Autumn with this gorgeous Owl Applique. Follow the instructions to add an embellishment to a hoodie, or simply use a t-shirt or even a denim jacket. You'll have a hoot making it!
Shopping List:
- Purchased Hoodie Sweatshirt
- Thread
- Fabric
- Aqua Magic Stabiliser
- Fusible Web
- Scissors
- Pins
- Water-soluble Fabric Marker
- Assorted Fabric Scraps
- Applique Pressing Sheet
- Fabric Spray Adhesive
- Satin Foot
- Darning / Embroidery Foot
Sewing Directions
- Trace the Owl design elements onto the fusible web with a fabric marker. Roughly cut out the shapes. (see the Download Project Pattern below for the Owl elements).
- Pull away the protection 'waxy' part of the paper that does not have the design on it. Place the sticky side of the piece onto the wrong side of the fabric scrap. Make sure you can see the design.
- Press with an iron, but do not use steam. Cut out the design on the drawn line. Repeat for all the Owl design pattern pieces.
- When all the design pieces are cut out, arrange them on the hoodie. When placement has been determined, peel off the remaining piece of protective waxy paper and place on the hoodie.
- Cover the design with the applique pressing sheet and fuse in place with the iron.
- Place a piece of Aqua Magic stabiliser on the back of the design.
- To set up the machine for a Satin Stitch (for the applique), replace the standard presser foot with a Satin Foot. Select the zigzag stitch on the machine's Pattern Selector, then set the stitch width to a medium-short setting. The stitch length should be set to a short setting - small enough that no fabric shows between the stitches, but not so short that the fabric gets stuck under the presser foot.
- Using a scrap of fabric backed with stabiliser, test the zigzag stitch. if the stitched still seem too far apart, bring the stitches closer together by shortening the stitch length setting. If the stitches seem to be getting stuck under the presser foot, make the stitches farther apart by lengthening the stitch length setting.
- When satisfied with the look of the Satin Stitch, sew around the edges of the Owl design.
- One technique that can be used to create texture is free-motion sewing. To set up free motion sewing, cover the feed dogs with the Darning Plate from the accessory compartment. Remove the presser foot and shank, then attach the Darning/Embroidery Foot.
- Select a straight stitch and begin making circular motions on the applique until it is completely filled in. Do not worry if the stitches are not uniform. Cross the thread lines and just have fun filling in the space. Remember that once the feed dogs are covered (or lowered) you control where the fabric goes and at what rate of speed. Try practicing on a scrap of fabric to get more comfortable!
- Remove the excess stabiliser when finished.
Happy Sewing!
