These foam blocks are covered with colourful fabrics, and each also features a single square with an appliqued letter or number.
Your little one will have fun playing with these soft and “quiet” toys! Make them in any size you like – the blocks shown are 4” (10cm) square.
Shopping List:
Everything you need to complete this project in one place. Use this convenient checklist to ensure you have all the required materials in your sewing room, or take it with you when you shop for supplies.
- An assortment of coordinating fabric prints and solids (you will need six squares for each block PLUS fabric for the applique letters and numbers
- All-purpose thread to coordinate with the fabrics
- Open Toe Foot (for stitching appliques)
- Fusible web (for appliques)
- Foam to cut into cubes
- Electric knife (to cut foam into cubes)
- Marking pen (to mark cutting lines on foam)
- Tear-away stabilizer
- Hand sewing needle
- Plastic wrap
Sewing Directions:
Note: Seam allowances are 1/4"
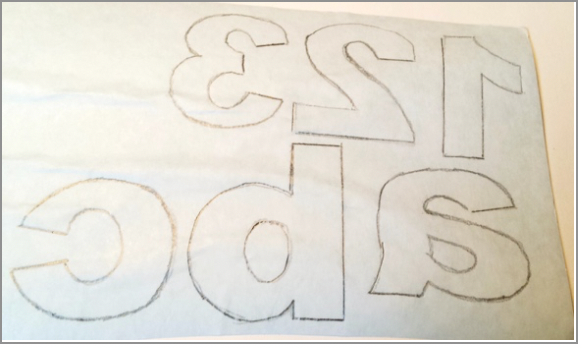
- Let your computer help you create your appliques! Select a font and the desired size. The appliques in this project are 2” (5cm) high for a 4” (10cm) block. Print them to create a pattern for the appliques used on the blocks. We used Arial Block font, size 200.
- Trace the letters and numbers onto the paper-backed fusible web. Remember to reverse the numbers and letters when tracing so they will be facing the right way once applied to the fabric.
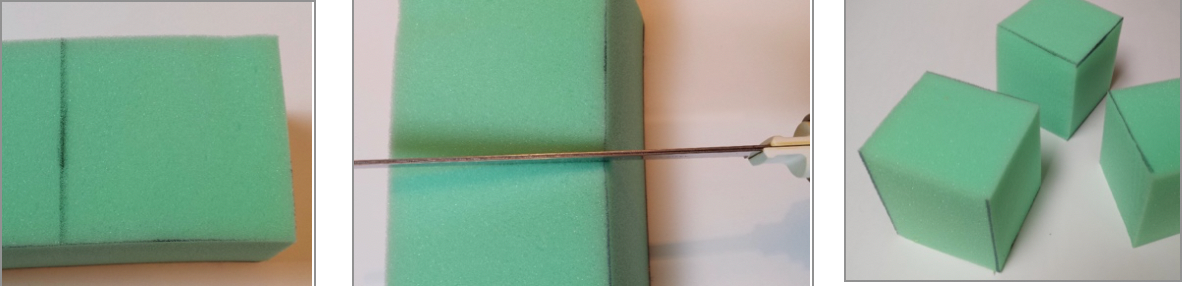
- To make the foam cubes, draw a line on the foam with a permanent marker. Use an electric knife to cut the foam into cube shapes. Cut six blocks from the foam. Note: Using foam helps to give the blocks a crisp, square shape when finished, rather than a more rounded shape if stuffed with fiberfill instead.
- To prepare the fabric squares, a seam allowance will need to be added before cutting the fabrics. Add twice the desired seam allowance to the size of the foam cube to determine what size to cut the fabric squares. Example: If foam cubes are 4” (10cm) square and a ¼” seam allowance will be used, cut the fabric into 4½” (11.5cm) squares.
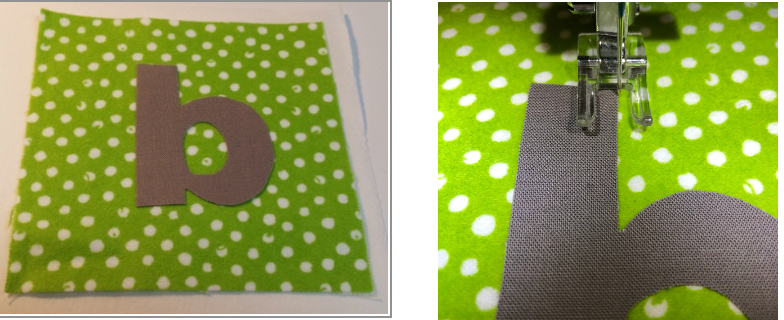
- After selecting which six fabric squares will be used for each foam cube, determine which squares will have a number or letter appliqued on it. Following the fusible web manufacturer’s directions, fuse a letter or number to the fabric center for each of six squares.
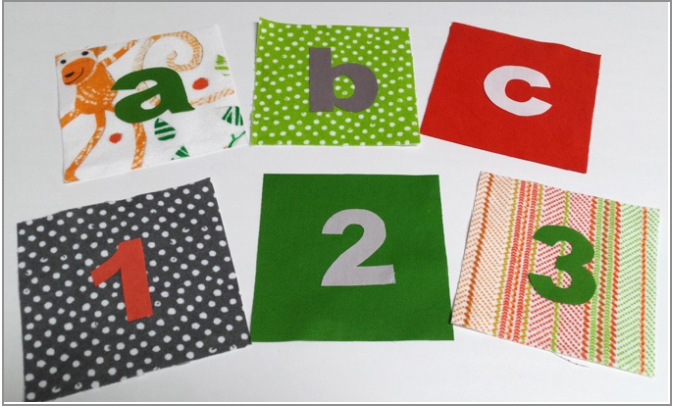
- Place a piece of tear-away stabilizer to the wrong side of an appliqued square. Remove the All-Purpose Foot and attach the Open Toe Foot, which will provide a clear view of the stitching area as you sew the appliques. Select a stitch pattern, such as the pin stitch, to sew around the raw edge of the applique. Stitch around the entire shape of the letter or number with the desired thread colour.
- Rather than back-stitching, pull threads to the wrong side using a hand sewing needle and tie ends in a knot. This will provide a cleaner finish on the right side of the applique. Trim the thread ends after completing the knot.
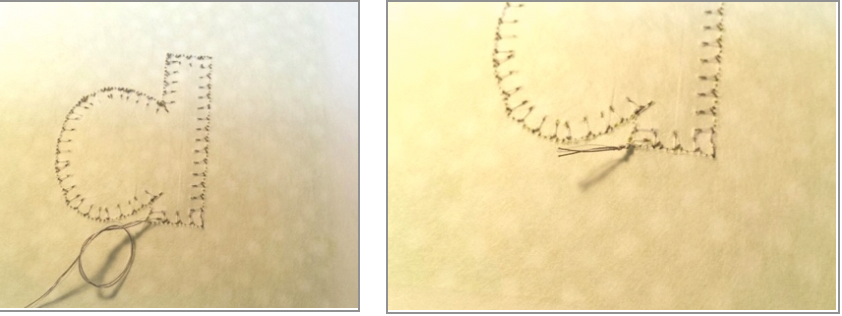
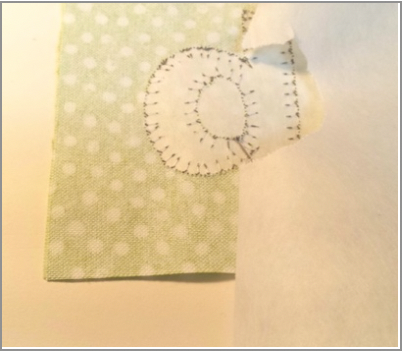
- After the stitching is complete, remove the stabilizer from the back of each fabric square.
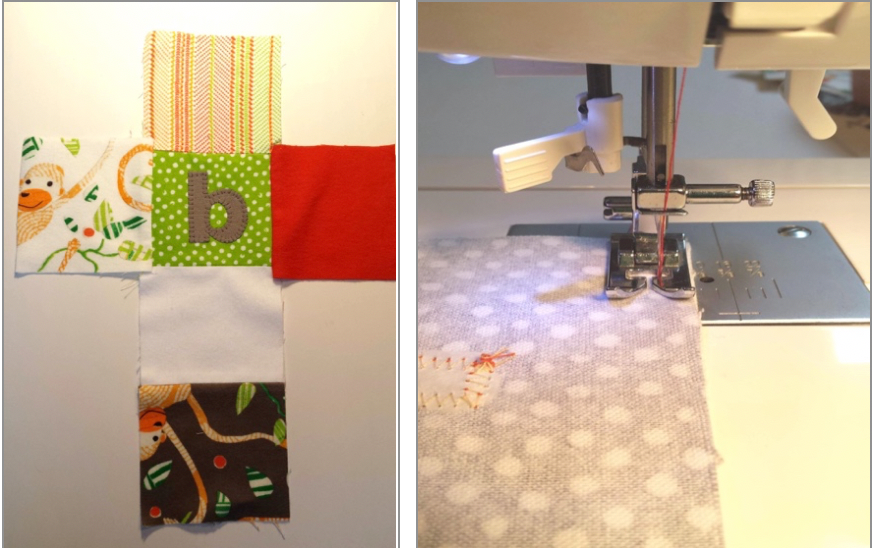
- To create clean, sharp corners on the completed block, stitch the squares together leaving the ¼” seam allowance unstitched at the beginning and end on each seam. Stop ¼” away from both ends of the fabric. Be sure to backstitch at the beginning and end of the seams so that the seams don’t unravel.

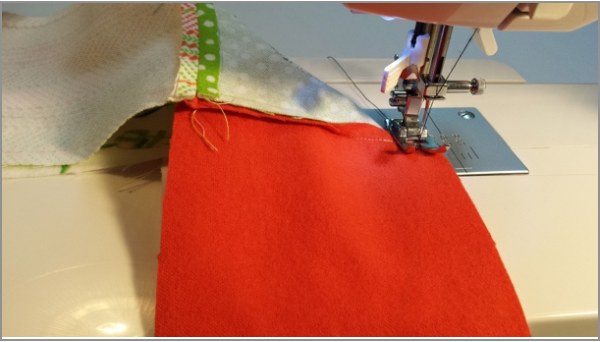
- The six squares for each block cover should be arranged and stitched as shown below. Adjust needle position so it is ¼” away from the edge of the presser foot. Line up the raw edges of the fabric with the edge of the presser foot to sew a ¼” seam allowance.
Tip: To adjust the position of the needle, first turn the hand wheel toward you to raise the needle to its highest position. Set the machine for straight stitch, then press the Stitch Width buttons to move the needle into the desired position.
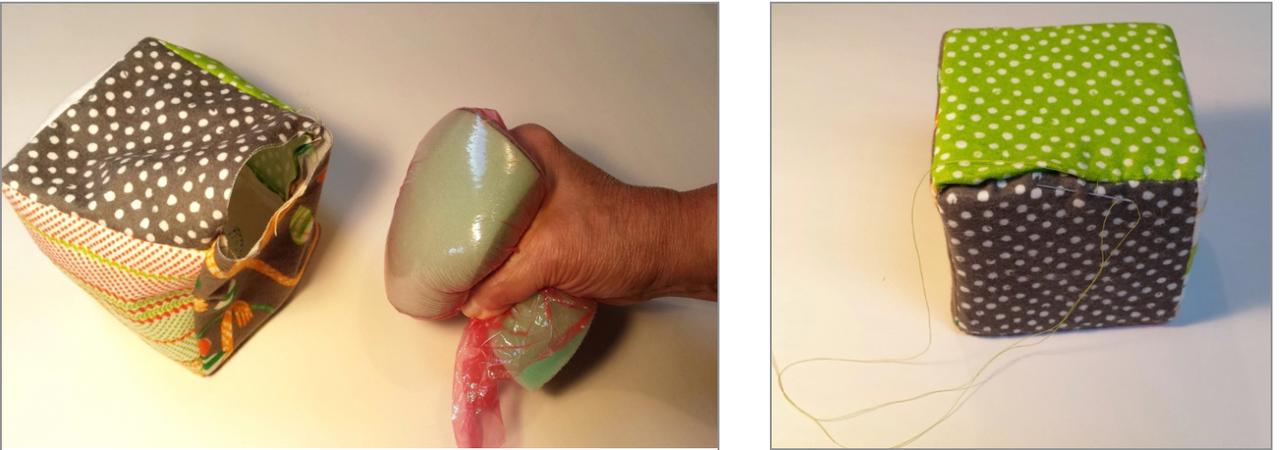
- With right sides together, continue stitching edges together, leaving one side open for stuffing. Turn right side out when stitching is complete.
- Wrap one foam cube with plastic wrap. This will make it easier to insert the foam into the fabric cover. After the foam is inserted, pull out the plastic wrap. Hand sew the opening closed on each block.