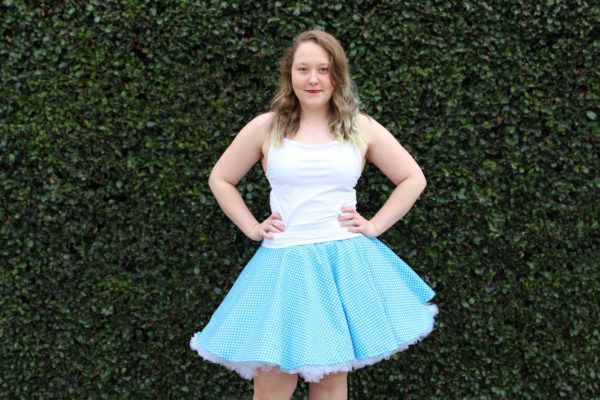
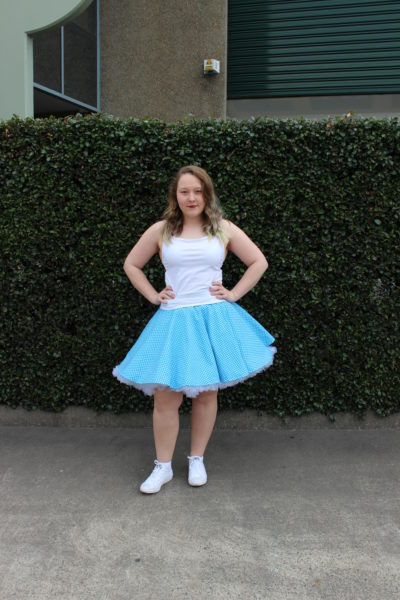
Create your own circle skirt ready for any occasion.
Shopping List:
- Sewing Machine and overlocker
- Woven fabric-cotton (see below to determine meterage)
- Tape measure
- Tailors chalk
- Zipper foot, Invisible zipper foot if inserting invisible zipper
- Coordinating thread
- Fabric Pencil
- Ruler
- Zipper- any kind, we used an invisible zipper 18cm (standard bottom clothing size)
- Iron on interfacing(1m)
- Scissors
Calculating Fabric
- To determine your fabric meterage, calculate the length of your skirt (42cm). Add 10cm to this (52cm) to allow for excess.
- Times this number by 4 (52 x 4 = 208cm or 2.08m)
- As we also need to allow for the waist band, 2.5m of fabric should be more than enough for us to make our skirt and waist band.
Preparation
Pattern drafting can be as easy as 1, 2, 3! You don't need to shy away from it. Here is a quick and easy way to learn how to draft your own patterns and build your confidence and skills.
- Using your tape measure, measure your waist circumference (ours was 87cm), then the length you want your skirt to be. We had ours at 42cm.
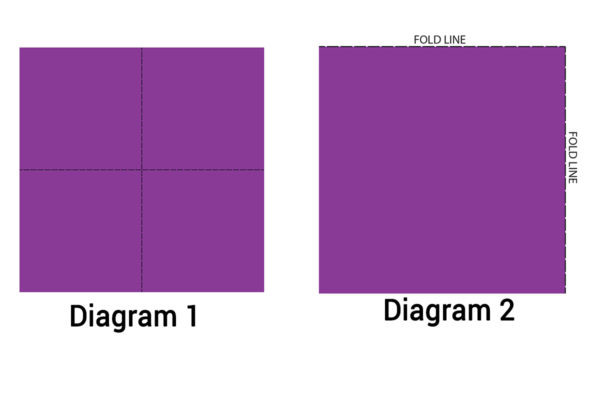
- Fold your fabric into quarters by folding in half and half again, refer to diagram 1. You will end up with a square shape like diagram 2.
- Working with your waist measurement, add 2.4cm to this for seam allowance (87cm + 2.4cm = 89.4). This gives you the total circumference that the inner circle need to be.
- As you will need to find the radius to ensure that you get the perfect circle, head to the link By hand london. This is an app to calculate the radius for your circle.
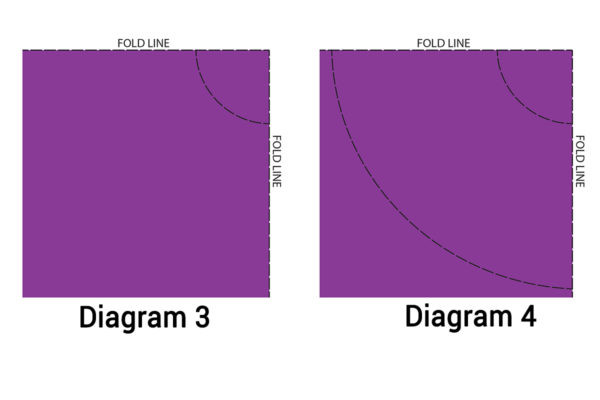
Tip: Ensure that you include the seam allowance in your circumference while you calculate. - On your fabric mark your radius from the corner of your fold, continue this all the way around to draw a circle. Refer to diagram 3.
Tip: Put your pencil in the tip of your ruler and use it as a guide to get the perfect curve. - To ensure that you have the correct measurement for your circle, divide your waist and seam allowance measurements by 4 (89.4 ÷ 4= 22.35). Adjust where necessary.
- Choose a fold line, and measure the length you want the skirt to be (42cm long) from the existing smaller circle. Mark this on both fold lines and using your chalk connect the two marks, refer to diagram 4.
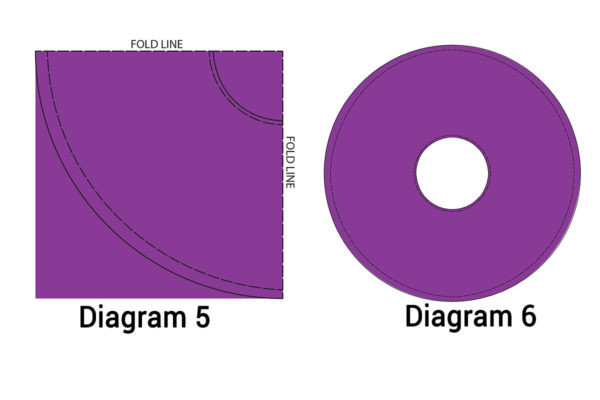
- At your smaller circle, measure 1.2cm above this and mark. This is your seam allowance, refer to diagram 5.
- At the bigger circle, measure 2cm below the circle and mark, this is your hem allowance. Refer to diagram 6.
- Now cut out along the solid lines and unfold, at this point your skirt should resemble a doughnut shape like diagram 6.
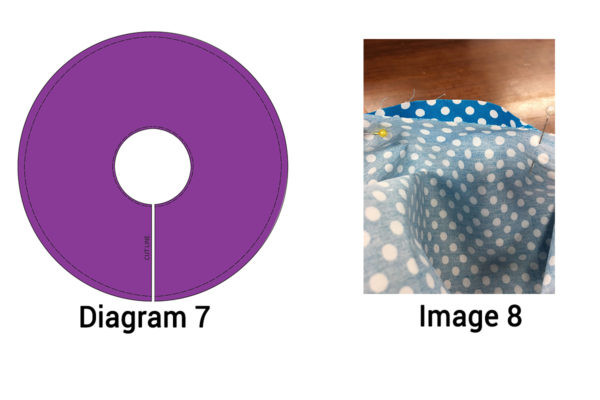
- Choosing a point on your circle mark a straight line from one circle to the other and cut along this line, this will make the seam for your zipper. Refer to diagram 7.
Sewing
- With the remaining fabric, mark with chalk a rectangle that is your waist measurement plus seam allowance long, 89.4cm long and 12.4cm thick. Cut this out, this will become the waist band for your skirt.
- Using your interfacing, iron onto your waist band on the wrong side of your fabric.
- Fold your waist band in half, matching wrong sides together and iron.
- Pin one end of your waist band to the end which you cut for the zipper, on your skirt and then the other. Place a pin at half way.
- While pinning you will need to slightly ease your skirt to fit into place with your waist band, refer to image 8.
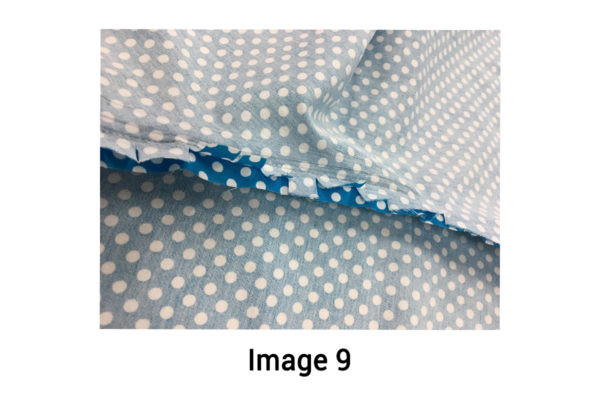
- Sew around with a 1.2cm seam allowance, clip the circle skirt fabric leaving the waist band as is, refer to image 9. Overlock or zigzag stitch to prevent fabric from fraying.
- Sew in zipper, refer to our tutorials on how to sew in a zipper or an invisible zipper.
- Overlock or Zig Zag the hem of your skirt.
- Pin the hem 2cm around and sew.
Congratulations on finishing your circle skirt, decorate your skirt and create as many as you possibly can.