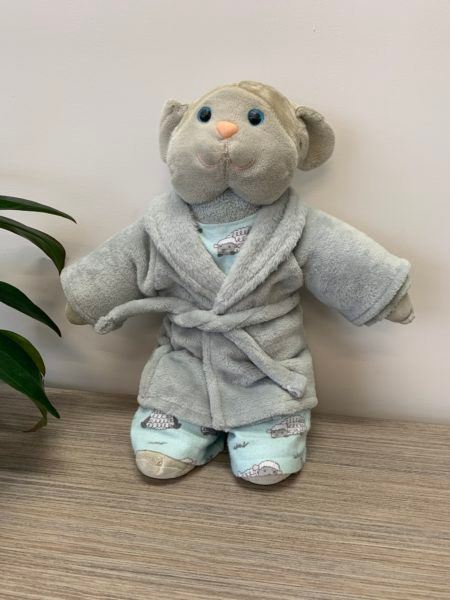
Make sure your little friend is warm this winter!
Shopping list
- Print out pattern
- 1m fleece fabric, 20cm of plain white cotton
- Coordinating thread
- Sewing machine
- Overlocker
- 1/2m elastic 12mm thick
- 1/4m velcro, loop and hook tape
- Scissors
- Loop turner
- Hobby Fill
Dressing Gown
Preparation:
Download, print and join (where necessary) the free patterns.
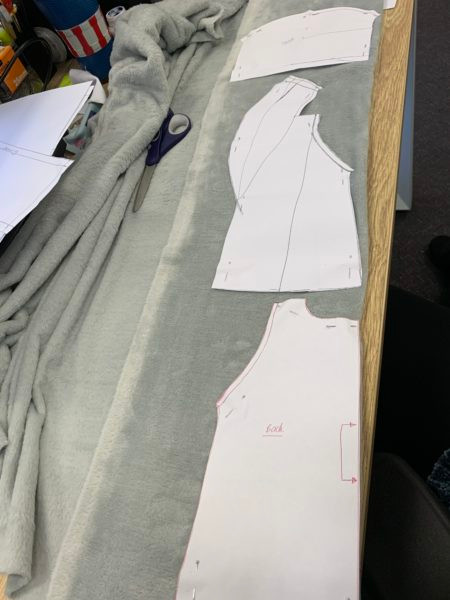
Cutting:
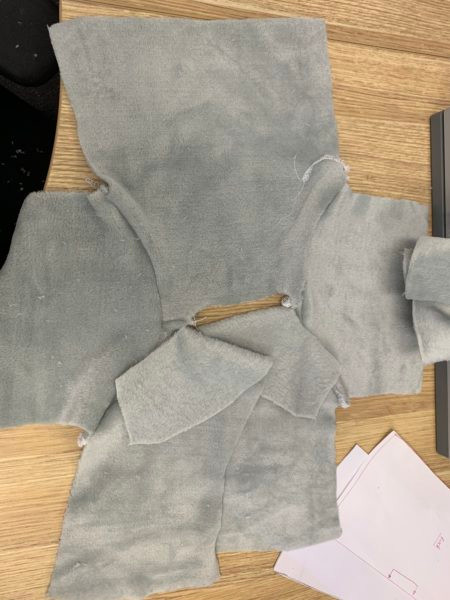
- Cut out patterns, refer to sheet on how many. NOTE: if you have fabric with a pile, ensure that patterns are placed with the pile in the same direction.
Construction:
- Refer to your key
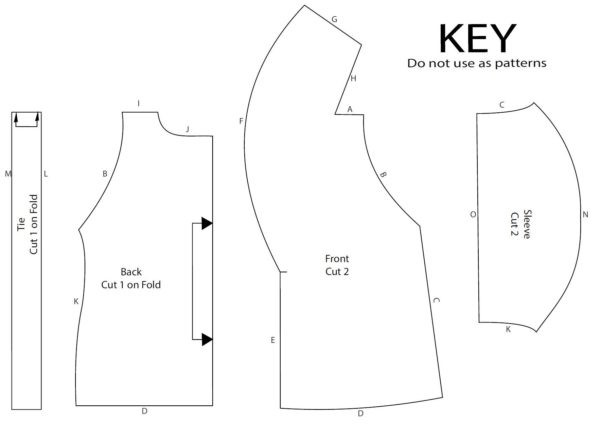
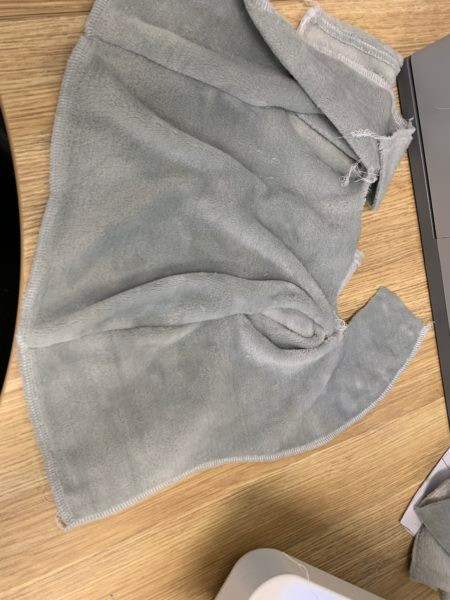
- Join front and back panels, A and I using your overlocker. Note you will need to clip A slightly to overlock.
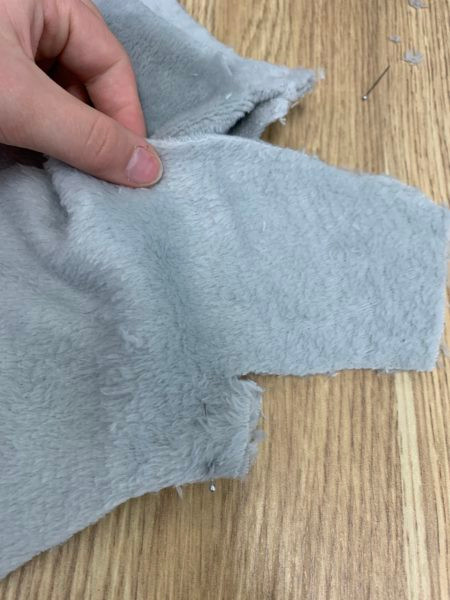
- Overlock sleeves into position, B.
- Overlock sleeve edge, O. Fold hem up 1cm, and use a sewing machine to stitch hem down.
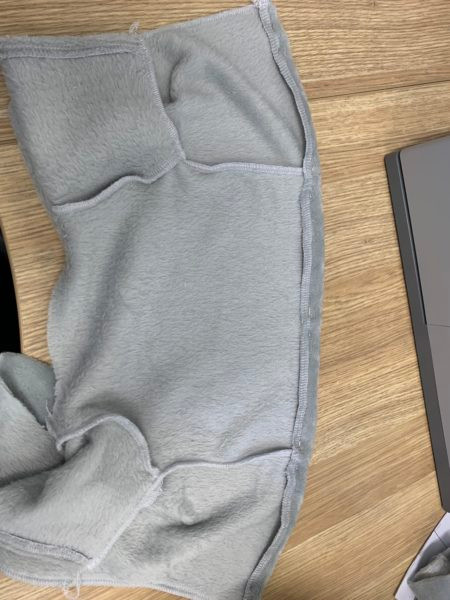
- Overlock the front and back panel together, K and C. Repeat for other side.
- Secure front seams by overlocking (F & E), ensure that you leave points G, H and J un-overlocked.
- Hem bottom of gown, D, folding up 1cm and sew.
- Clip E at point, refer to patterns. Fold E 1cm in and sew. F will be sewn later.
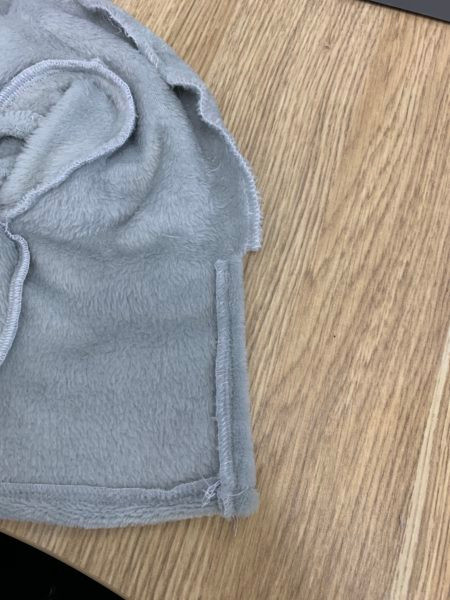
- Overlock both G sides together, this will need to be done with wrong sides together.
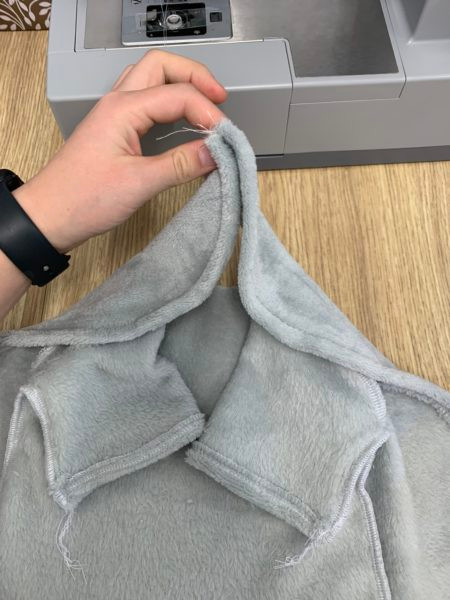
- Join H and J, ensure that you start overlocking 1cm before and after seams.
- Fold back F 1cm to finish. As collar is a roll over this will need to be folded to the right side of the fabric.

- Fold tie in half, M & L, overlock.
- Using your loop turner, turn your tie the correct way. Turn edges over and secure with sewing machine.

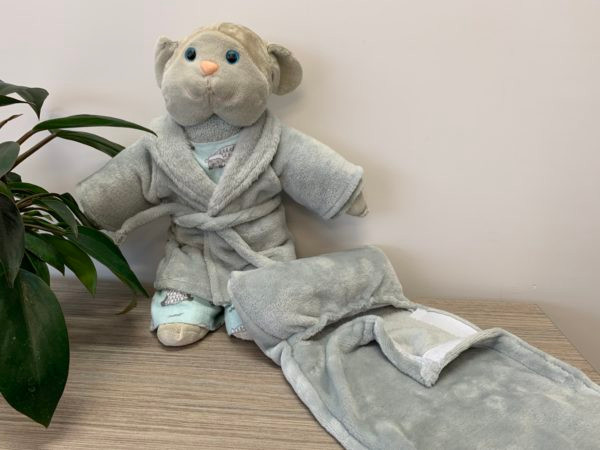
Sleeping bag
Preparation:
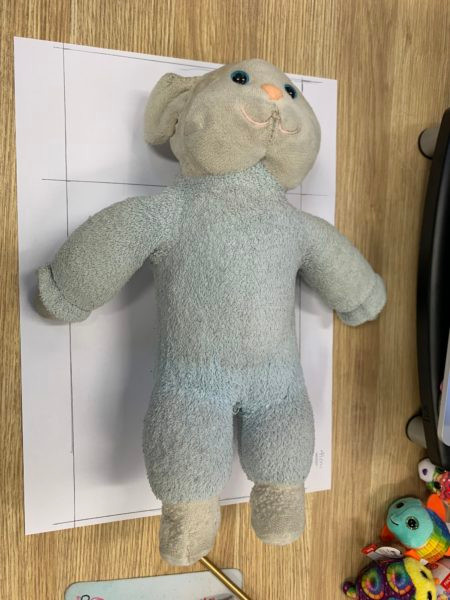
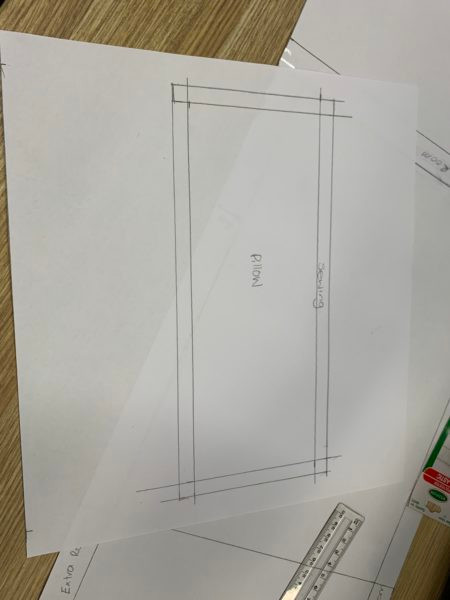
- Using your bear, mark out its height and width on a piece of paper ensure that you account for arms.


- Join markings up equally to form a rectangle. Make a mark where the neckline is on the pattern – this will become the pillow size.
- As you will need to allow for movement, add 2-5cm ease on both sides.
- Starting with the pillow end, add 1-2 cm to allow for fabric roll over.
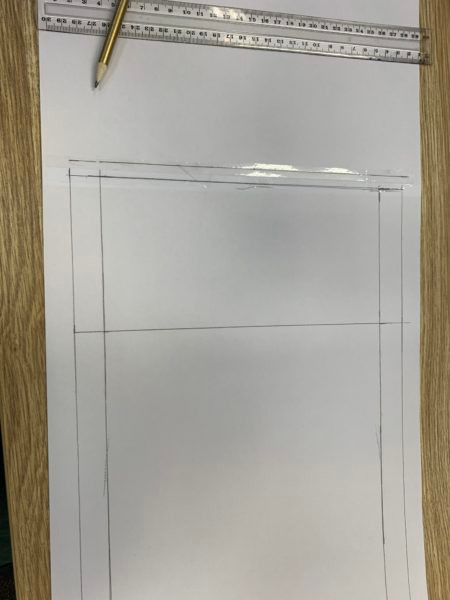
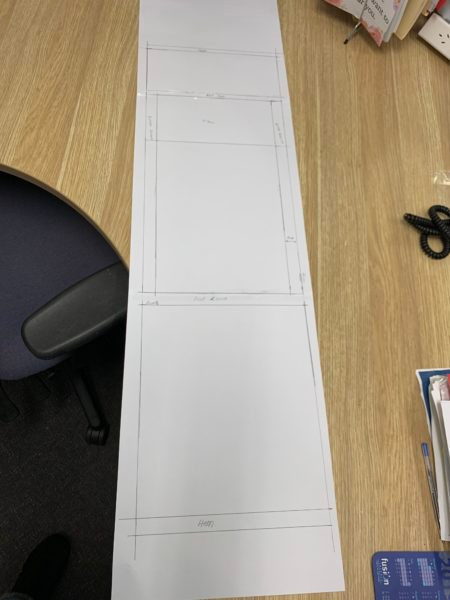
- Trace pillow (head space) with ease on another piece of paper. Note: this will include the appropriate seam allowance for pillow, this is shown on image below.
- Measure the pillow length and add this on top of your roll over allowance.
- Add 2cm hem allowance, ensuring that this will allow for the thickness of elastic.
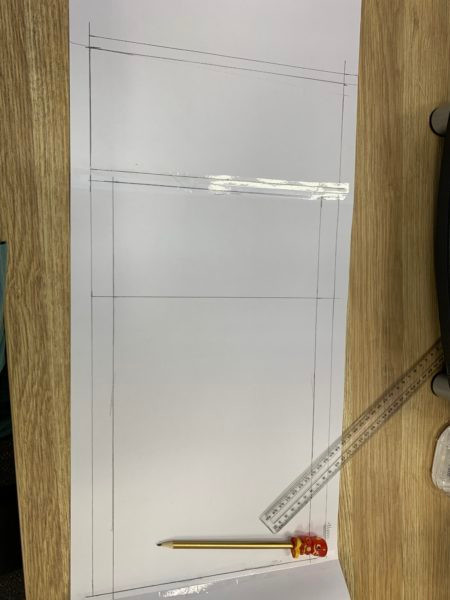
- Add 1-2cm to the base (blanket end) to allow for roll over.
- Measure blanket (teddy's body length) and add this below your rollover.
- Add 2cm hem allowance.
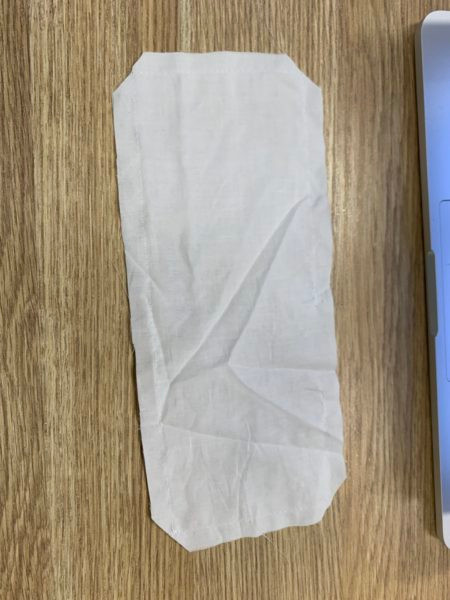
- Cut out 1x sleeping bag on your fleece fabric, 2x pillow on white cotton.
Constructions:
- Sew around the pillow using 1cm seam allowance and ensure you leave a 5cm gap to turn inside out.
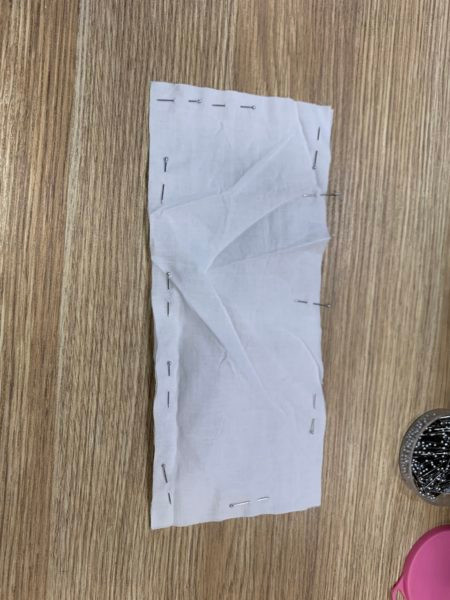
- Clip corners at 45 degrees, turn the right way around.
- Using your hobby fill, fill the pillow and slip stitch shut.
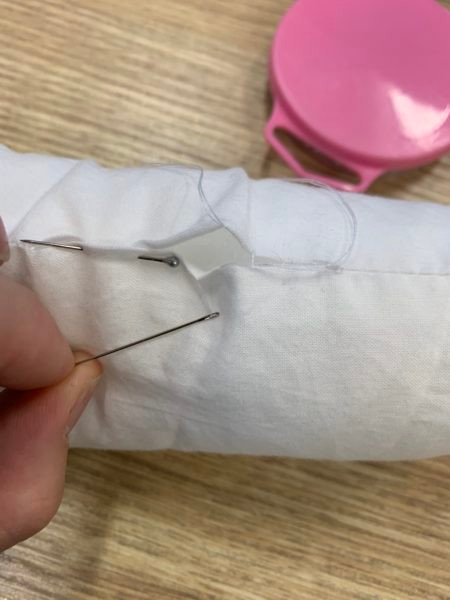
- Measure width of sleeping bag, 26cm. depending on how fitted you want the sleeping bag, you will need to cut a piece of elastic 15-20cm in length. Cut 2.
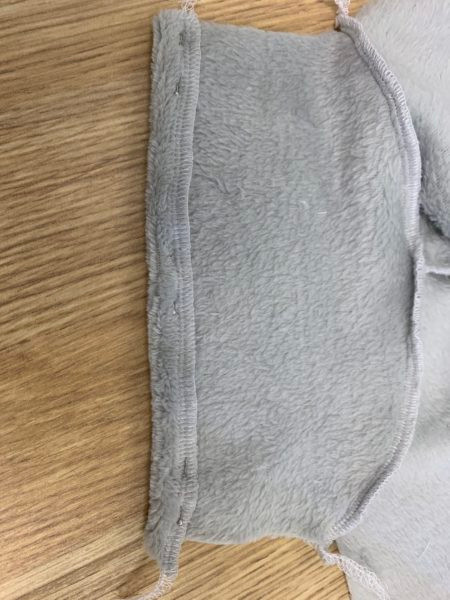
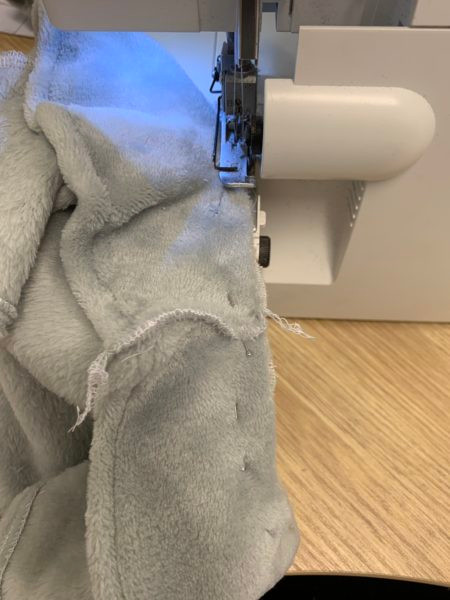
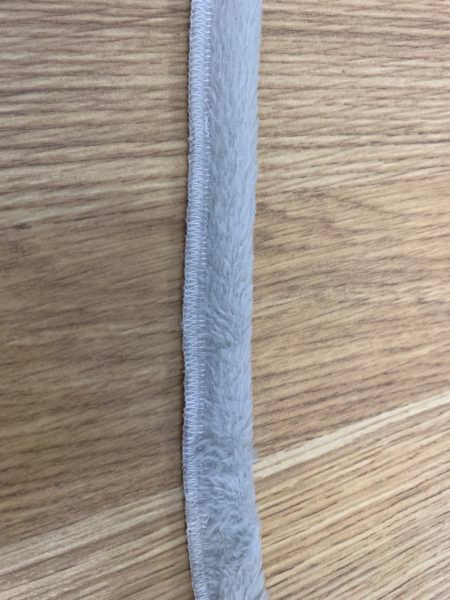
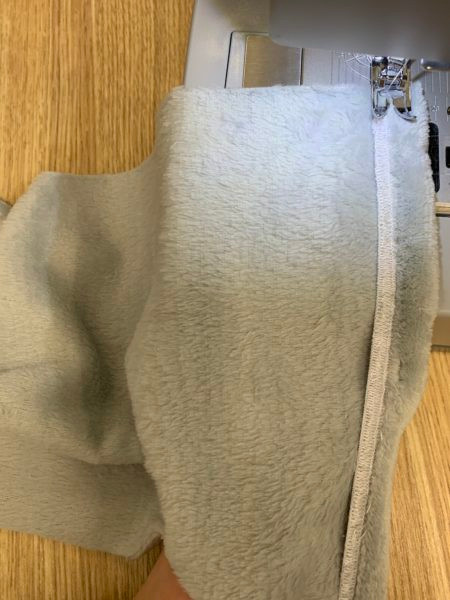
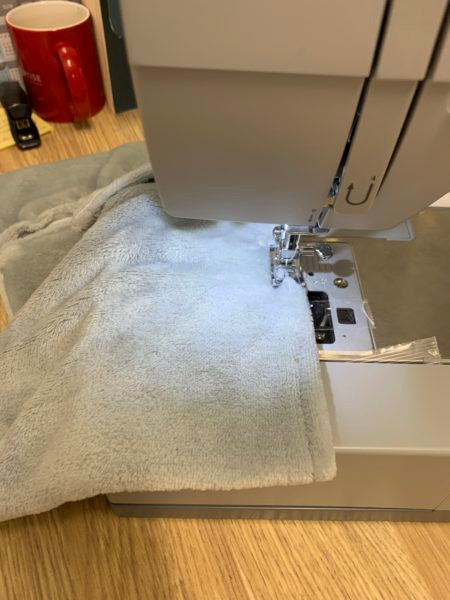
- Using your overlocker, stitch the elastic to both ends of your sleeping bag. You will need to stretch this as you go.

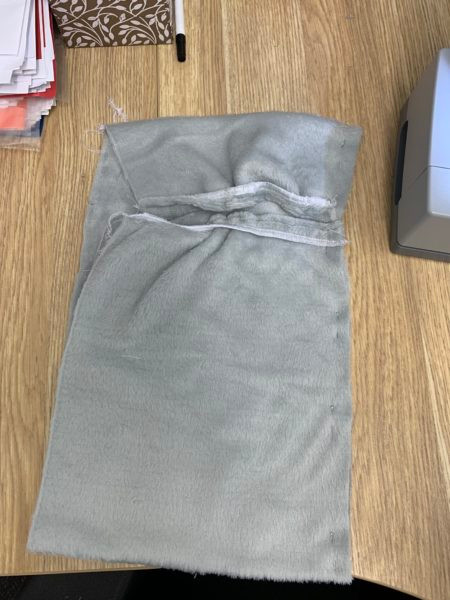
- Fold overlocking / elastic over once and using your sewing machine stitch down.
- Fold pillow and blanket back into position, choosing one side sew seam together 1cm seam allowance.
- Stitch only the pillow seam on other side.
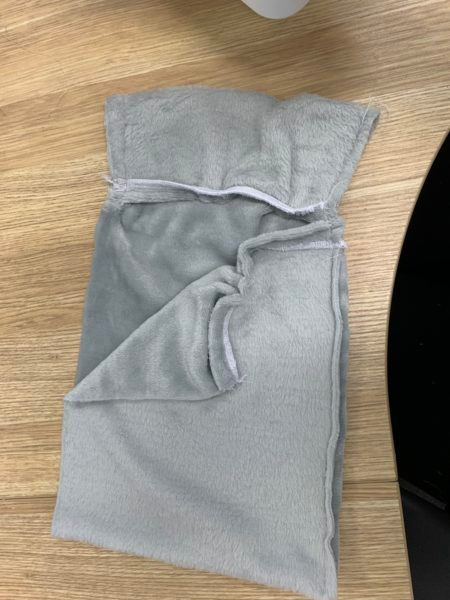
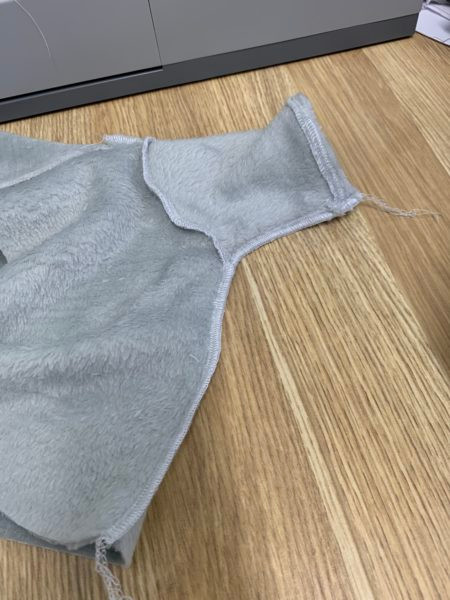
- Overlock sewn side to secure seam.
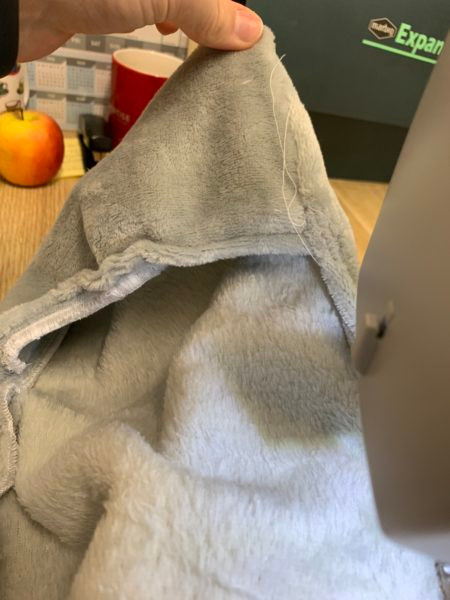
- Overlock other side. Ensure that you overlock pillow seams together, but leave blanket apart.
- Fold back opening 1cm and machine sew together.
- Position the Velcro and sew into place.
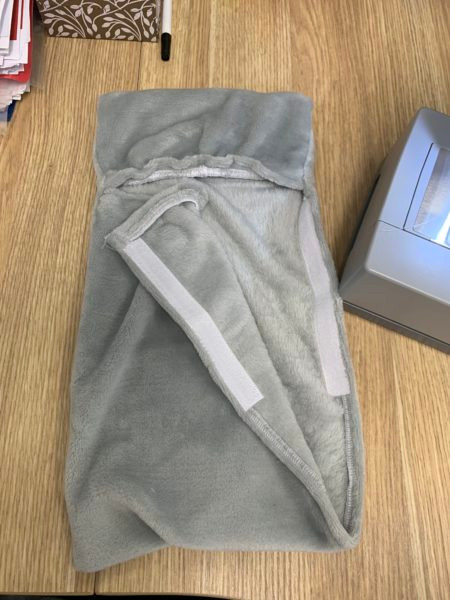
- Stitch remaining opening from Velcro down to secure shut.
Congratulations on finishing your dressing gown and sleeping bag, decorate your set and create as many as you possibly can to share with every one of your stuffed animals.