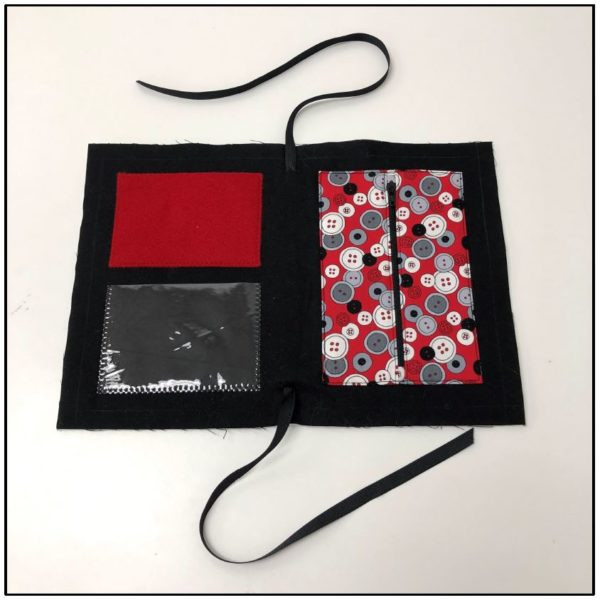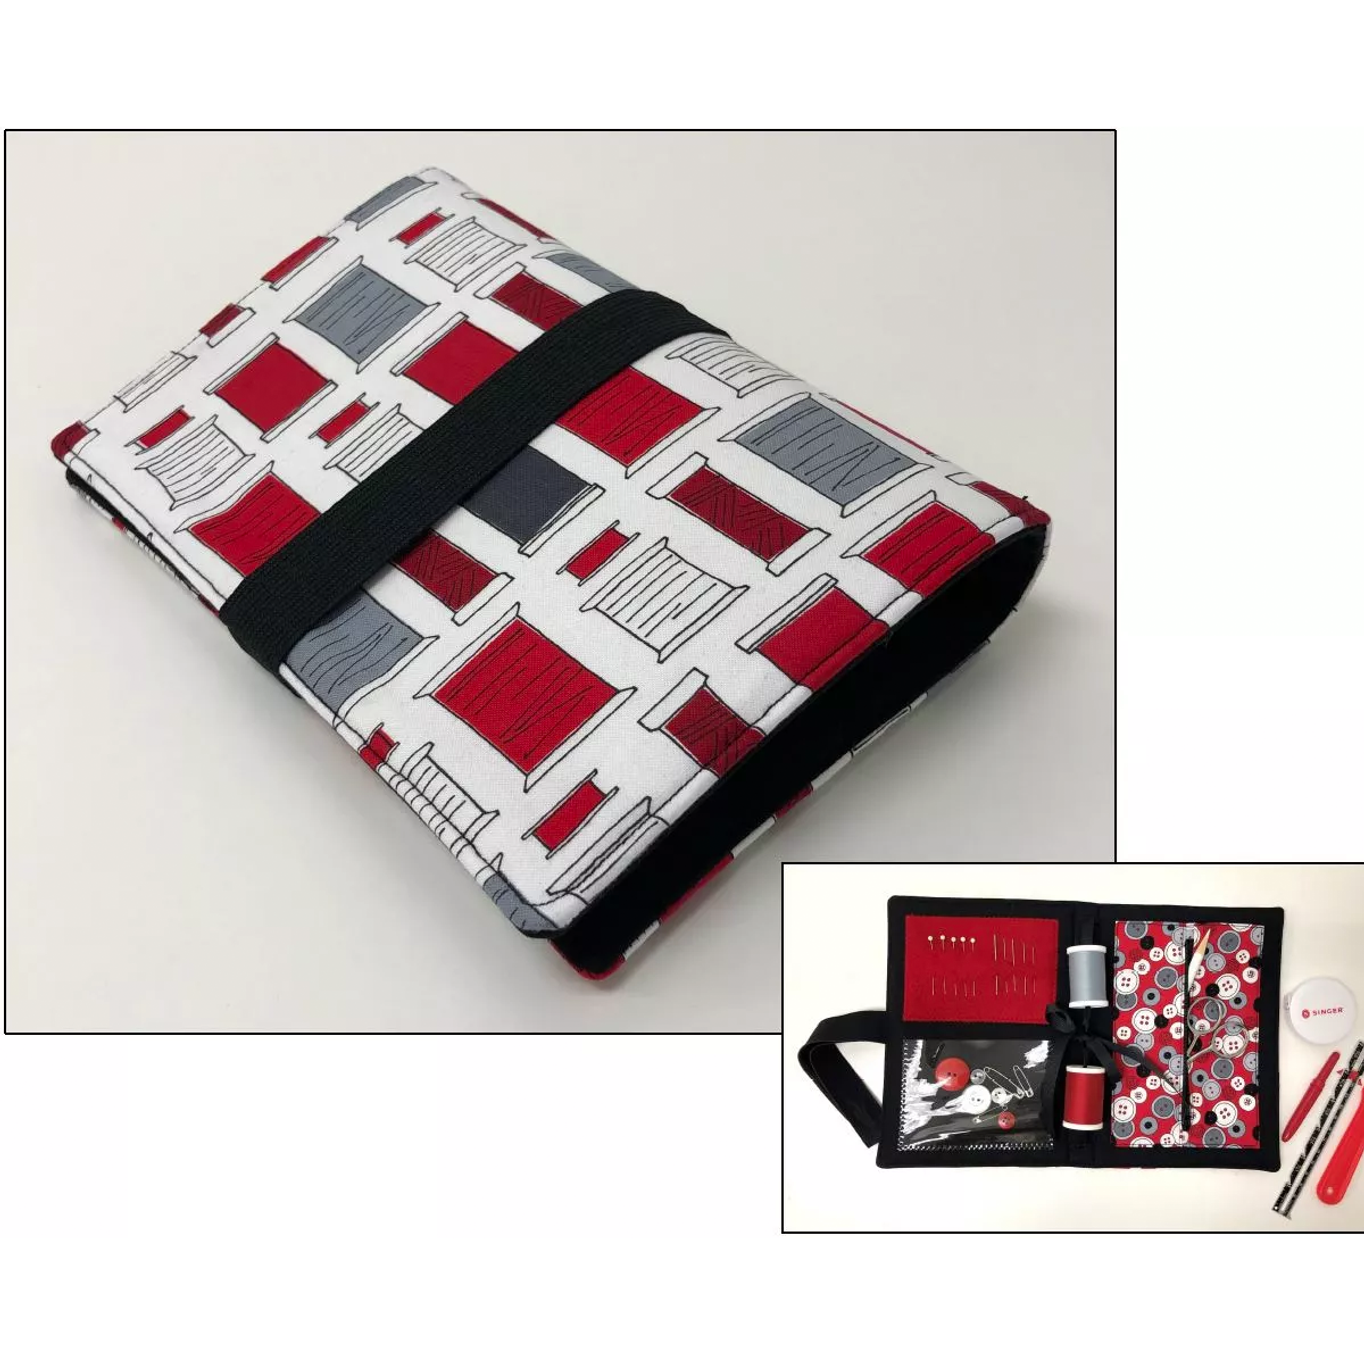
This handy little travel sewing kit is perfect for taking sewing projects on the road, or
just to keep your mending and repair supplies in one place! There’s a felt pad to hold
pins and needles, a vinyl pouch for easy viewing, a zippered pocket for larger items,
and a thread holder. The elastic closure makes it super easy to open and close the kit.
Shopping list
- One 9” x 13” (23cm x 33cm) outer fabric
- One 9” x 13” (23cm x 33cm) inner fabric
- One 9” x 13” (23cm x 33cm) firm fusible interfacing (to stabilize outer fabric)
- One 9” x 13” (23cm x 33cm) fusible batting (to stabilize inner fabric)
- Four 1½” (3.8cm) squares
- Two 3¼” x 8” (8.25cm x 20.3cm) fabrics (for zippered pocket)
- Two 3¼” x 8” (8.25cm x 20.3cm) interfacing (to stabilize zippered pocket)
- One small piece of felt: 3¼” x 4½” (8.25cm x 11.4cm)
- One small piece clear vinyl: 3¼” x 4½” (8.25cm x 11.4cm)
- All-purpose sewing thread(s) to coordinate with fabrics
- Rotary cutter, mat and ruler
- Removable fabric marking pen
- Hand sewing needle & small safety pin
- 7” (18cm) zipper (can be longer, as zipper will be cut)
- Satin Stitch Foot
- Non-Stick Foot
- Zipper Foot
- Blind Hem Foot
- Buttonhole Foot
- Chopstick (or something similar) to use as a point turner for corners
- 13” (33cm) of 1-inch (2.5cm) wide elastic (for closure)
- One yard (90cm) of ⅜” (1cm) wide ribbon (for the “thread holder”)
Sewing Directions
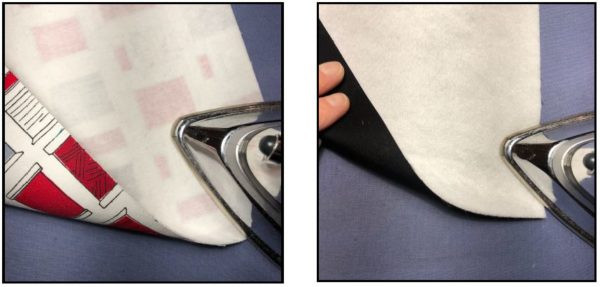
- Apply the firm fusible interfacing to the wrong side of the outer fabric. Apply the
fusible batting to the wrong side of the inner fabric. - Use a removable fabric marker to draw the seam line all around the inner fabric,
½” (13mm) from the raw edges. This will make it easier later when arranging the
pockets into position for stitching, so you don’t attach the pockets too close to the
seam lines. Make marks at the center top and bottom, 1” (2.5cm) down from the
fabric’s raw edge, to use as guides for sewing buttonholes. (Buttonholes will be
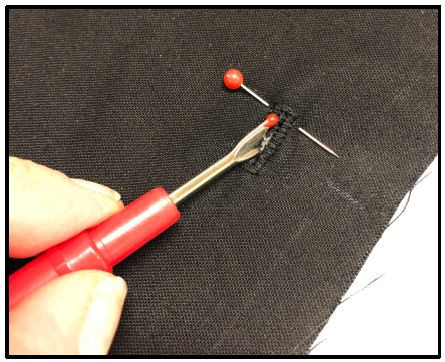
used for making the “thread spool holder” in the center of the case.) - Attach the Buttonhole Foot. Sew a ⅜” (1cm) buttonhole at each marking you
drew on the fabric. When finished, carefully cut them open with a seam ripper. Place a pin at the end of the buttonhole to help prevent accidentally cutting through the stitches of the bartacks - Prepare for sewing the 3¼” x 4½” (8.25cm x 11.4cm) vinyl pocket and felt pin
holder onto the inner fabric piece by arranging them into the desired position on the
left side of the stabilized inner fabric, keeping each at least ½” from the seam
guidelines. After determining placement, pin the felt to secure for stitching. Set
the vinyl aside for the moment. - Thread the top of the machine and bobbin with the desired colour of all-purpose
thread. Set the machine for a zigzag stitch, with the stitch length set at 2.5mm and
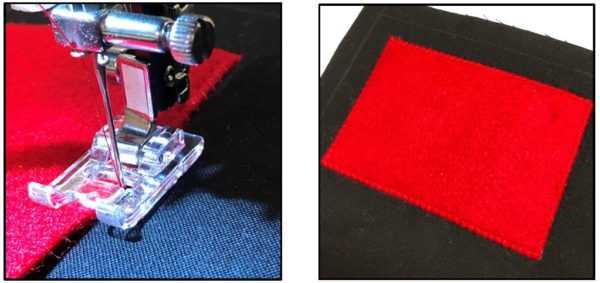
stitch width set at 3.5mm. To sew around the felt pin holder, remove the
Buttonhole Foot and attach the Satin Stitch Foot. Sew around the felt square
using a zigzag stitch. - Place the vinyl into position below the felt. Use a piece of painter’s tape to hold the vinyl for stitching (don’t use pins, as they will leave permanent holes in the vinyl). To sew around the vinyl: scissor holder square, remove the Satin Stitch
Foot and attach the Non-Stick Foot which will allow you to sew smoothly over the
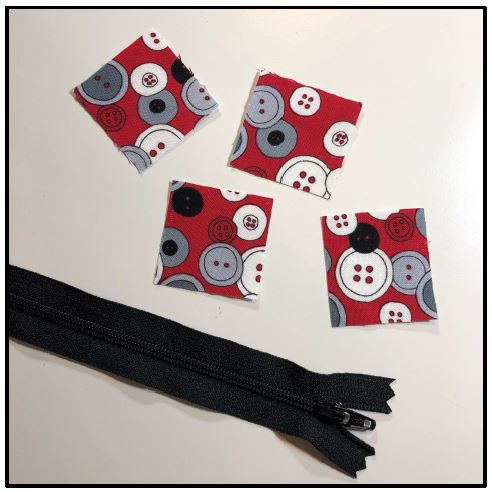
vinyl without the foot sticking to it. After stitching, remove the tape. - The zipper pocket starts first with a zipper and four 1½” (3.8cm) fabric squares.
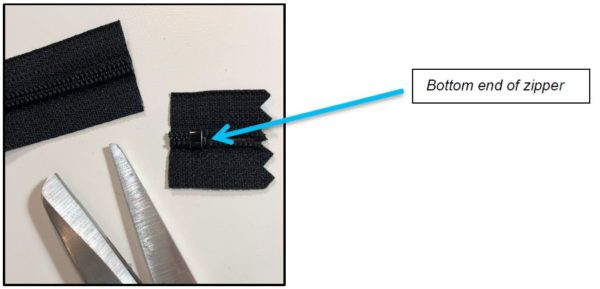
- Cut off the bottom zipper stopper.
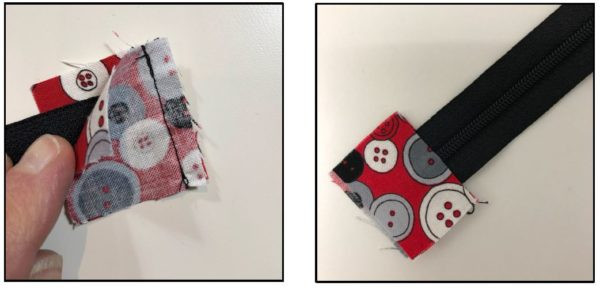
- Place the cut end of the zipper between two of the 1½” (3.8cm) fabric squares.
Remove the Non-Stick Foot and attach the All-Purpose Foot. Sew a ¼” (7mm)
seam, then press carefully with a warm iron. - Move the zipper tab down to the sewn seam, so you make sure not to cut it off!
Measure 6” (15.25cm) from the seam and then cut the zipper so the zipper tape
sides are 6” long. Apply the remaining 1½” fabric squares, making sure the
zipper teeth are close together between the fabric layers. Stitch the ¼” (7mm)
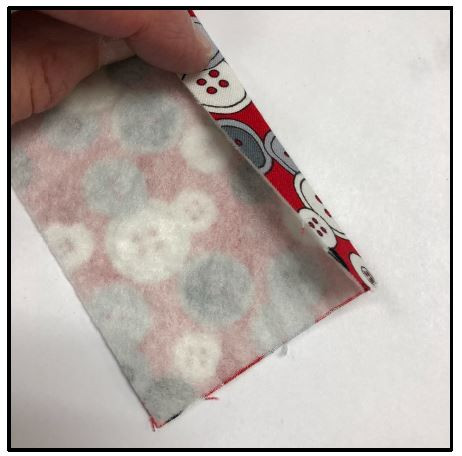
seam, then carefully press with a warm iron. After pressing, close the zipper. - Fuse the 3¼” x 8” (8.25cm x 20.3cm) interfacing to the wrong sides of each 3¼”
x 8” (8.25cm x 20.3cm) fabrics. Turn ½” and press one long side on each fabric. - Place the folded edge of the fabric next to the zipper teeth. Attach the Zipper
Foot to the machine and stitch close to the folded edge. Do this for both sides of
the zipper. Lightly press with a warm iron. (Note: You may find it helpful to move
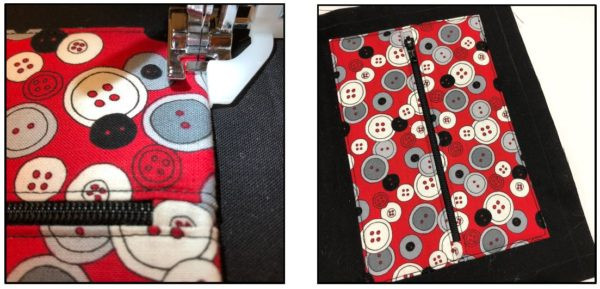
the zipper tab as needed as you stitch.) - Turn the edges under ½” (13mm) on all four sides of the zipper pocket piece and
press. Remove the Zipper Foot and attach the Blind Hem Foot. Adjust the Blind
Hem Foot so that it’s guide can be used to help as you sew the pocket. Place
the zipper pocket into position on the inner fabric and pin. Stitch all around the
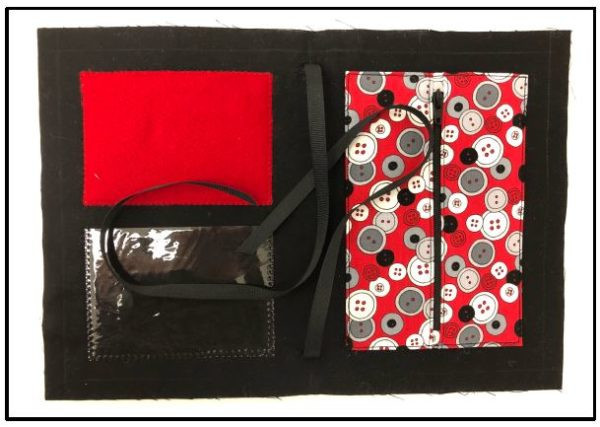
zipper pocket to secure it in place on the inner fabric. - To create a place for holding thread spools, place a small safety pin at the end of the ⅜” (1cm) wide ribbon. Bring the ribbon into the first buttonhole, then back
through the second buttonhole. Distribute the ribbon so that you have an equal
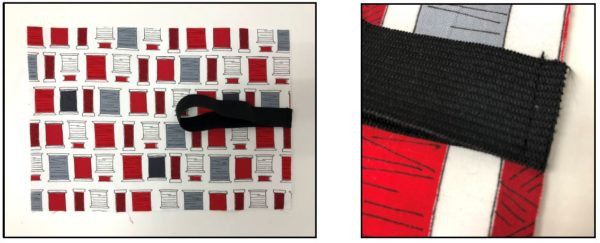
amount on each side. Remove the safety pin. - To make the kit’s closure, fold the 13” (33cm) piece of 1” (2.5cm) wide elastic in
half, then pin both ends to the right side of the outer fabric, centered on one short
end of the fabric. Remove the Blind Hem Foot and attach the All-Purpose Foot.
Secure the elastic ends in place with a row of stitches. - Before pinning the inner and outer fabrics together, move the ribbons into the
center of the inner fabric section so that they will not get caught in the stitching. - Pin the inner and outer fabrics together, with right sides facing one another. Using
a ½” (13mm) seam allowance, stitch all around the sewing kit, leaving about a 5”
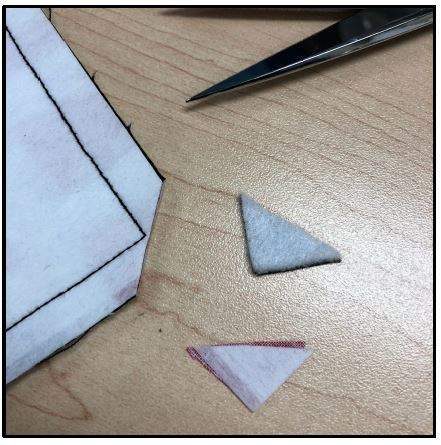
(12.7cm) opening for turning right side out. Clip all 4 corners to reduce bulk, then
turn the whole project right side out. Use a chopstick or point turner to carefully
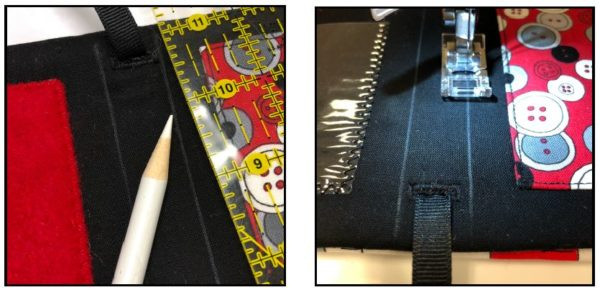
push out the corners. Press. Hand sew the opening closed. - Sew two rows of stitches at the ‘spine’ of the kit on each side of the buttonholes. This will help hold the inner and outer fabric sections together securely. (Note: It is helpful to use a fabric marker and ruler to draw stitching lines on the fabric.)
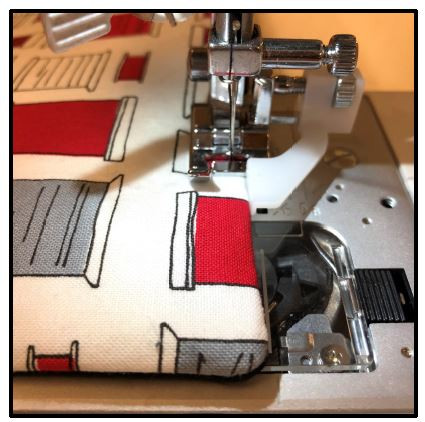
- Attach the Blind Hem Foot. Adjust the placement of the foot’s guide so that it
provides an edge along which to guide the fabric. Topstitch around the case. - Place thread spools onto the ribbons (use a small safety pin at the end of the
ribbon to make it easy to run the ribbon through the spool’s center), then tie in a
bow. Fill the kit with your other sewing essentials! Scissors, pin, needles, ruler,
tape measure, marking pencils, buttons, safety pins - - - you’ll be surprised how
much stuff fits in this super cute little case! Note: Small items like buttons or safety pins could be placed in a clear plastic bag before sliding into the vinyl pocket. They’ll still be visible and won’t slide out!
