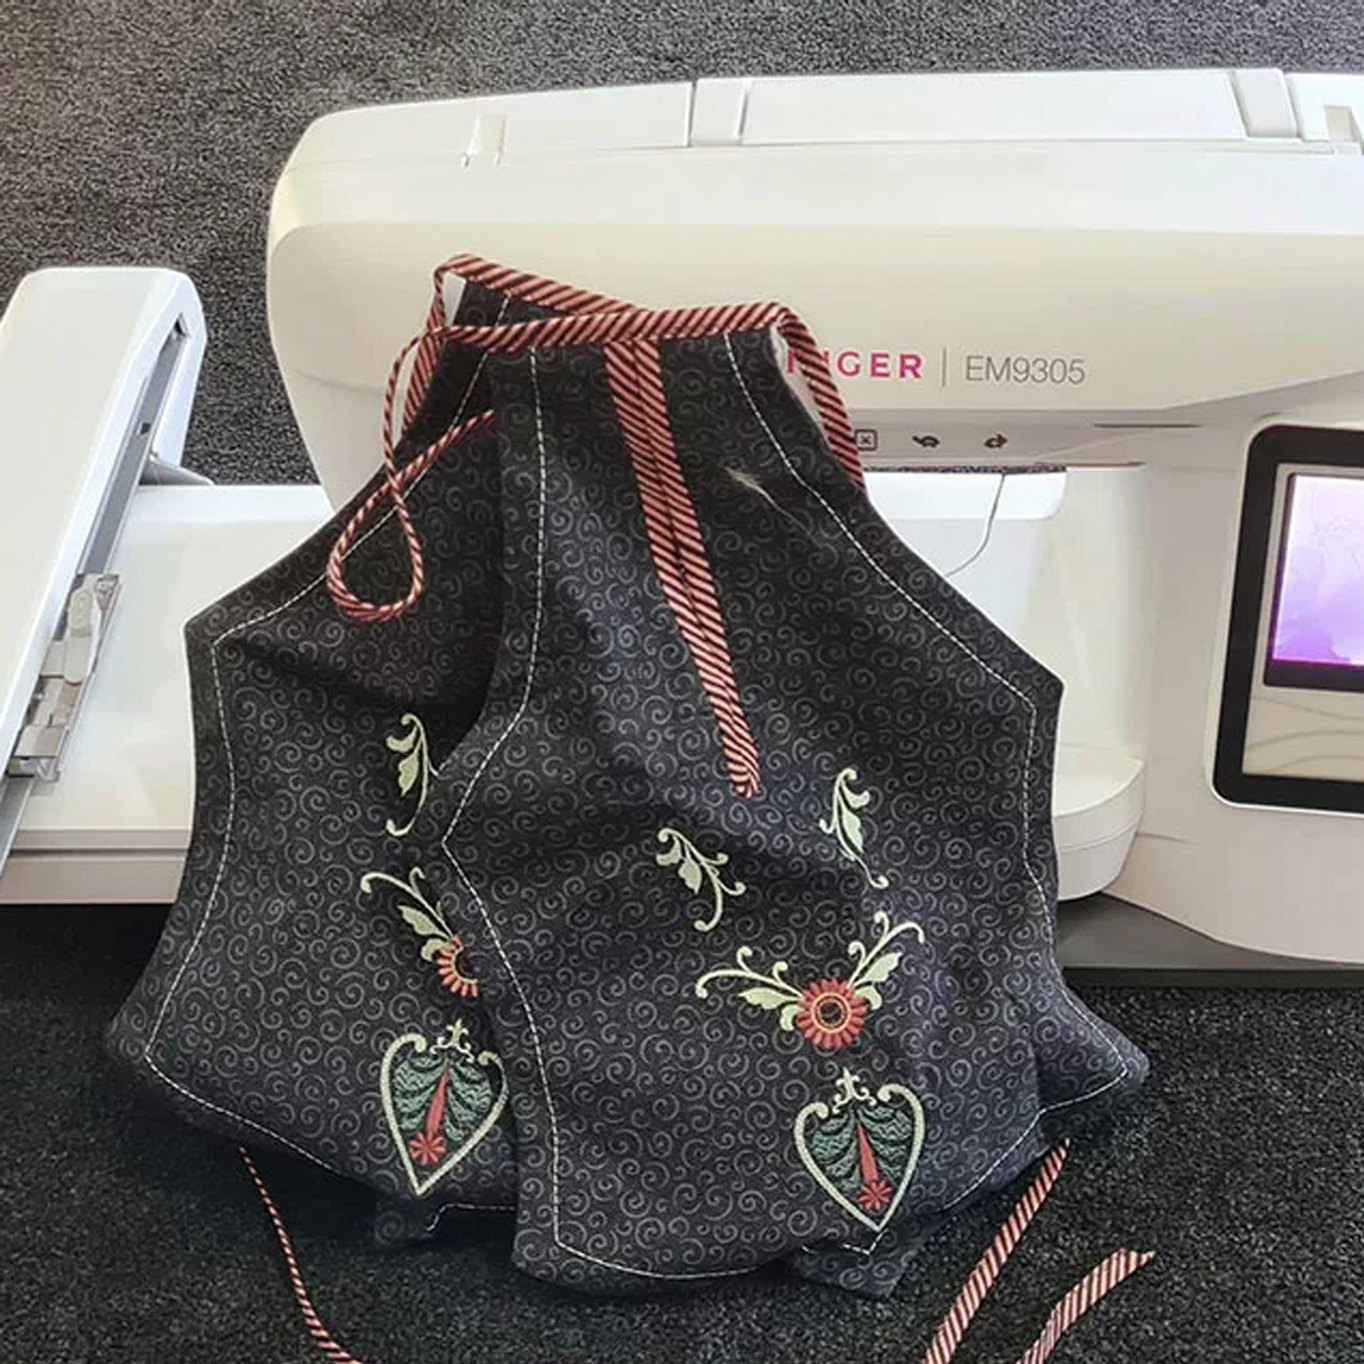
Sick of washing tissues in your jeans or your favourite dress has false pockets (or you forget to put some into your latest garment)?
This modern rendition of 18th-century pockets means you can take them off before you launder, keep important things with you from outfit to outfit and make them as deep and decorated as you like.
Just make sure you tie them on properly or the ghost of Lucy Locket will haunt you.
Requirements list:
- embroidery machine
- Sewing machine, is using embroidery only machine.
- .5m of main fabric
- .5m of lining
- .25m of armoweft or similar interfacing
- Construction thread
- Embroidery thread
- Medium Tearaway
- 3m double fold bias binding
- Pocket template
Preparation:
- Print out the pdf pattern in A3 Size
- Fuse armoweft to half of the main fabric
- Cut 2 fronts from the back fabric
- Cut two backs from the main fabric
- Cut 4 out of lining fabric, rounding off the bottom point so it doesn’t collect lint.
Embroidery:
Note: Button diagrams are included in the downloadable pattern file.
- Using a removable marker, mark the lengthwise centre and 2.5cm down from the true centre.
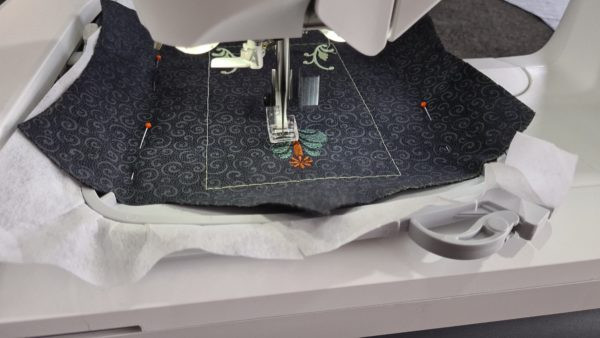
- Hoop up some medium tear away in the 180x240 hoop and gently lay the front panel over the top, line up the centre mark with the moulded notches on the hoop and, keeping the fabric as flat as possible, pin around the outer edge with at least 8 pins
- Set aside and turn to your machine. Open the main menu, then the pattern menu and choose pattern 61.
- Position it to one side slightly lower than middle. Do exactly the same and grab another.

- Use the flip button and position the back-to-front no.61 opposite. They can be finessed with the up and down, left and right buttons at the bottom corner.
- Retrieve pattern no. 59. Take it to the bottom, use the “put the design fully back in the hoop again” button and make sure it’s centered.
- Import in pattern no. 60 place it evenly between the other two designs with the arrow keys.
- Thread up the machine, press the GO button, press the baste button, insert the hoop and press Play ►
- Repeat for the other front piece, clean up and press both pieces.

Construction:
- Thread up the sewing machine with a colour of embroidery thread (the bobbin doesn’t matter) and sew a triple straight stitch at approximately 20mm from the edge just to highlight the nice shape. To make the corners nice and crisp, mark the apex with some removable marker and hand-wind the machine on each approach so that you can aim as accurately as possible.
- Thread up with construction thread and remove the free arm cover.
- Place the front and back pieces right sides together and sew around all sides bar the top edge at 6.6mm (¼”) seam allowance.
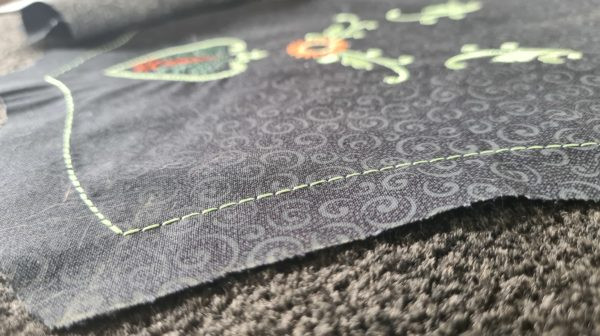
- Reinforce all the points with extra stitching and then clip corners and curves very carefully.
- Turn right side out and press the edges, rolling slightly so as to not show the back piece when looking at the front.
- Place the front and back lining pieces right sides together and sew around all sides bar the top edge at 10mm (3/8”) seam allowance.
- Trim the seam allowance back to 5mm.
- Insert the lining into the pocket and, using a skewer or chopstick or ruler, poke the corners into the corners and smooth out the lining so it lines up with the outside.
- Measure down to the notch on the pattern at centre front and cut (!) the opening slit in both the front piece and front lining.
- Immediately put some pins in to hold the edges together and then sew around the slit 2mm to secure it until it gets bound.
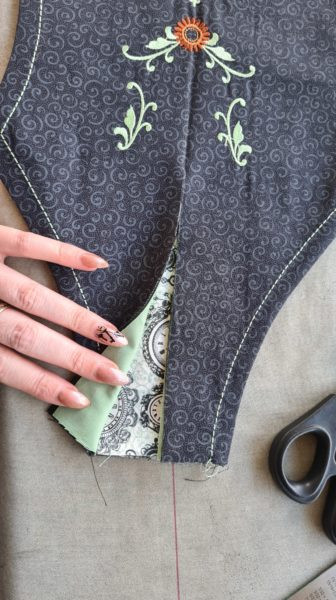
- Make sure the binding is double folded and if it isn’t to press it in half (with the edges still turned in so there are four layers)
- Open out the bias and line up the right-hand edge with the left side slit edge. The straight edge can be pinned but the curve at the bottom needs to be hand fenagled, one stitch at a time. It’s hard to wrestle that sharp turn but by being careful, slow and accurate, the run-up the other side is a relief. Hand-winding, only stopping with the needle down and raising the presser foot when necessary are great accuracy skills to practice.
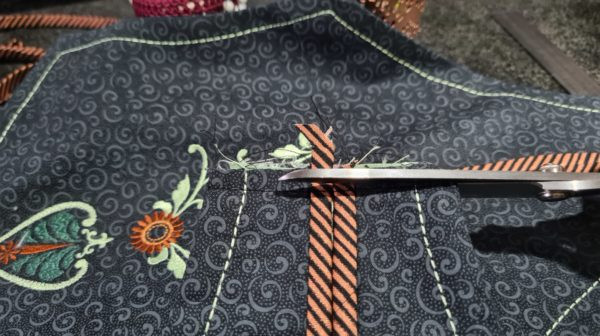
- Gently re-fold the bias around the edge of the slit and pin top and bottom of the straight sides. Make sure the folded bias edge on the inside of the pocket is over the stitching from the first bias pass.
- Stitch in the ditch from the front on the straight sides and then press.
- Hand tack the inside the of the bias curve to the lining to finish because it is waaaayyyy too fiddly to try that with the machine.
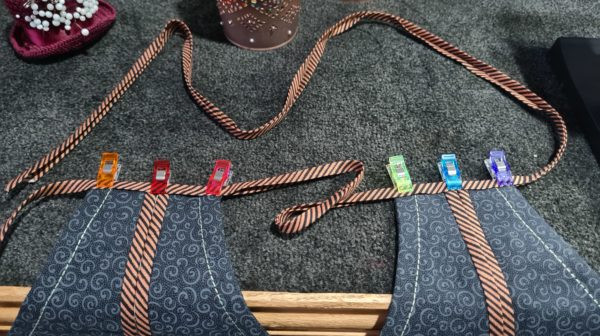
- Tie the remaining binding around the waist to the back and rest your hands by your sides to work out where the pockets should sit, which is just forward of where a side seam would be.
- Stick a marking pin in one side, untie the bias, fold it in half and mark the other side, pin the pockets on and double-check with another try on.
- Take it off again and if it doesn’t need adjusting, insert the pockets into the folded bias and sew from one end of the bias to the other, reinforcing the ends and running as close to the edge without falling off.
