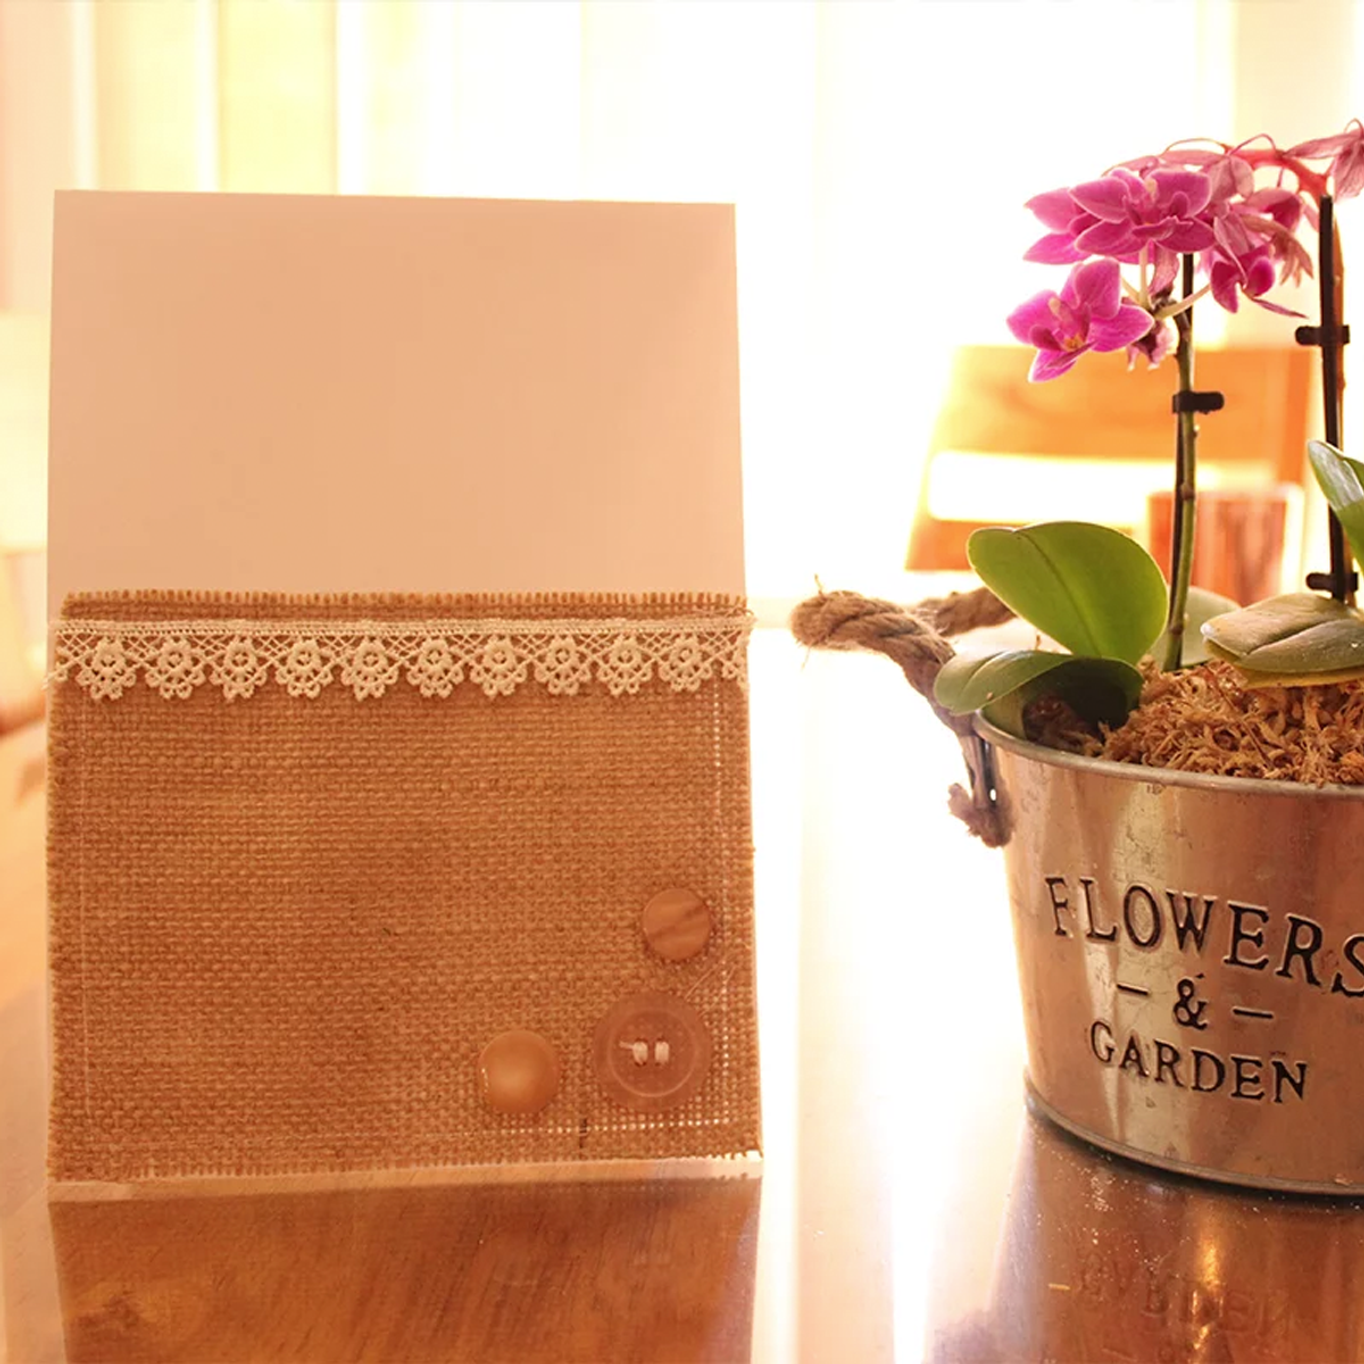
Make sending greetings a special experience for everyone with this cute card. Family and friends will appreciate your personal touch.
What to Cut:
- Cut a piece of card stock, 8 ½ by 5 ½ inches.
- Cut a piece of hessian, 2 by 4 ½ inches.
- Cut a piece of lace, 4 1/2 inches long.
How to Assemble:
- Position hessian on the right edge about ¾-inch from the bottom of the cardstock.
- Place lace under the top of the hessian piece by overlapping by ½-inch
- Set up your machine for a straight stitch
- Thread the top of the machine and bobbin with all-purpose thread in a colour that contrasts with the Hessian.
- Carefully stitch ¼- inch from the edge along all four sides of hessian. The presser foot will help you guide the cardstock evenly while stitching.
Note: The more slowly you sew the more control you have guiding the fabric while stitching.
9. Backstitch at the beginning and the end of the stitching to help secure the thread in place.
Note: What is backstitching? Backstitching secures the machine stitching so the threads do not become loose and pull out. It is done by reversing a few stitches on top of or just next to those machine stitches at the beginning or end of a line of machine sewing. How to backstitch: Position needle about ½” from the top edge of the fabric. Stitch in reverse almost to the raw edge. Change to forward and stitch to the end of the fabric. Reverse and backstitch about ½”. - Remove the card from the machine. Trim the thread tails.
- Fold the card stock in half at 4 ¼ inch.
- Adhere buttons to hessian.
Idea: We love making 6 cards and wrapping them with ribbon as a gift set or simply use your card to write a note and brighten someone’s day!
