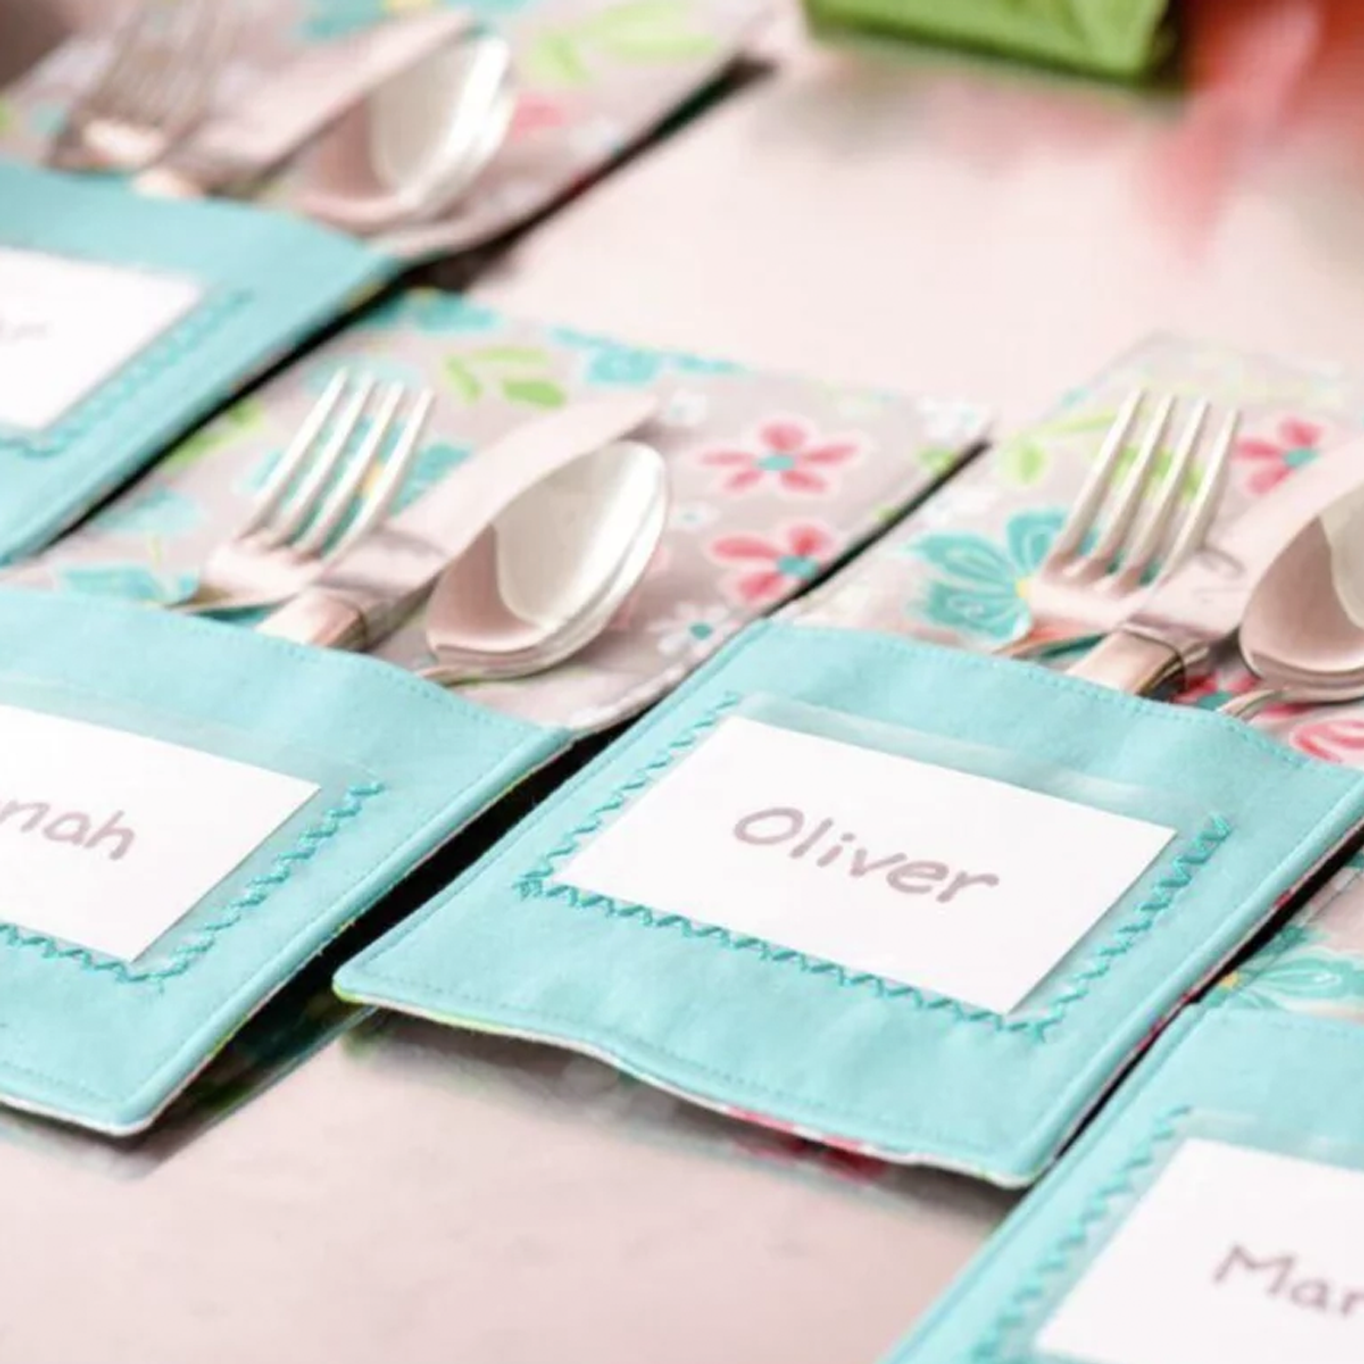
Sew these simple silverware holders in colours to complement your home décor. There’s a vinyl pocket on the front for inserting a personalized place card, which can be either handwritten or even stitched by machine. The holders are reusable, too, thanks to the vinyl pocket – all you have to do is change the card inserts!
Note: Supplies listed are for making one silverware holder, so adjust the fabric requirements as needed for the number of holders you want to make. Also, the silverware holders shown accommodate a table knife that measures 8” (20cm) in length. If your knives are longer than 8” (20cm) add the necessary length to the silverware body front and back pieces, as well as extending the length of the pockets.
Shopping list:
Note: The fabric requirements listed below accommodate a table knife that measures 8” (20cm) in length. If your table knives are longer than 8” (20cm), you should adjust the length of the fabric, batting for the silverware body pieces, and as well as the fabric and stabilizer for the pocket.
- Cut one fabric for silverware body front: 5" x 10" (12.7cm x 25.4cm)
- Cut one fabric for silverware body back: 5" x10" (12.7cm x 25.4cm)
- Cut one fabric pocket for pocket front: 5" x 5" (12.7cm x 12.7cm)
- Cut one fusible batting: 4 1/2: 9 1/2" (11.5cm x 24.1cm)
- Cut one fusible interfacing: 5" x 5" (12.7cm x 12.7cm)
- Cut one piece of vinyl: 3 1/4" x 2 1/4" (8.3cm x 5.7cm)
- All-purpose sewing thread
- Decorative thread for sewing around vinyl
- Rotary cutter, mat and ruler
- INSPIRA™ Tear-A-Way™ stabiliser
- Hand sewing needle
- Point turner or stiletto
- Non-stick foot
- Blind hem foot
- Satin stitch foot (optional, if using built-in lettering on machine for text on cards)
- Tape (to hold vinyl in place while decorative stitching)
- Card stock paper (to make place card inserts)
Sewing Directons
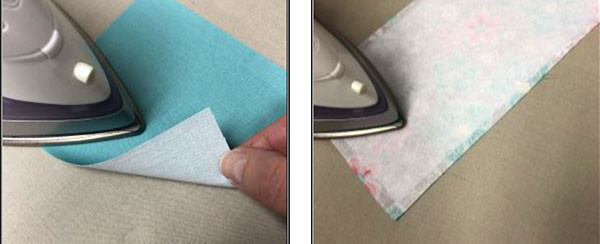
- Apply the 4½” x 9½” (11.5cm x 24.1cm) fusible batting to the wrong side of the 5” x 10” (12.7cm x 25.4cm) silverware body front fabric. Apply the 5” x 5” (12.7cm x 12.7cm) fusible interfacing to the wrong side of the 5” x 5” (12.7cm x 12.7cm) pocket front fabric.
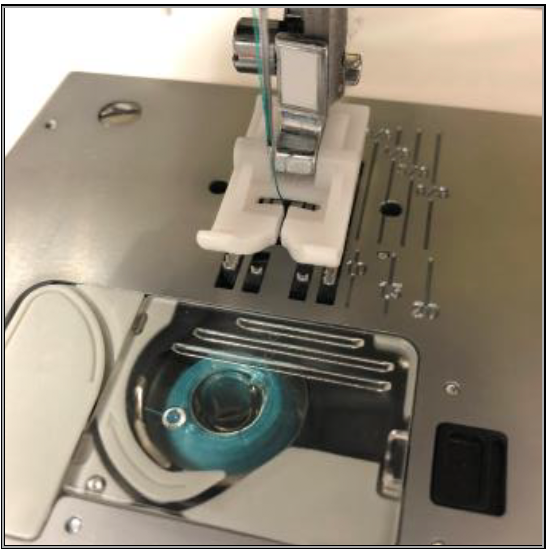
- Thread the bobbin with all-purpose thread. Thread the top of the machine with the decorative thread you want to use for attaching the vinyl to the pocket front. Remove the All-Purpose Foot and attach the Non-Stick Foot, which will help you to sew over the vinyl smoothly without the foot sticking to the vinyl.
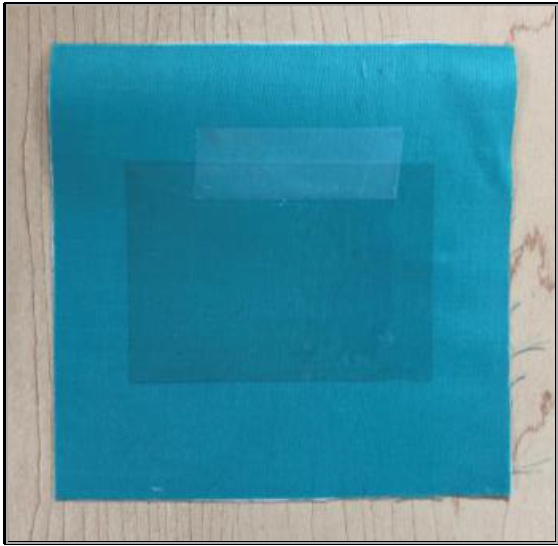
- Place the vinyl in the center of the pocket front fabric. Use a piece of tape along the top edge of the vinyl to help hold it in place for stitching. (Note: Pins cannot be used in the vinyl because they will leave permanent holes.)
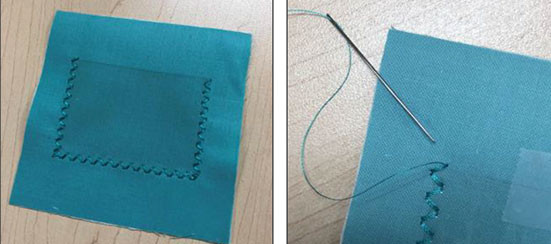
- Select a decorative stitch to sew around the vinyl. Try your stitch on a scrap piece of vinyl and fabric first to make sure the stitches don’t perforate the vinyl. Once you have your stitch settings, place tear-away stabilizer underneath the pocket fabric to help support the stitches as you sew around the vinyl. Also, leave thread tails about 5” (12.7cm) or so at the beginning and end of sewing around the vinyl so you can bring the threads to the back side with a hand needle and tie off – you won’t want to backstitch over the vinyl as it will weaken the vinyl.
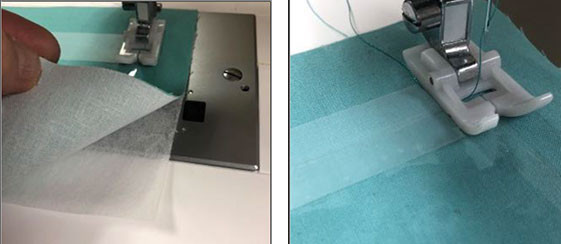
- Sew around the left side, bottom, and right side of the vinyl piece, attaching it to the pocket front fabric. When stitching is finished, remove the tape from the vinyl and remove excess stabilizer from the back side of the pocket. Use a hand sewing needle to bring the thread tails to the back side and then tie off to secure.
- Remove Non-Stick Foot and attach All-Purpose Foot. Place pocket front and pocket lining together, right sides facing. Thread top of machine with all-purpose thread. Select straight stitch. Sew top edge only with a ¼” (7mm) seam.
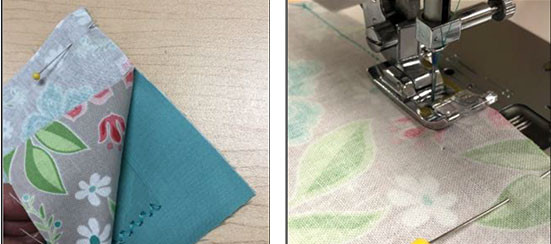
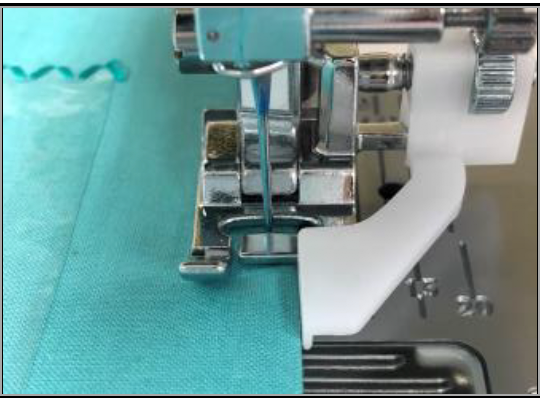
- Press the seam, and be careful not to touch the vinyl with the iron! To prepare for topstitching the pocket top edge, first remove the All-Purpose Foot and attach the Blind Hem Foot which will help you guide the fabric edge for perfectly straight topstitching. Place the pocket’s top edge under the foot, then sew across the top edge of the pocket with a straight stitch.
- Place the Body Front face up on a flat surface. Place the finished pocket on top, lining up the raw fabric edges along the bottom and sides. Then place the Body Back on top of this, right sides facing, with all raw fabric edges evenly lined up. Pin in place to secure the layers, so they don’t shift while sewing.
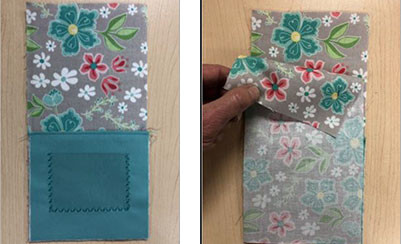
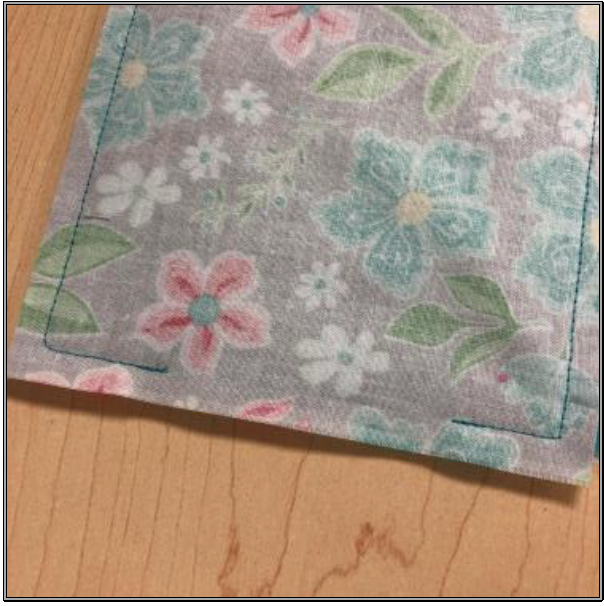
- Remove the Blind Hem Foot and attach the All-Purpose Foot. Starting at the bottom edge, sew all around the Silverware Holder, leaving a 3” (7.6cm) opening at the bottom for turning right side out.
- Clip the corners to reduce bulk. Turn right side out through the 3” (7.6cm) opening. Use a point-turner or stiletto to help carefully push out corners. Hand-sew the opening closed. Press carefully, keeping the iron away from the vinyl.
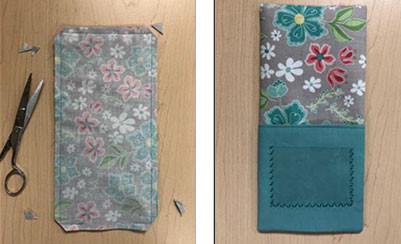
- Remove the All-Purpose Foot and attach the Blind Hem Foot once again to make it easier to topstitch all around the piece to finish. After topstitching, press again.
- Use card stock paper to write text to place inside the pockets. (Note: If you have a computerized machine with built-in lettering, try stitching names or text on the card stock – your guests will really be impressed!) Now insert the silverware and let the party get started!

