
LET’S GET WRAPPING FOR HALLOWEEN
Requirements
- Singer Sewing Machines
- Singer Sewing Needles
- Singer 4” Curved Microtip Embroidery scissors.
- Embroidery ring.
- Calico (30cm by 150cm is plenty)
- Tea bag.
- Little bowl.
- Jute twine.
- Fabric glue.
- Old buttons, prosthetic teeth, embroidery thread, bits and pieces to decorate your mummy.
Sewing Instructions
1. Start with my favourite “snip and rip” technique. Cut 3-4 strips of calico (width wise) and rip them into strips. I recommend spicing it up with different thicknesses. 1.5cm, 1cm, 0.5cm worked well for me.
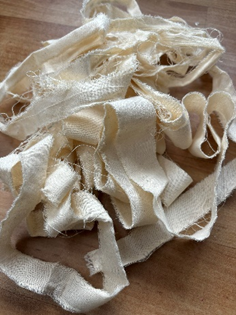
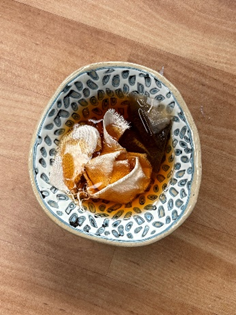
2. Fill your small bowl with hot water and place your tea bag in it to brew for a few minutes. Using a fork place your bandage strips in the bowl- twisting them like spaghetti a few times. This will dye the fabric unevenly to give the authentic “mummy look”.
- Hang your bandages outside to dry. DO NOT IRON!
- SPICEY TIP- The smaller your bowl the more concentrated your colour will be.
3. Fold your calico in half to create two 25cm by 30cm rectangles.
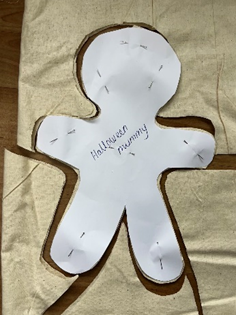
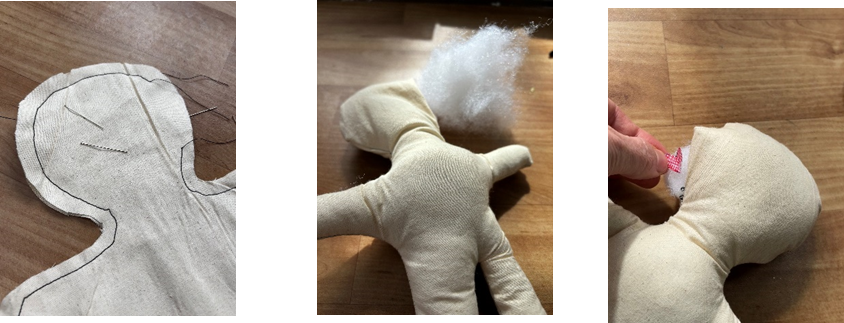
4. Cut out your templet and pin it to the fabric. My advice is to cut into the pattern with each limb rather than all in one cut. This gives you sharper edges where the limbs join the body.
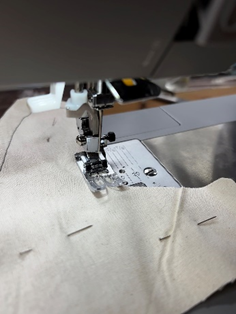
5. Sew around the perimeter leaving a 5cm opening. This will be the opening to fill your mummy.
6. Turn inside out and get stuffing. I used the polyester filling from an unused pillow.
- SPICEY TIP- The more compact you fill your mummy the more girth you have to wrap areas tighter. This also allows you to “sculpt” the shape you want.
- Now, remember we’re making a mummy with personality so having legs and arms different thicknesses is a bonus.
WRAPPING YOUR MUMMY
7. I stuck on some prosthetic teeth I found lying around in my studio. Because that’s not random at all. Anchor the bandage at the back of the head with fabric glue and then bring it around the front. I added a glass eye subtly concealed for a little stink eye.
8. Knot or stitch pieces together, remembering to fabric glue ever so often.
a. An alternative for eyes are some funky buttons.
9. For a “traditional mummy wrap” I focused on the head first. Then moved onto the limbs individually followed by the torso. Wrap things in different directions, leave some gaps and overlap areas. Adding twine is optional, however I liked the way I could manipulate and sculpt the mummy to my liking

Congratulations on finishing your project!
BOO, HISS, ROAR!!
Your mummy is now ready to peer out the window, hide in your trick or treat bowl or hang from your door.
As always, have fun and be kind to yourself.
Don’t forget to share your projects with us on Instagram, tagging @singersewinganz and using the hashtags #sewitwithsinger #singersewingmachines #singersewingaustralia or our Facebook page Singer Australia & New Zealand

