
Want to wear something special this Valentine’s Day? Whether you’ve got a date planned with your partner, your pal-entine or yourself, you’ll fall in love with this project: how to sew a circle skirt for Valentine’s Day.
The skirt can be customised with different colour fabrics for the main section of the skirt as well as the contrast fabric used for the pockets. If skirts aren’t really your thing, you can find inspiration for another garment or even a DIY gift idea on our sewing project page. Keep reading for the full instructions on how to sew a circle skirt.
Requirements:
If you want to complete our, how to sew a circle skirt project, here is all of the materials and equipment that you will need.
- Cotton for the main skirt. For quantity refer to your drafted pattern.
- Optional Lining. Only needed if your fabric is see-through. For quantity refer to your drafted pattern.
- Half metre of contrast fabric for pockets
- 12cm Invisible Zip
- Invisible zipper foot
- Compass
- Pocket template
- SINGER® sewing machine (We used the HD6705C Heavy Duty Computerised Sewing Machine)
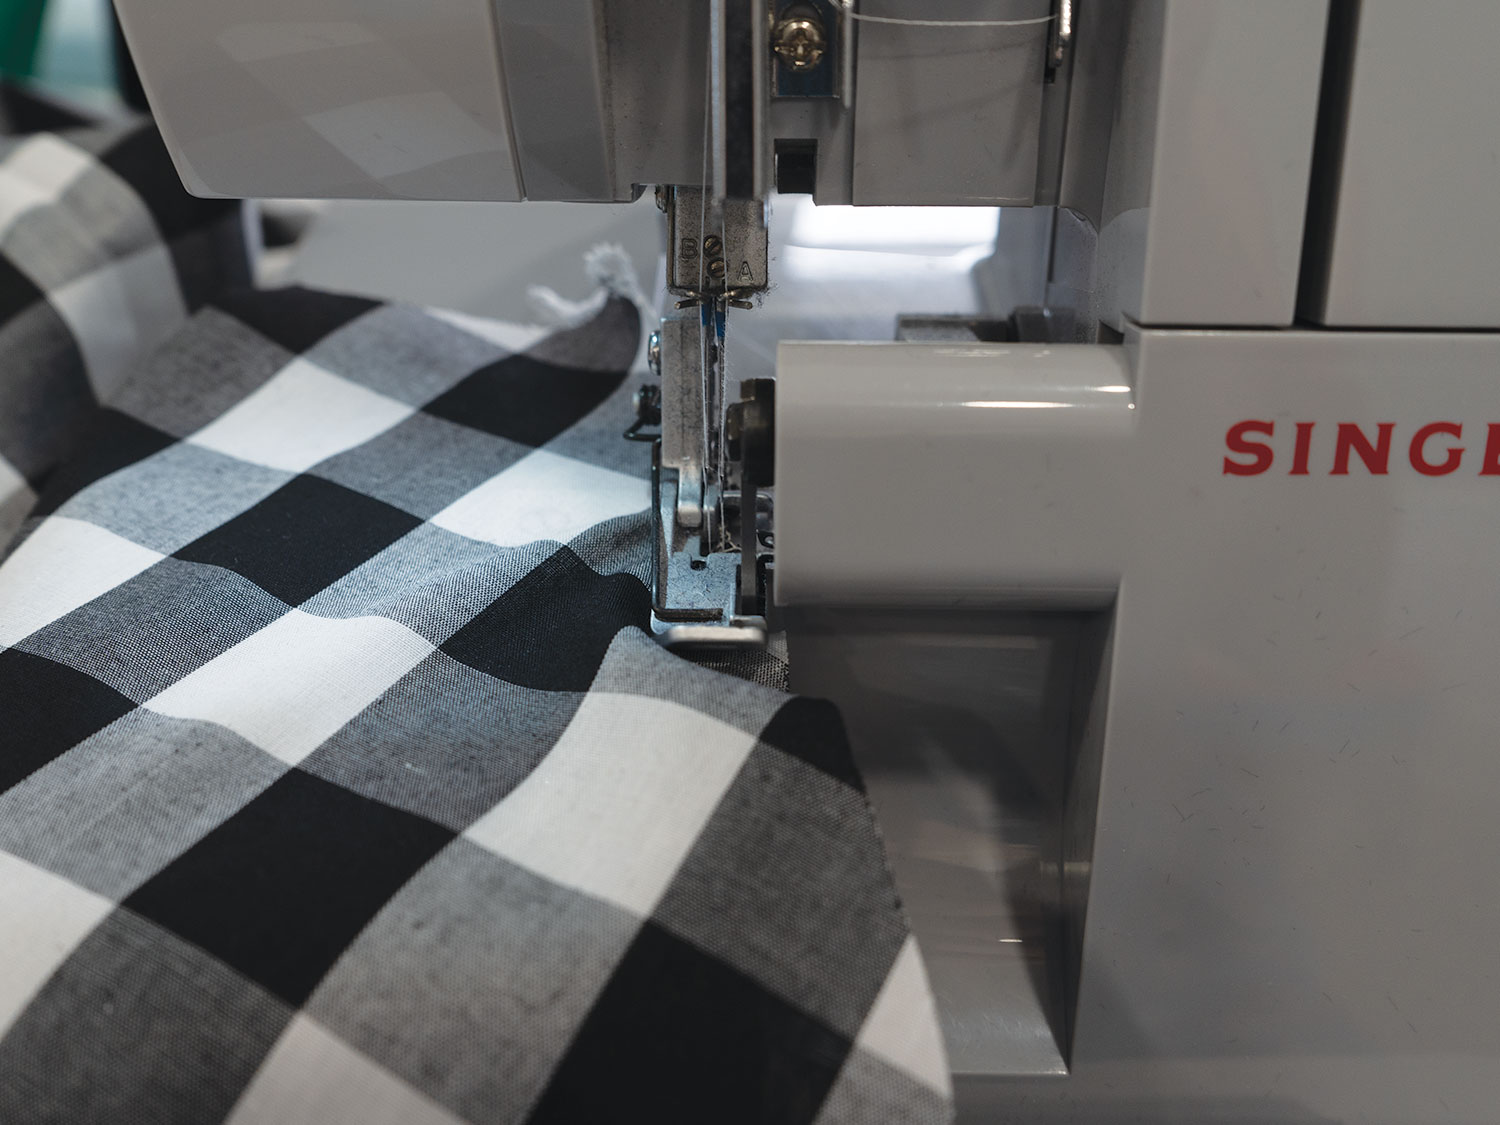
- SINGER® overlocker (We used the 14HD854 Heavy Duty Overlocker)
- Dressmaker’s shears
- Fabric marker
- Fusible interfacing
Drafting the Full Circle Skirt:
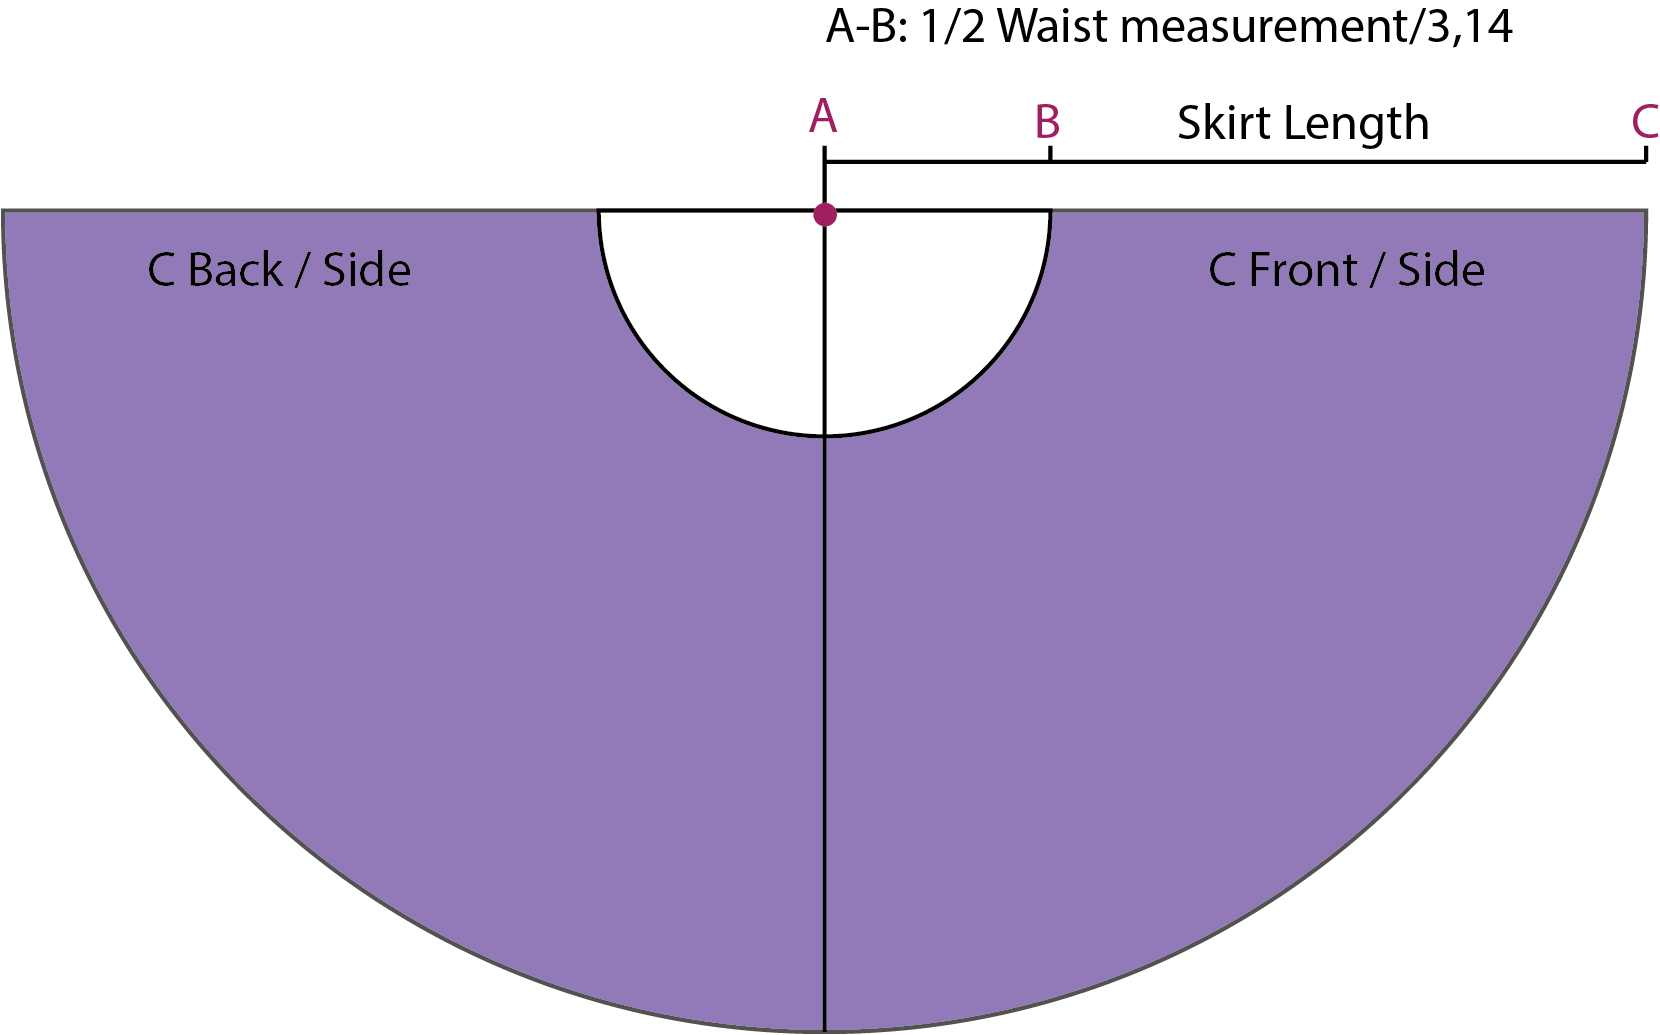
To work out the size of your circle skirt use this formula:
- Measure your waist circumference (WC)
- Measure from your waist to your knee. (this will be the length) (L)
- WC / 2 = Half of WC
- Half of WC / 3.14 = AB ….cm
- Draw a straight line and mark point A in the middle. Take your compass and draw a half circle around Point A, using the A-B Radius you got from the previous calculation.
- From point B, continue the straight line adding the skirt length to arrive at point C. Use this radius to draw the whole hem line around Point A.
- Add 1.5cm to edges for seam allowance.
Cutting:
- Cut x 2 of C Back side skirt panels
- Cut x 2 of C Front side skirt panels
- Cut x 4 of Heart Pocket templates
- Cut x (1) 15cm x (WC + 5cm) rectangle main fabric
- Cut x (1) 15cm x (WC + 3cm) rectangle fusible interfacing
- OPTIONAL: If making a lining cut the skirt panels out of your lining fabric.
Construction:
All seams are 1.5cm unless otherwise specified.
- Pin and sew 1 front and 1 back panel together with right sides facing. Repeat for remaining pieces.
- Pin and sew the center front seam with right sides together.
- Overlock all seams and the center back raw edges.
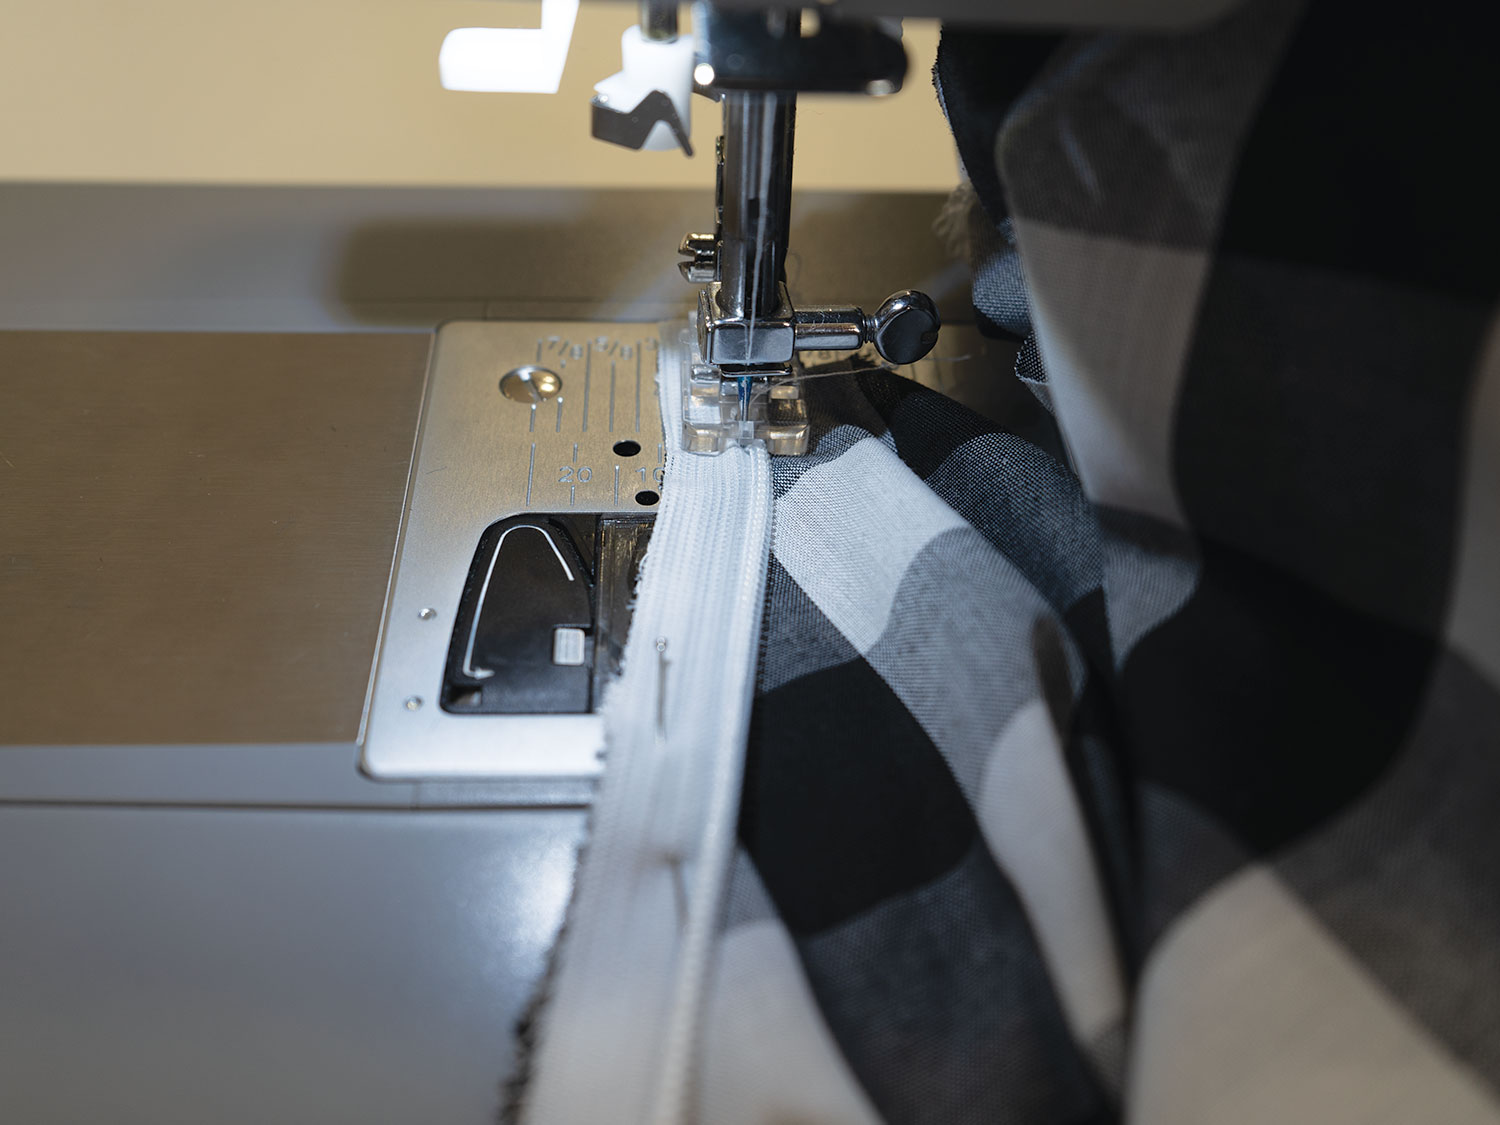
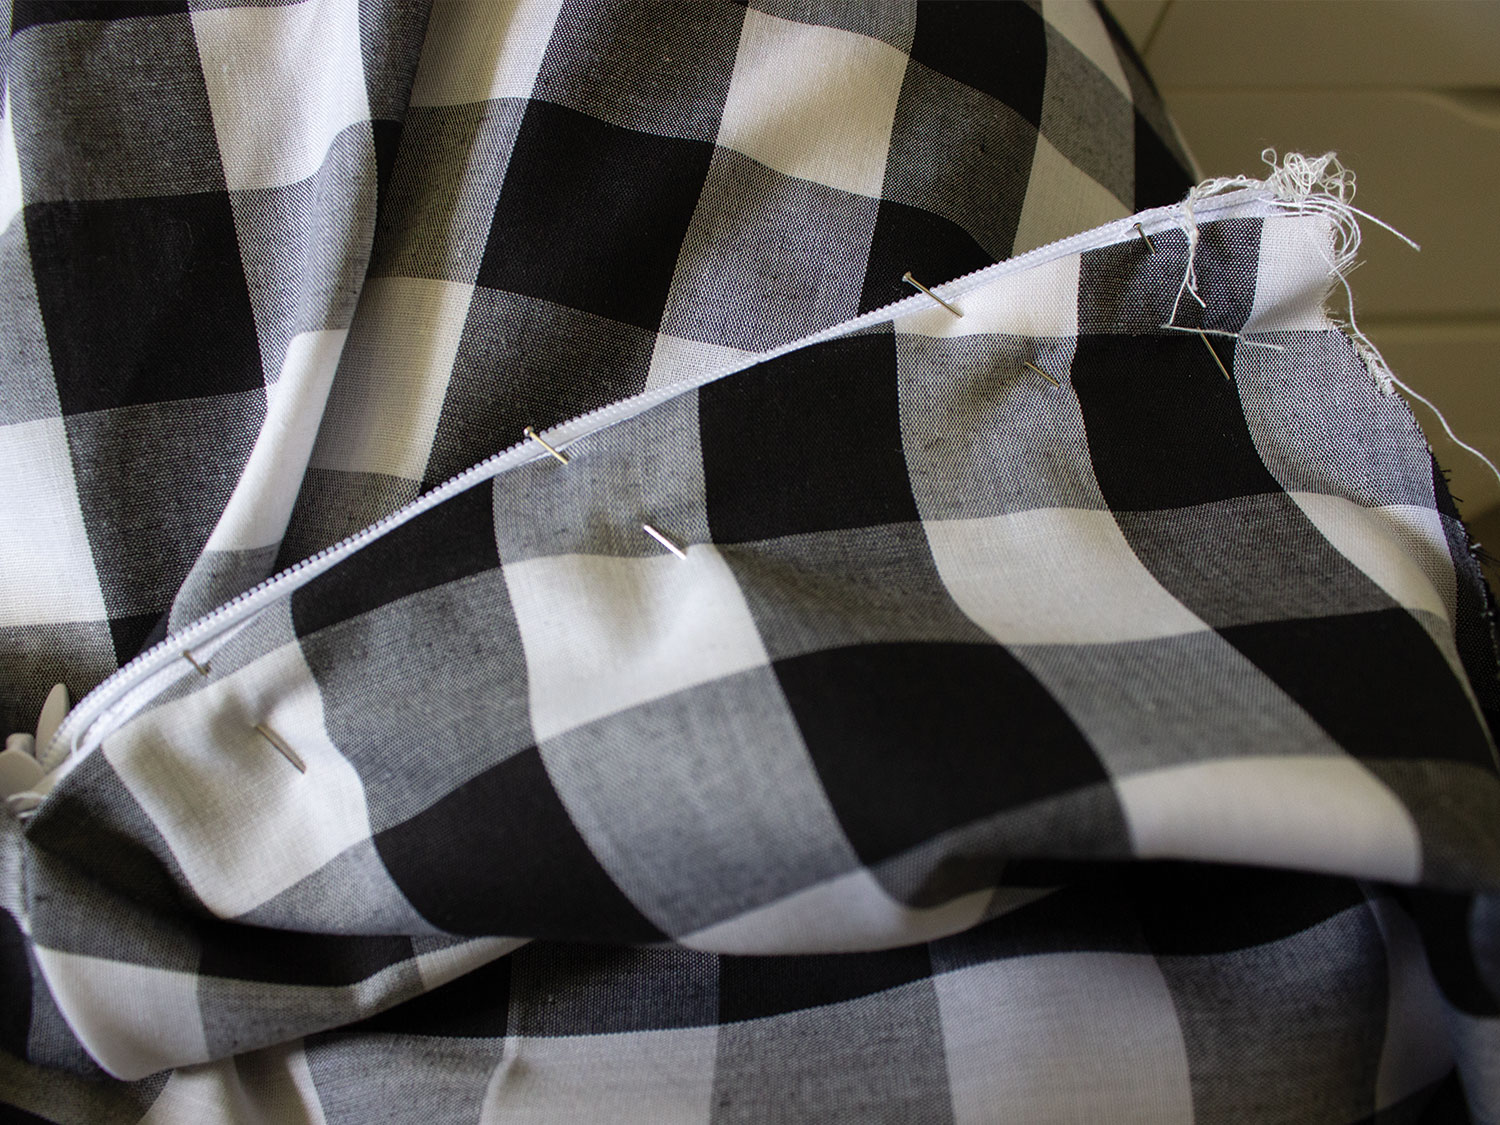
- Change your presser foot to the Invisible zipper foot.
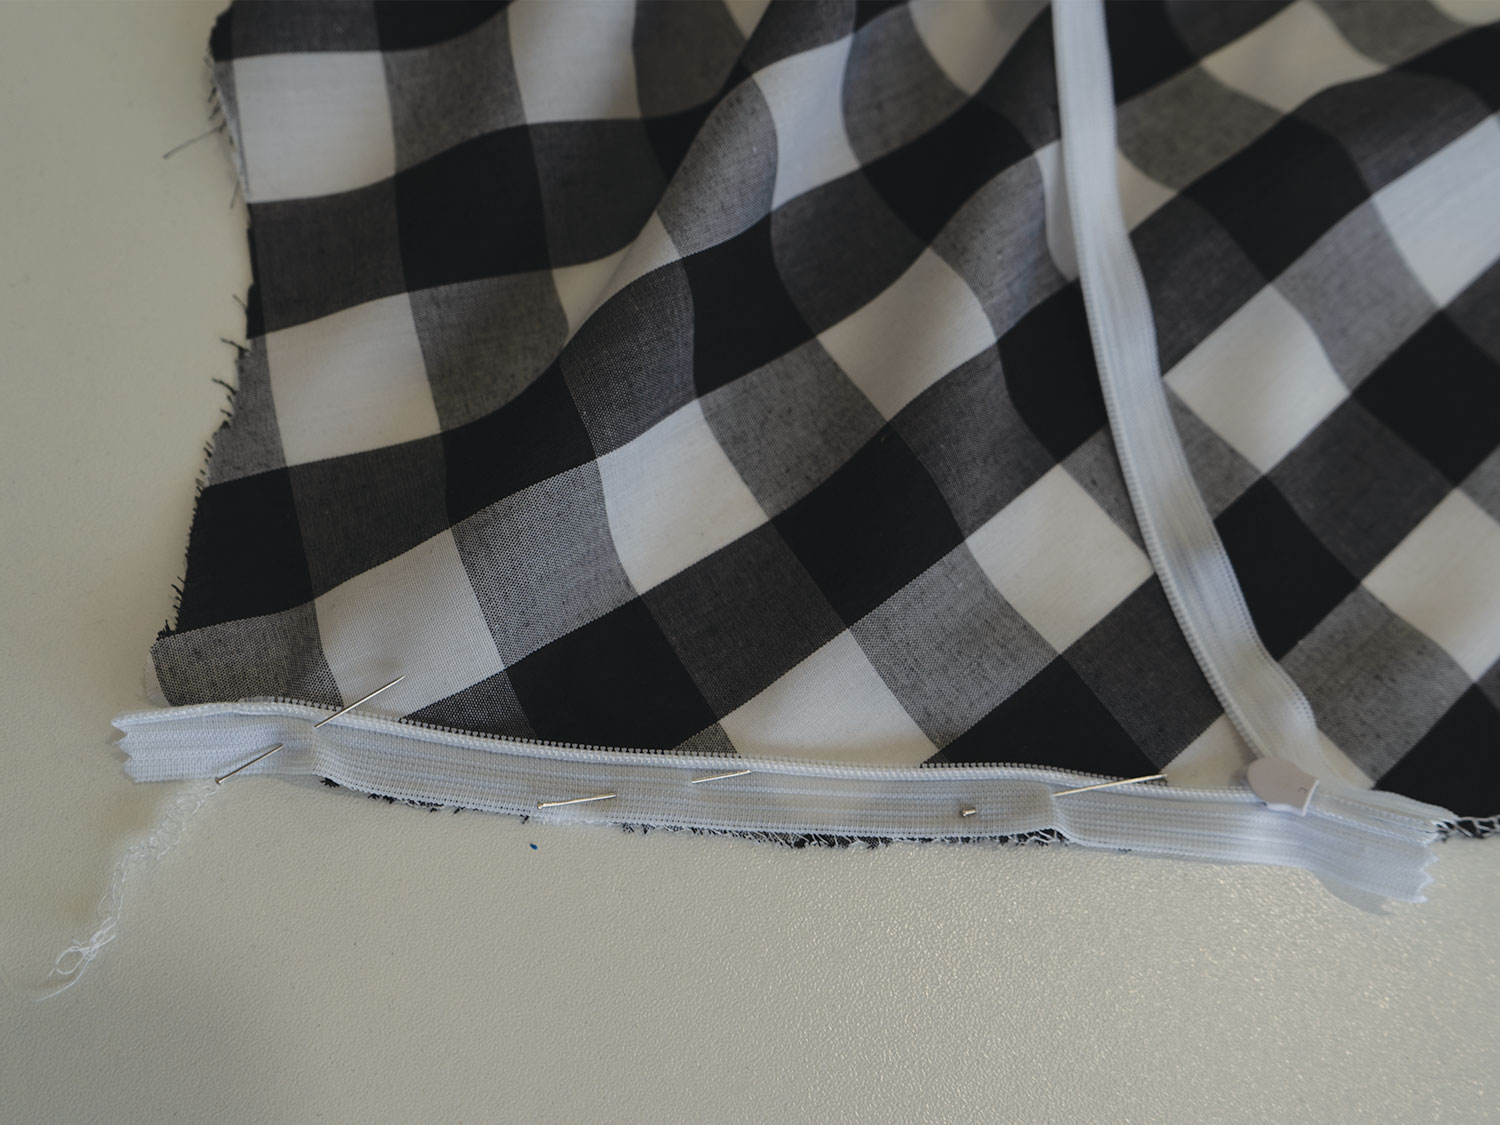
- Pin the zipper coil right side down along the edge of one side of your center back seam.
- Starting at the top of the zip, position the zipper teeth under the groove in the Invisible zipper foot. Carefully stitch down the zip, stopping when you reach the zip stopper.
- Pin the other side of the zip to the remaining center back seam edge.
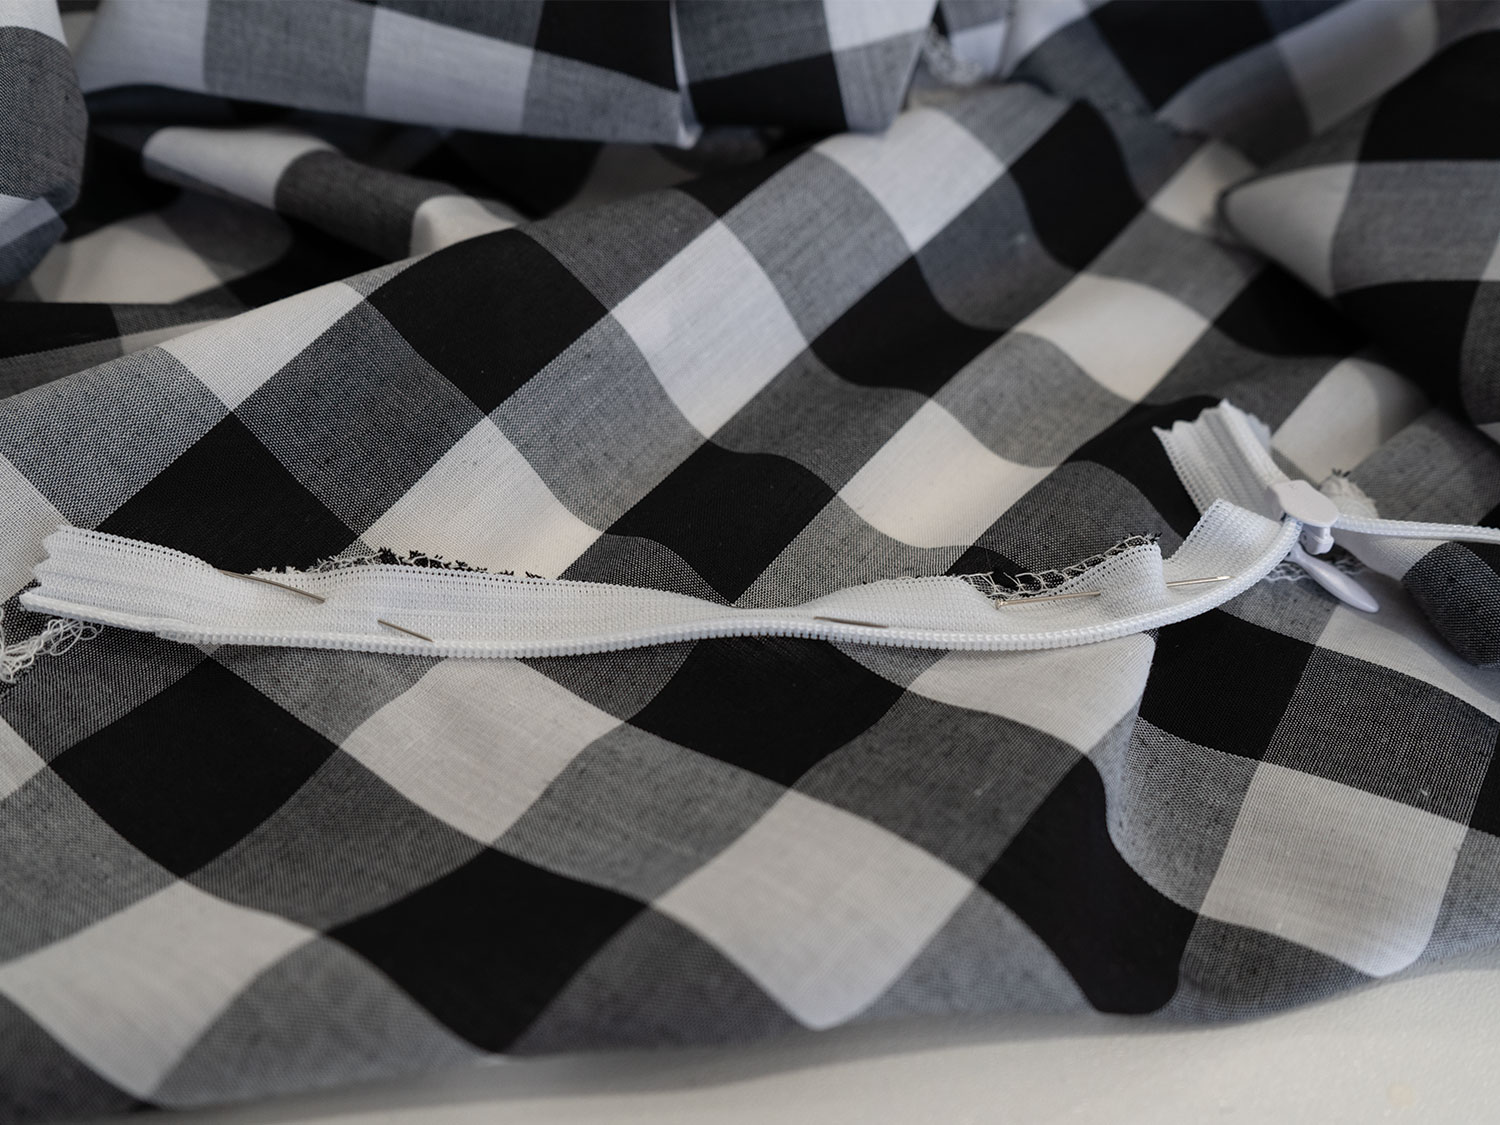
- Sew in place using the same method in step 6.
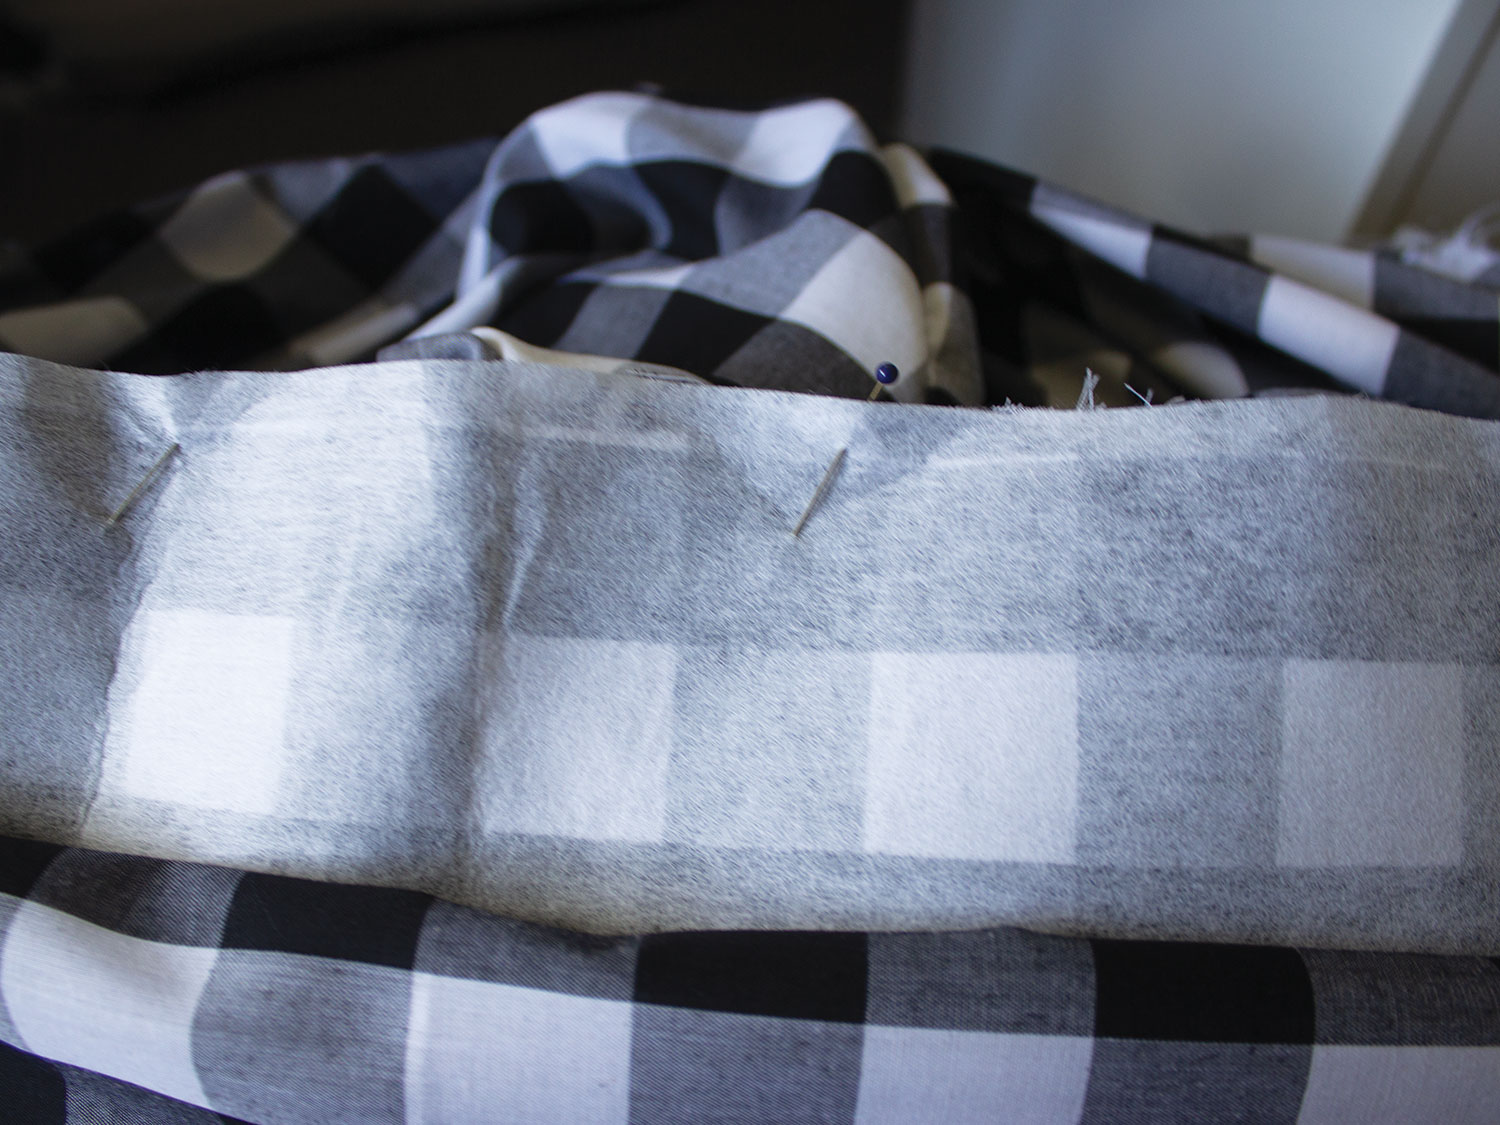
- To finish your seam. Change back to the All-Purpose Foot. Pin the Seam and sew starting from the end of the zip.
Lining:
Skip this part if you are choosing not to line your skirt.
- Sew front and back pieces right sides together. Repeat for remaining pieces.
- Sew the center front right sides together.
- Sew Center back right sides together. Leaving the last 12cm open at the top of the skirt.
Pockets:
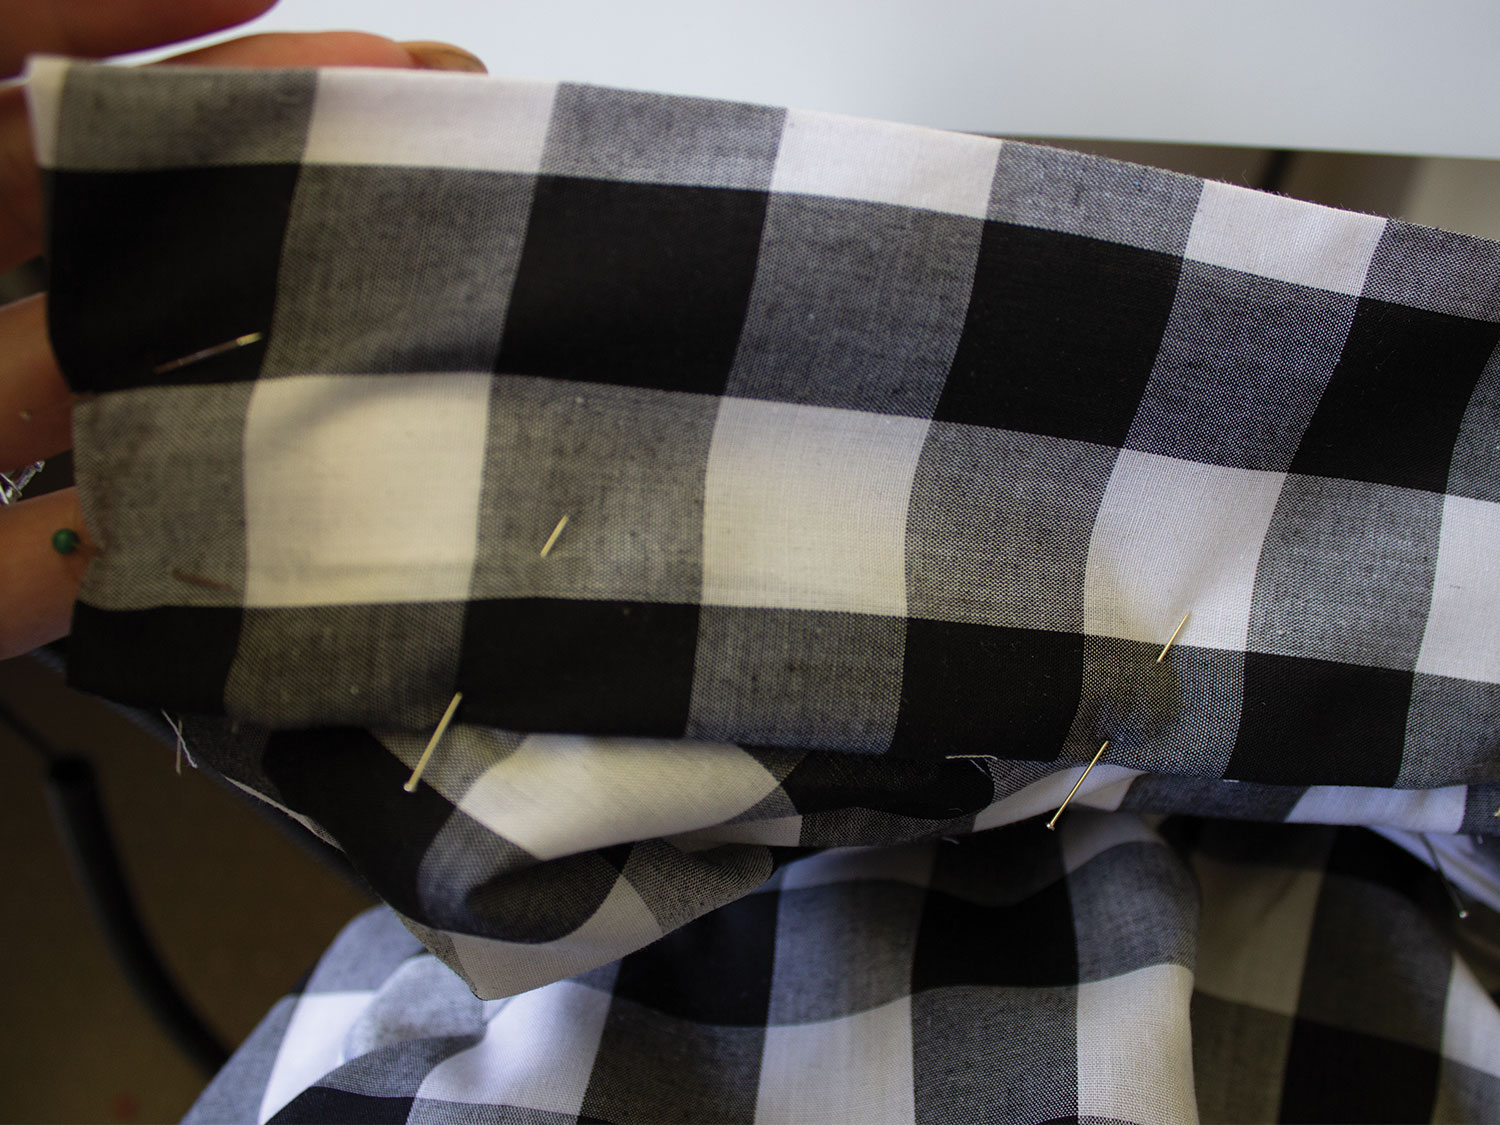
- Pin and sew x2 heart pieces using a 0.5cm seam allowance. Take care to pivot around the points. Leave an opening of approx 4cm for turning.
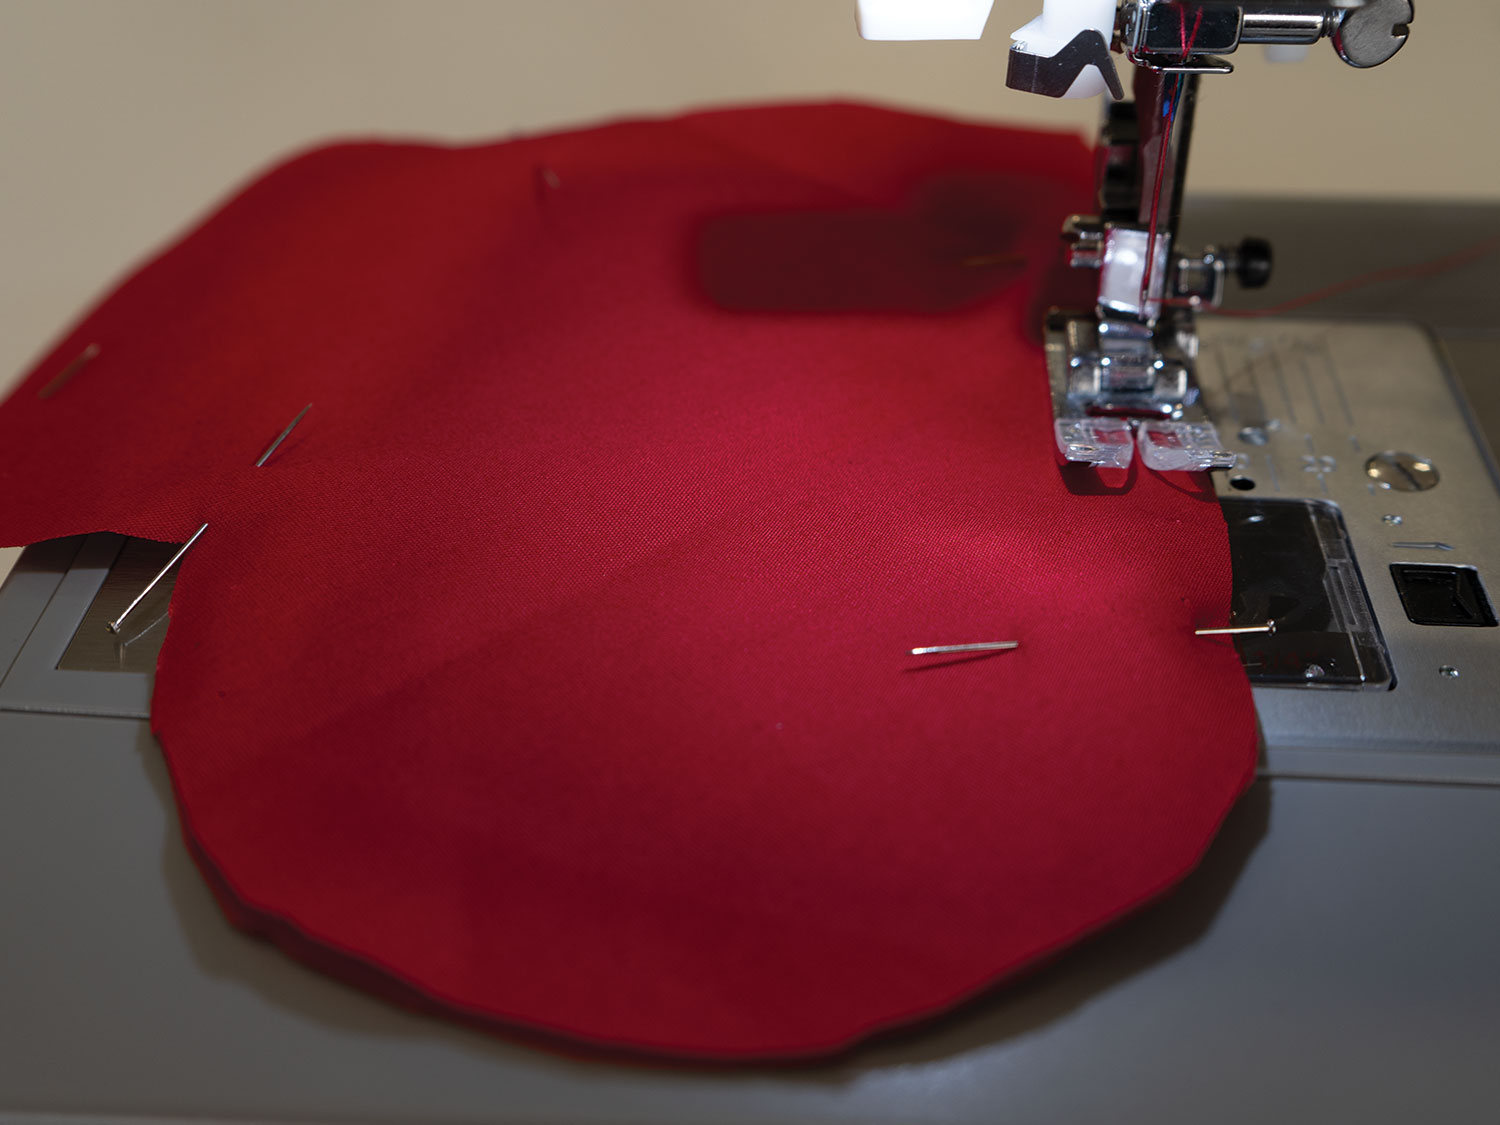
- Clip the points and curves of the heart. Turn right way out.
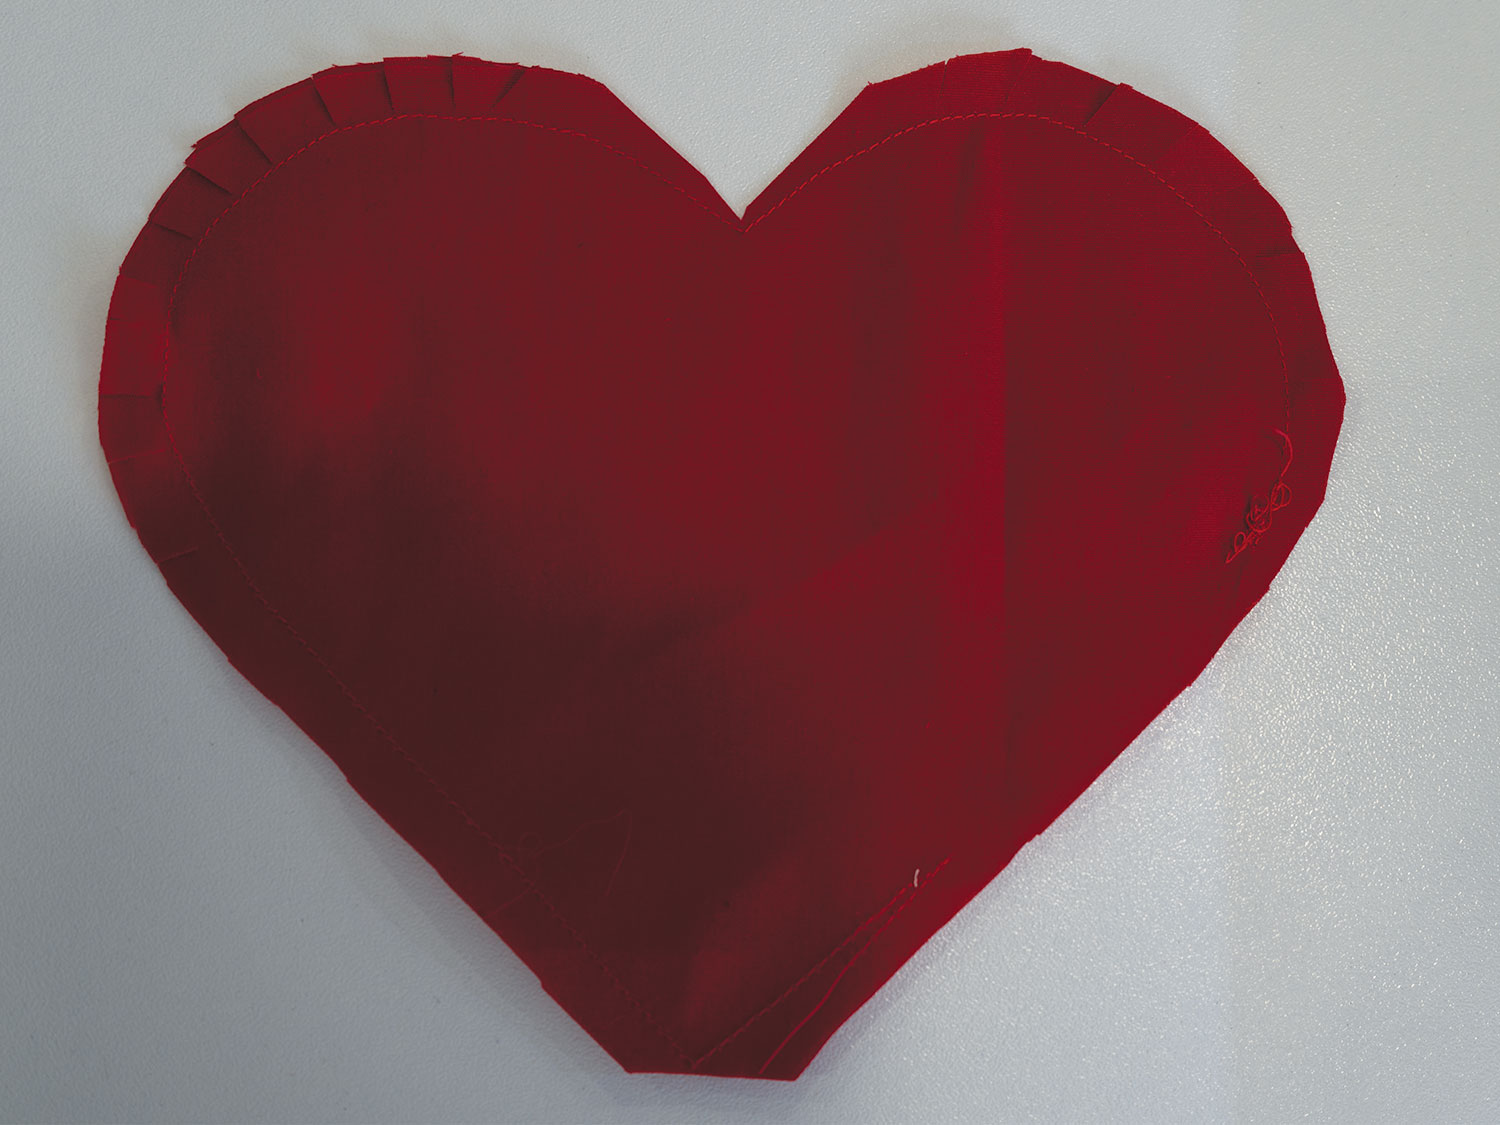
- Repeat steps 1 and 2 for remaining heart pieces.
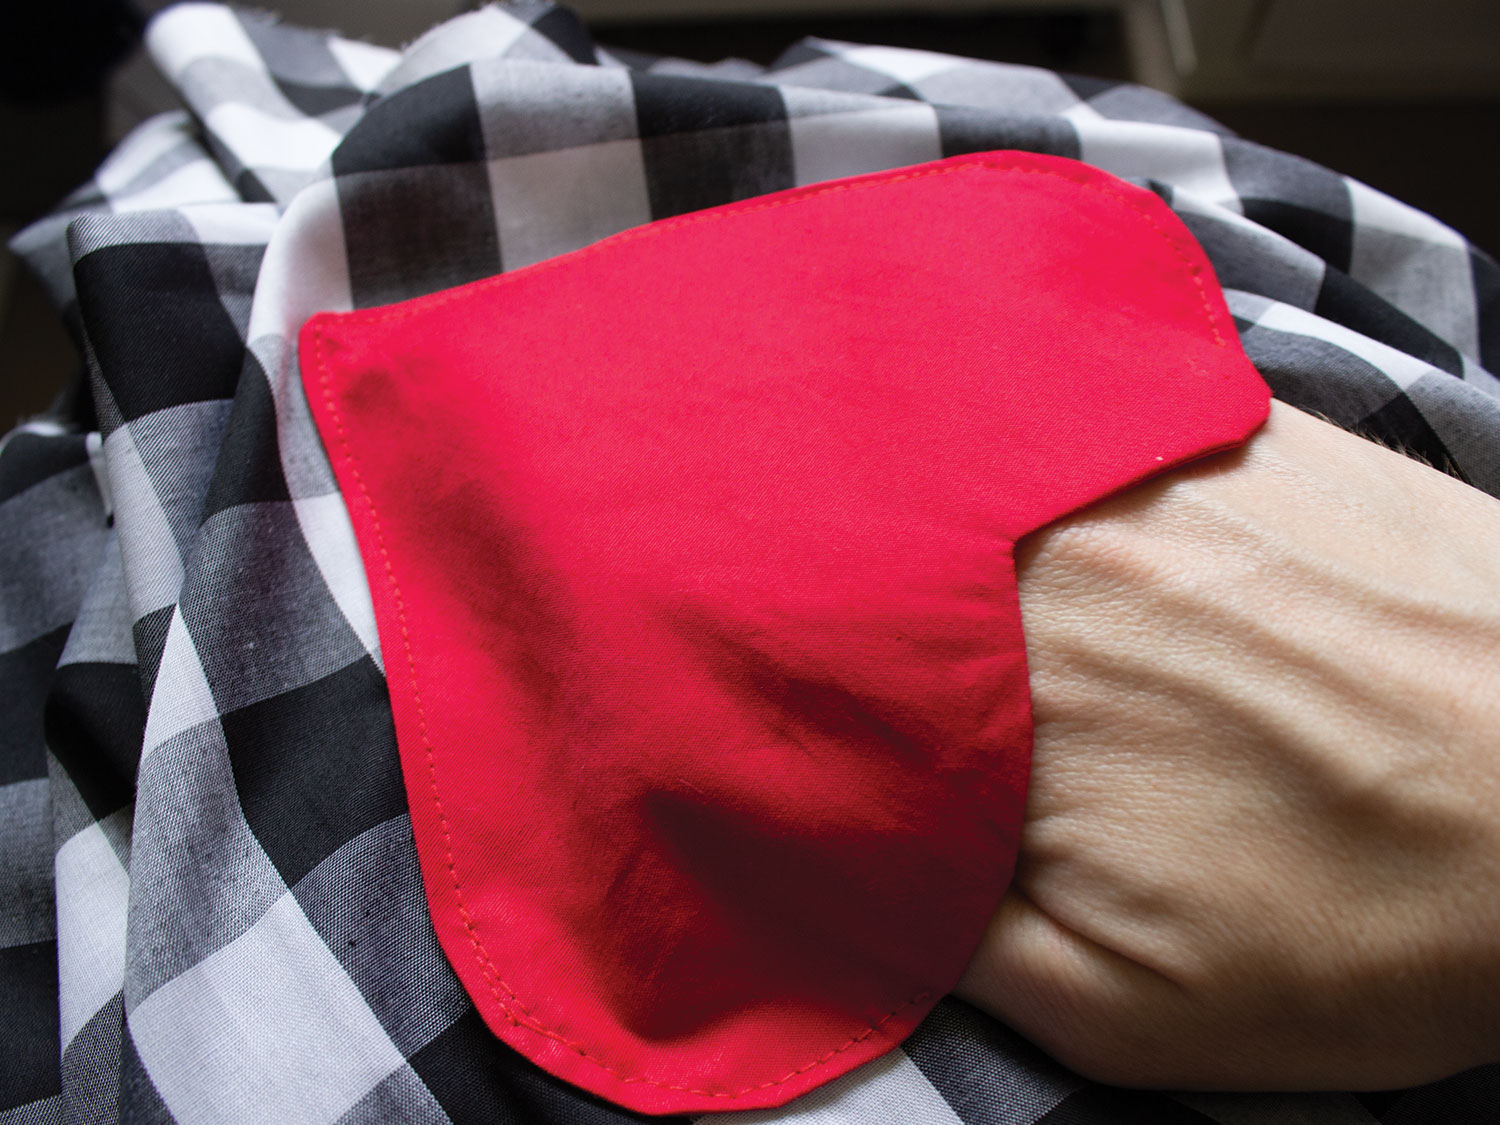
- Try the skirt on and pin the pockets where you would like to be.
- Change stitch length to 3.0 and top-stitch the pockets in place, with a scant ¼” seam. Ensure that you keep the top of the heart open, so that it forms a pocket.
Waistband:
- If you have chosen to do a lining, Pin the lining and outer skirt wrong sides together. Baste in place. Where the zip is fold the seam allowance back and pin to the zipper tape. Whip stitch in place.
Whip stitch: A hand sewing technique where the thread is ‘whipped’ around the fabric to create a stitch. It creates a nice edge which also aids to prevent fabric from fraying.
- Using the manufacturer’s instructions fuse the fusible interfacing to the wrong side of your waistband.
- Pin your waist band right sides together to the top of the skirt. Ensure you have 2cm of the waistband going past one side of the skirt and the other side approx 3cm.
- Stitch the waist band. Clip the seam before turning it over to the inside of your skirt.
- Fold the remaining raw edge up by 1.5cm and pin it in place.
- Fold in each edge of waist band and pin.
- With your stitch length to 3.0 and top stitch the waistband.
- For the ends, whip stitch in place.
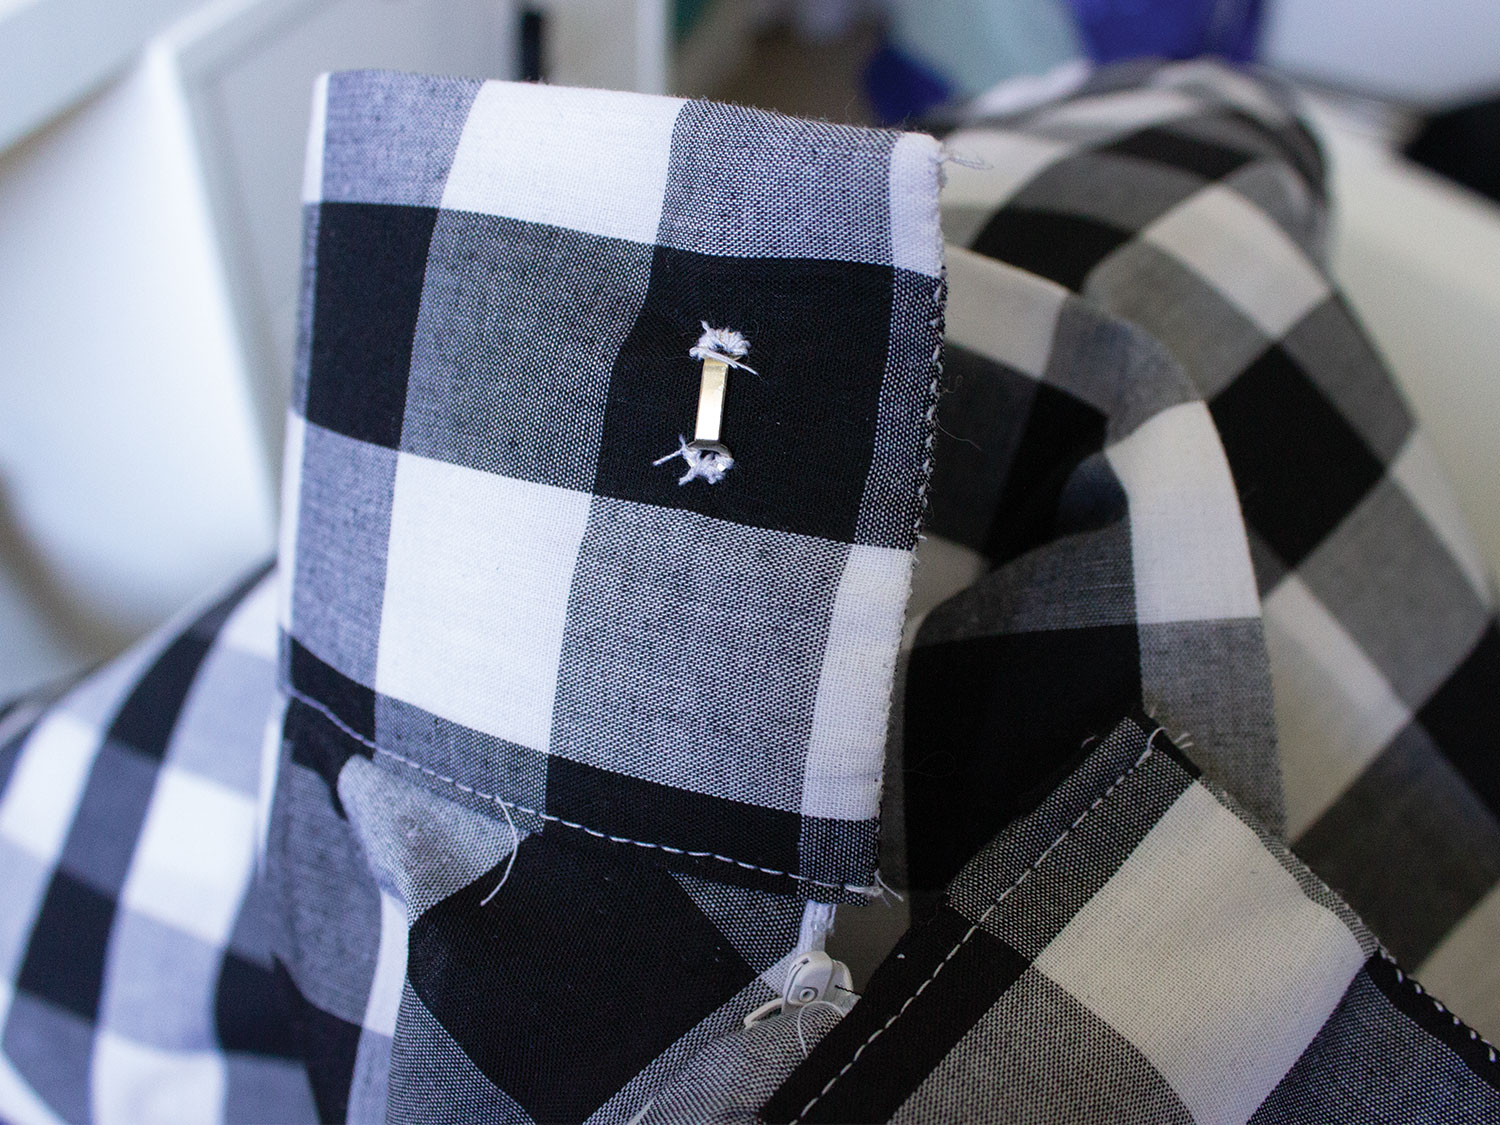
- Sew in your hook and bar to the waistband. Check where you need this to sit, so it fits snugly.
Hemming:
TIP: As this is a circle skirt and some sections of the hem is on the bias, hang your skirt overnight before hemming.
- If you have added a lining, treat the outer skirt and lining as the same fabric. Overlock around the circumference of the hem.
- Fold toward wrong side or lining by 1cm and stitch.
That’s it! You’ve learned how to sew a circle skirt.
Congratulations, you’ve made it to the end of our guide on how to sew a circle skirt for Valentine’s Day. We hope you enjoy getting crafty and creating a stylish new garment.
If you end up completing this project (or any sewing project for Valentine’s Day), don’t forget to tag us! We love seeing your creations. Be sure to tag @singersewingaus and #sewitwithsinger in your posts so we can see!