Introduction:
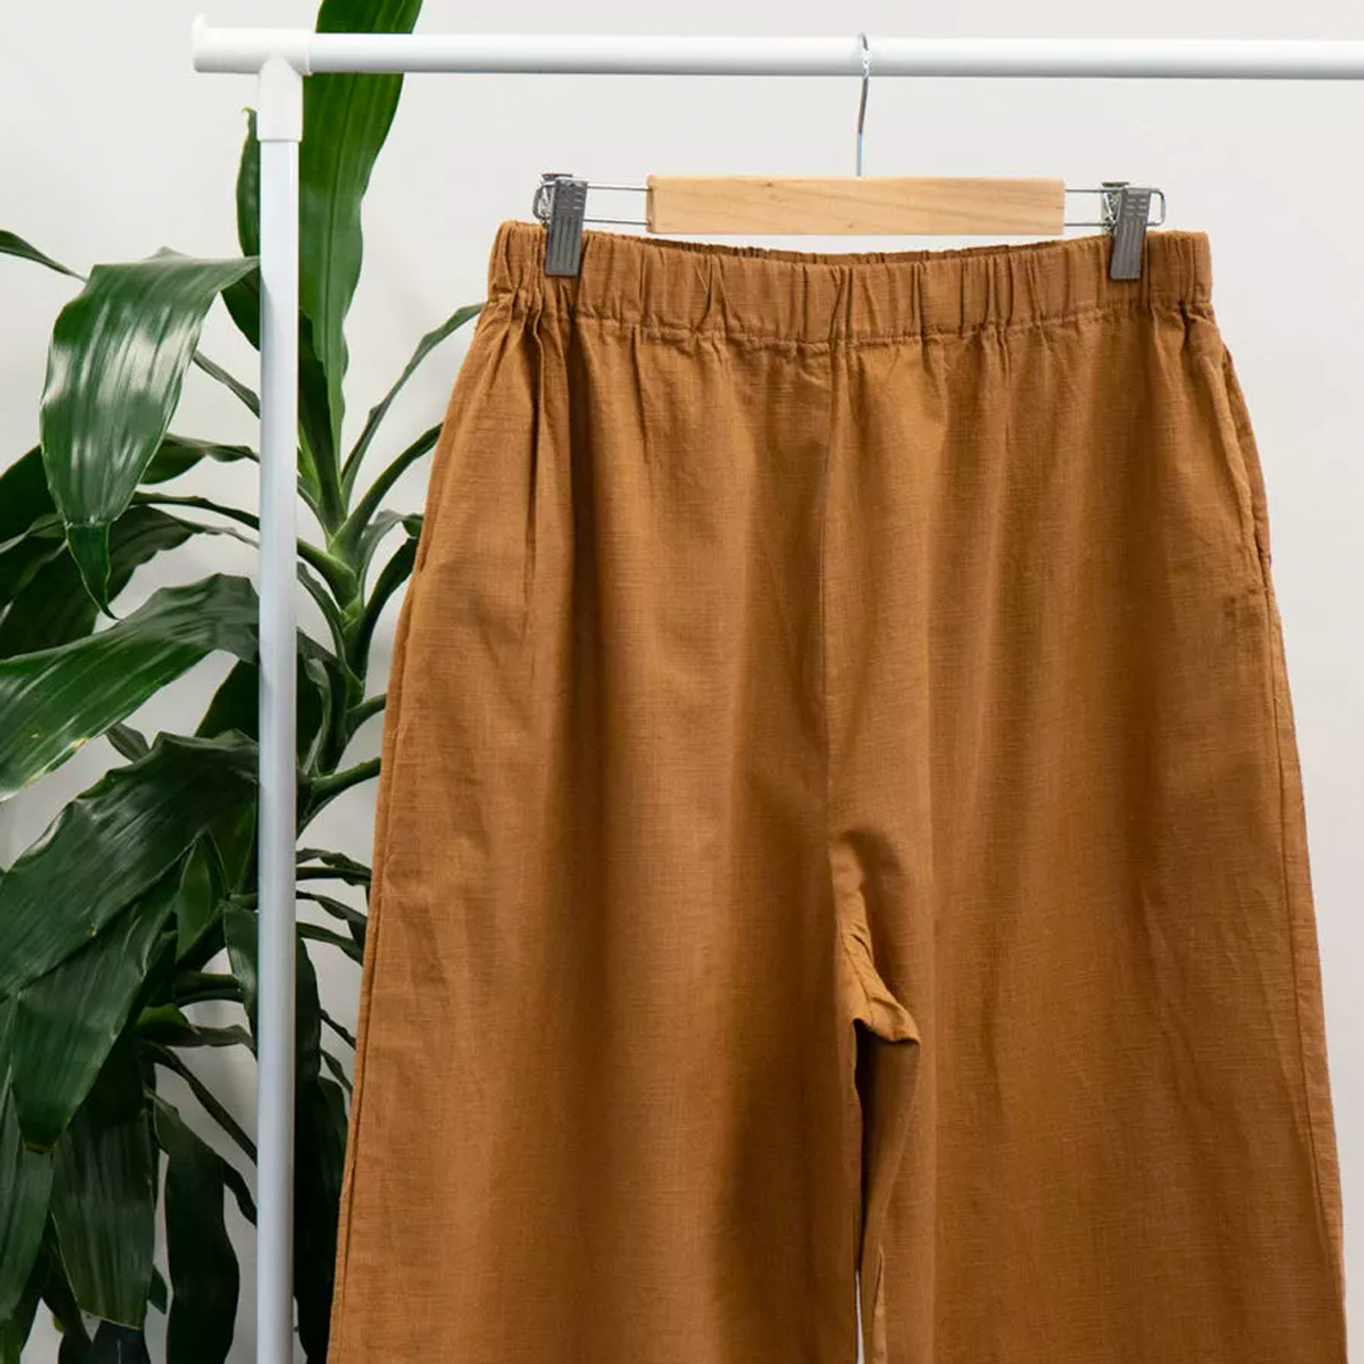
This tutorial is a great introduction into making your own super comfy pants, that you can wear anywhere! The method used to draft the pattern pieces is drafting an existing pair of your favourite loose-fitting woven pants. Your favourite pair of pyjama pants would work great!
Choosing a woven fabric such as cotton, linen or other natural fiber is a great way to sew a garment that is sustainable as these fabrics do not contain any polyester (plastic) in them. Once they have reached the end of their life, they will break-down which will help reduce the environmental impact of your wardrobe!
For our pair we chose a nice linen and cotton blend.
The end result will be a pair of pants you will want to wear anywhere, as they are very comfortable, breathable and a great way to show off your own creativity through your clothing.
Terms:
Inseam: The seam on the inside of the leg in a pair of pants
Outseam: The seam on the outside of the leg in a pair of pants
How-to
Requirements:
The requirements listed will make you one pair of pants.
- Loose-fitting woven pants. (PJ pants are great for this!)
- Approx 2.5M of woven fabric (this will vary based on the size of the pants you are tracing.)
- 1.5cm wide elastic cut to your waist measurement (wrap elastic around your natural waist so it is snug but still comfortable.)
- Ruler
- Fabric marker
- Safety Pin
- Co-ordinating thread
- Iron
- Sewing Machine (For this project we used the Heavy Duty HD6805C Digital Sewing Machine)
- Optional: Overlocker (Can use pinking shears or a zig-zag stitch to finish seams instead.)
Preparing your Pattern:
- Trace the back of your pants.
- Fold the fabric in half right sides facing.
- Fold pants in half, right sides facing, and lay them on top of the fabric.
- Using your fabric marker trace around the pants.
- Take pants away and then draw a second line about 5cm outside the first for ease and seam allowance.
- Calculate elastic casing: 1.5cm (width of elastic) x 2 + 1cm. Add this measurement to the top of your pants.
- Trace the front of your pants.
- Fold pants in half with back sides facing and lay them on the fabric.
- Using your fabric marker trace around the pants.
- Take the pants away and then draw a second line about 5cm outside the first for ease and seam allowance.
- Add the elastic casing measurement from step 1 to the top of the pants.
NOTE: Before cutting check that your inseam and side seam are the same length. If they don’t adjust these so they do.
Cutting:
- Cut x2 of the front
- Cut x 2 of the back
If your fabric is directional or has an obvious wrong and right side make sure you cut a right and a left set for each leg.
Construction:
Seam allowances are 1.5cm unless otherwise stated
- Pin pants front to pants back right sides together. Stitch the inseam and outseam, backstitching at the beginning and end of your seam.
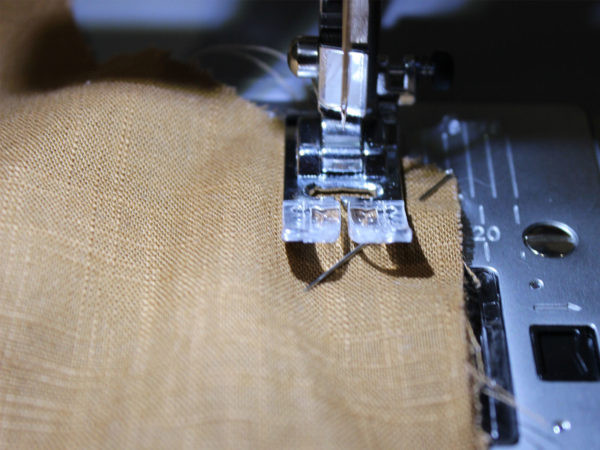
- Press seam allowances open and finish raw edges by overlocking, zig-zag stitching or pinking.
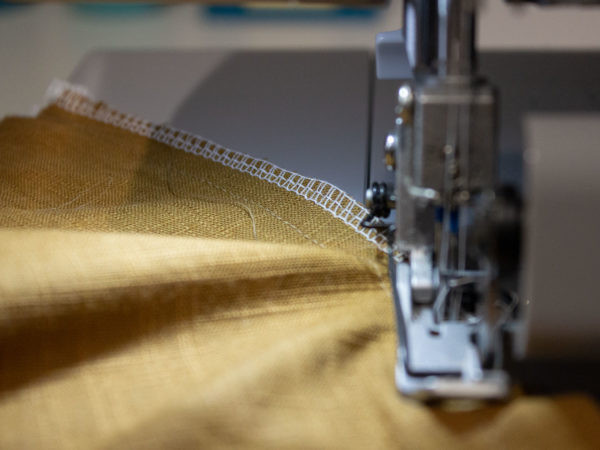
- Repeat step 1 and 2 for other leg.
- Time for the crotch curve! Pin pant legs right sides together along the crotch seam from one waist edge to the opposite waist edge, ensuring the inseam seam allowances are flat. Finish the crotch seam allowances as one, using your preferred method.
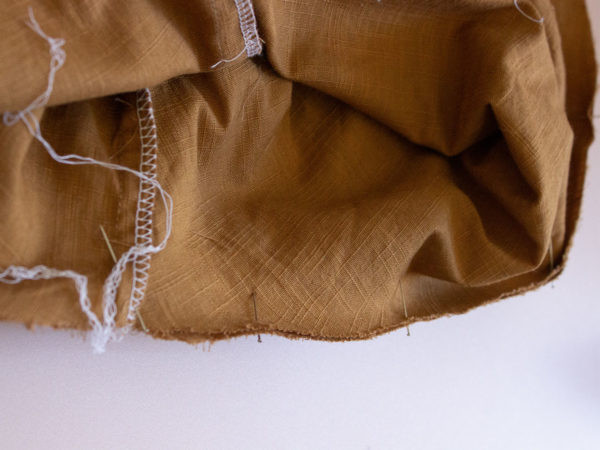
- Create the waistband casing:
- Fold the top edge of your pants over to the wrong side by 5mm. Press.
- Measure down from the top, the amount added for the casing in step 1 and 2 of preparing your pattern.
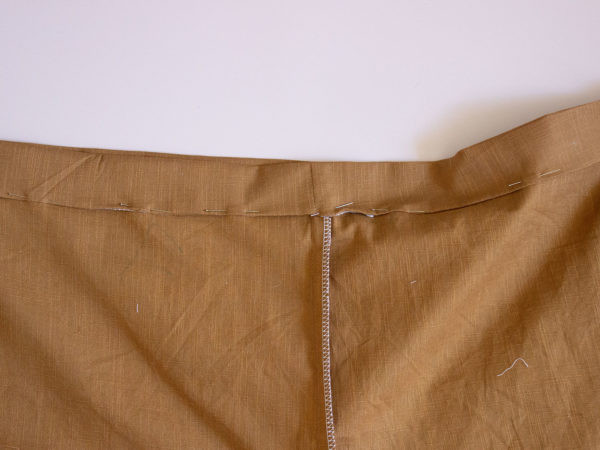
- Sew a straight stitch along the casing edge, leaving a gap approx, 5cm wide to insert the elastic through.
- Pin a safety pin to one side of your elastic and push through the hole. Holding onto the other end, feed the safety pin around the casing until it reaches the hole again.
- Hem your pants. To make a double-fold hem:
- Fold the raw edge over once at approximately 2cm. Press in place. Fold over again the same measurement and press. Adjust these measurements if you feel your pants are too long or a bit short.
- Sew a straight stitch along the edge of the fold to secure the hem in place.
- Repeat for other leg.
Conclusion:
Now that you have completed your comfiest pair of pants thus far, why not make more in different prints! Want to add some extra personality and individuality to your pants, you can:
- Cut the legs shorter to make shorts, perfect for Summer!
- Add inseam pockets or a patch pocket on the back of the pants.
- Experiment with the flair of the pant leg, you can make it skinner or wider to achieve different looks!
With such an easy way to make pants, you can create many pairs of pants, that are all different, fun, and perfect for a variety of occasions.
We would love to see your personalities shine through your creations be sure to tag us @singersewinganz on Facebook and use hashtag #sewitwithsinger so we can see what you have been busy making!
