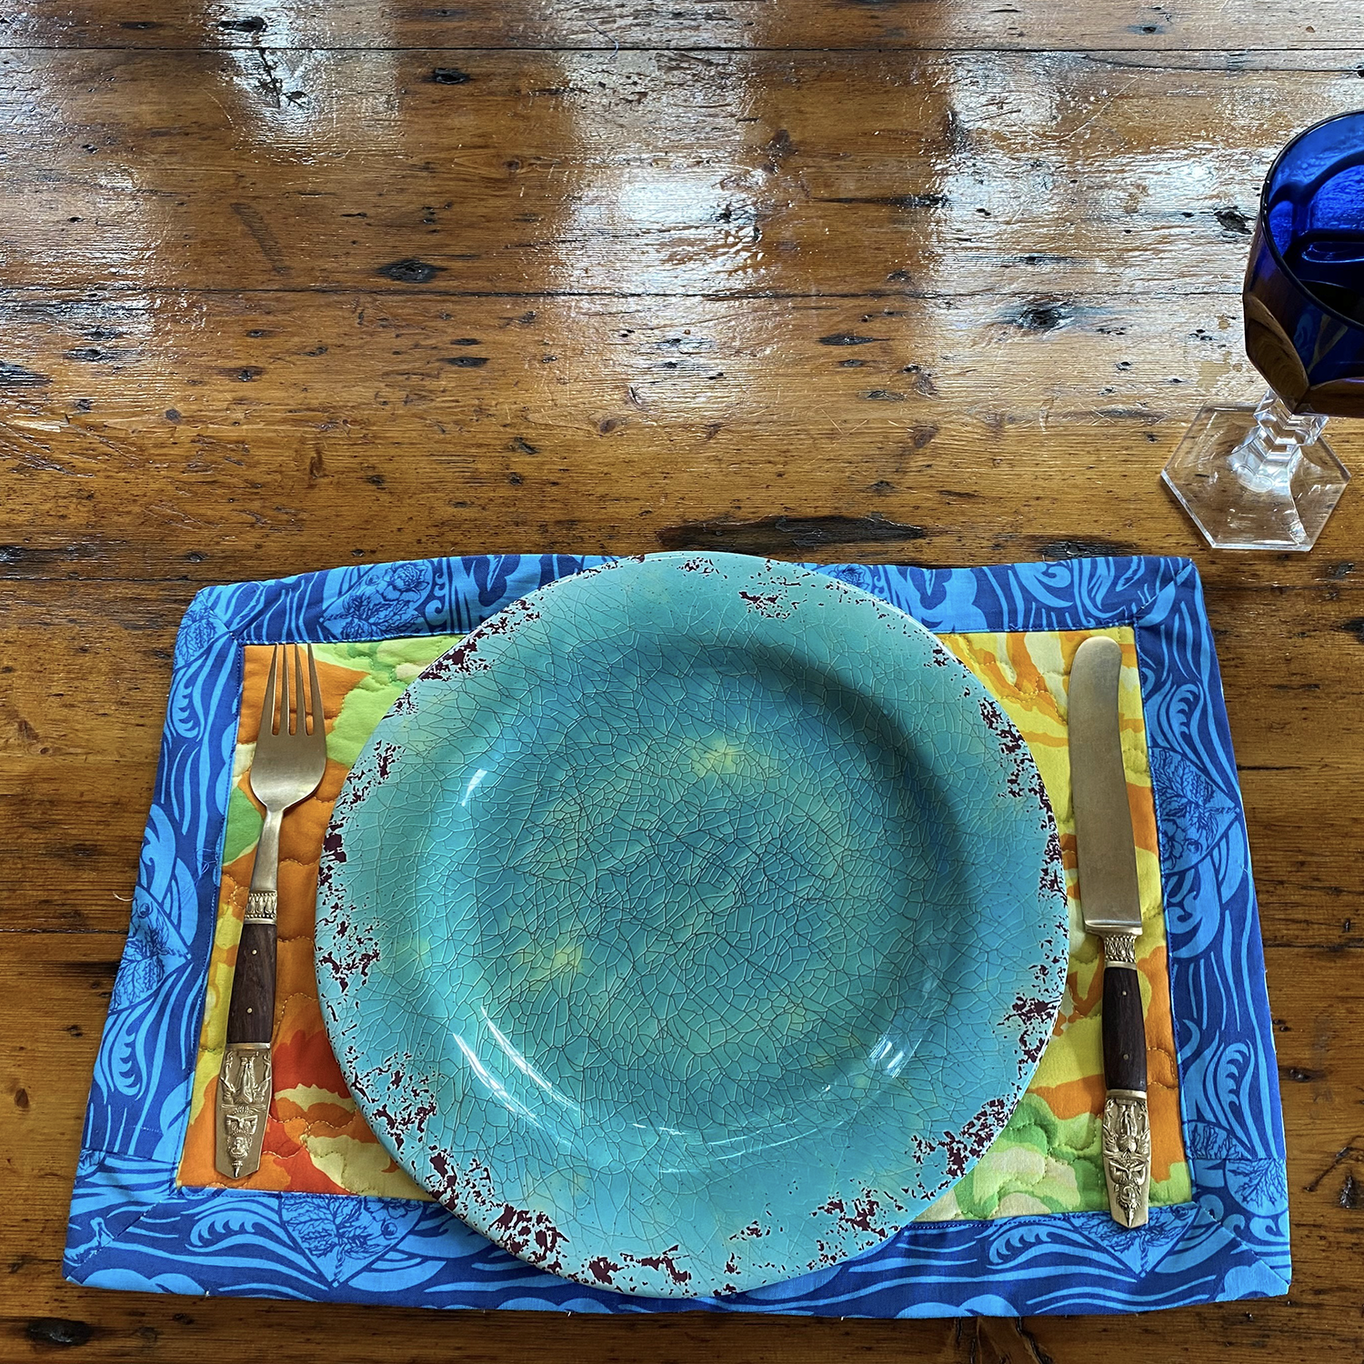
This is a super simple self-binding placemat, using scrap fabrics or items found at an op-shop!
You can make combinations of complimentary or contrasting fabrics to make your very own personalised set of placemats.
These are a great gift idea for friends and family!
Note: As placemats get frequently washed, we are using polyester fusible fleece as this doesn’t tend to shrink as much as some cotton products.
Requirements:
- SINGER® Sewing Machine (we used the Heavy Duty HD6805C Digital Sewing Machine)
- Dressmaker’s Shears (if you don’t have any, you can get our SINGER® 8" bent Shear Scissors)
- Iron (Need an iron? Check out our range! SINGER® Irons)
- Recycled fabric/scraps to make each placemat. Approx. (1) 45cm x 100cm total for each mat.
- Fusible fleece 33cm x 43cm
- Ruler
- Fabric marker or chalk
- Pins and/or clips
- Quilting needle
Cutting:
- Cut (1) 33cm x 43cm polyester fusible fleece.
- Cut (1) 33cm x 43cm fabric piece for the front of the mat.
- Cut (1) 43cx x 53cm fabric piece for the back of the mat.
Sewing Tip: We want to make sure that the back of the mat is 5cm larger all the way around as this is the excess that will fold over and create our binding.

Opportunity Shops: These places can be amazing treasure troves to browse through. Mens cotton shirts and women’s long skirts often provide you with generous amounts of fabric to work with.
Choose non stretch material/items made of the same type of fabric and similar weight.
Polyester is a good choice as its wrinkle free and stain resistant.
Colour fastness is another factor to consider as table mats get washed frequently.
Prewash and press your fabric.
Construction:
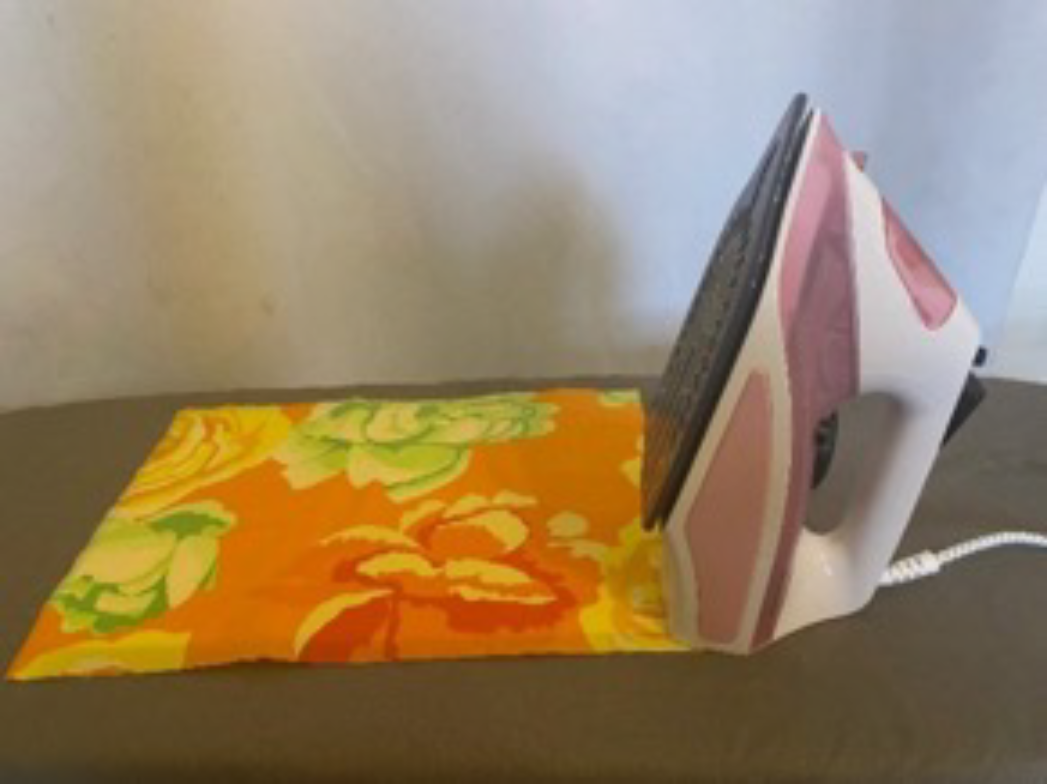
- Place your fusible fleece glue side up. (The glue side is the bumpy side.) Lay your front fabric right side up, centered on top of the fusible fleece. Press with a steam iron until the glue melts, moving the iron constantly to avoid burning your fabric.
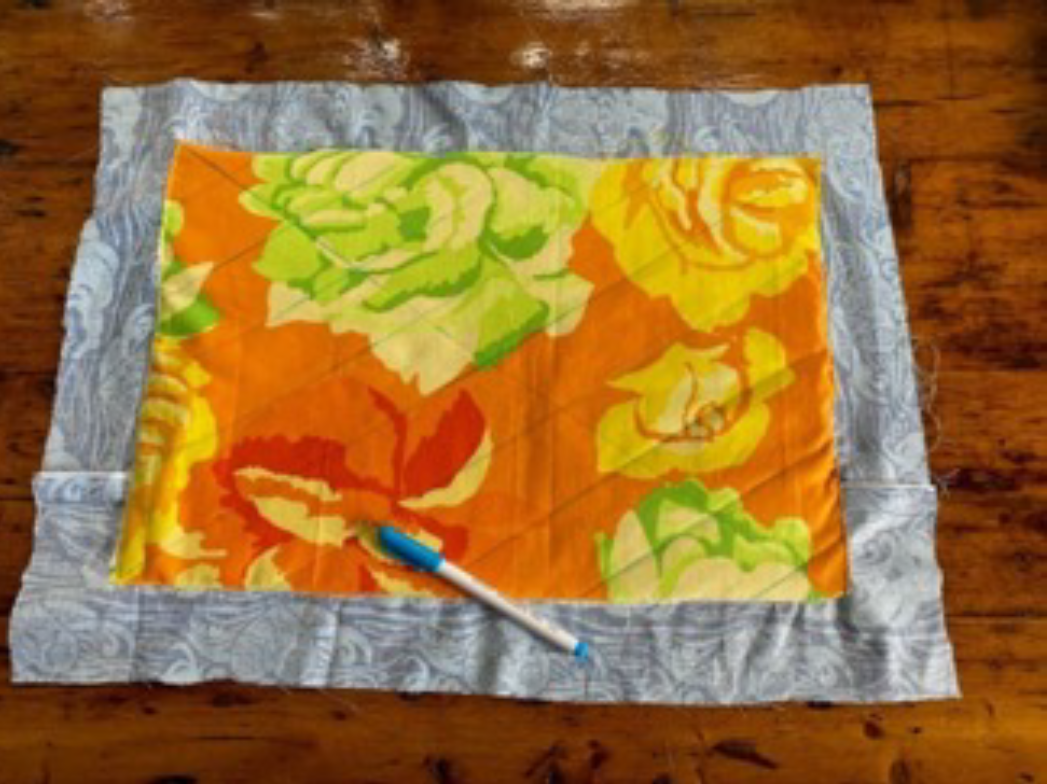
- Place your backing fabric right side down. Place your front piece on top of this right side up. Ensure your mat is perfectly centered with a 5cm overlap all the way around like the picture below. Pin in place.
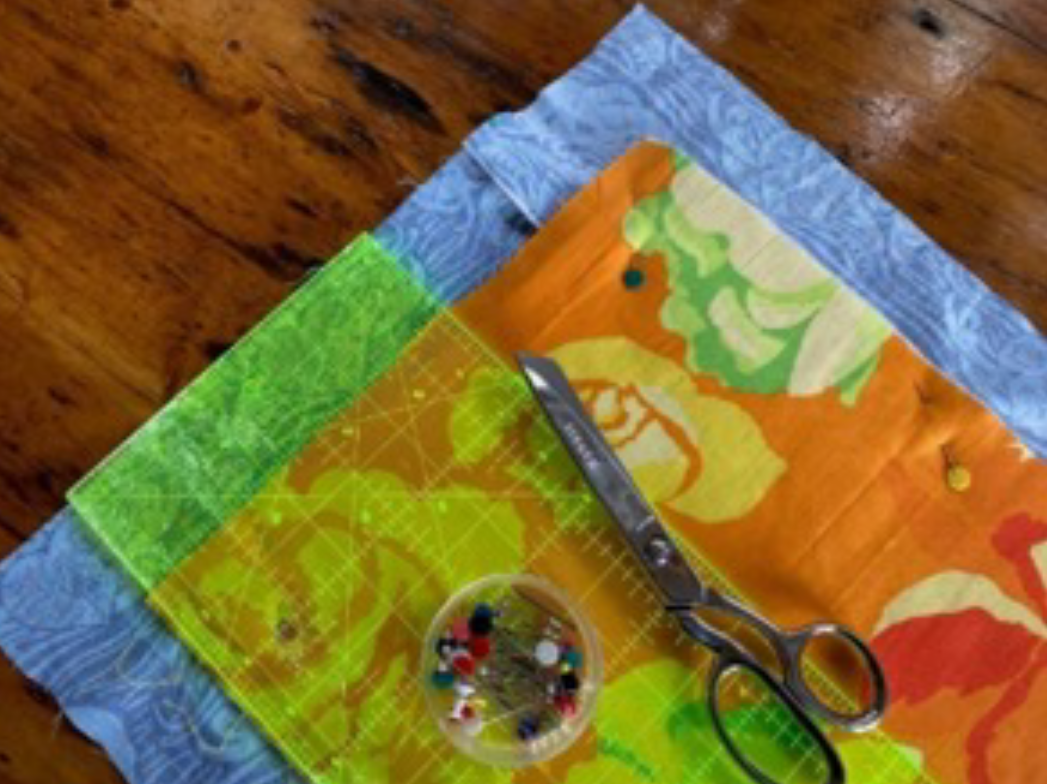
Sewing Tip: If your backing pieces are too small, join pieces of fabric together to create one backing piece. You may like to get creative and make a patchwork style pieced back.
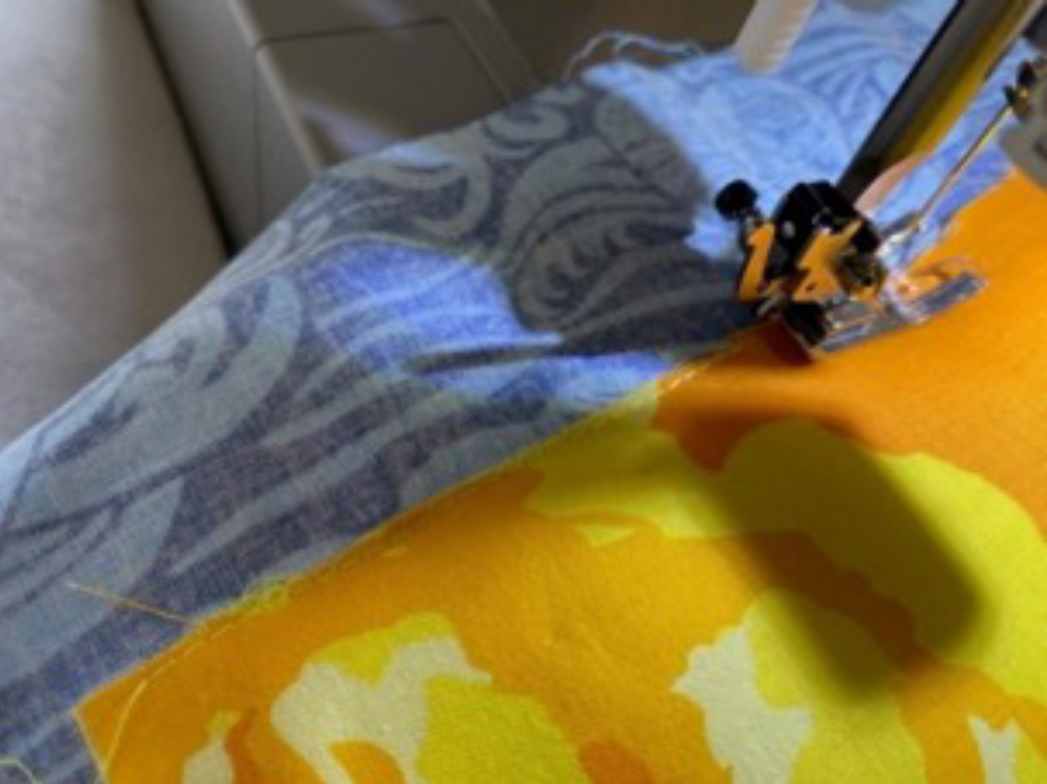
- Select a straight stitch, length 4, and baste close to all the edges of your front piece. See picture below. This will ensure it is secure for quilting. We recommend using a quilting needle which has a special taper to a slightly rounded point. The needle easily penetrates fabric and helps eliminate skipped stitches.
- Using your chalk or erasable pen, mark 2 diagonal lines from corner to corner. Using these lines as a guide, continue marking lines 5cm apart until you reach the edges. These will be the guidelines for your quilting stitches.
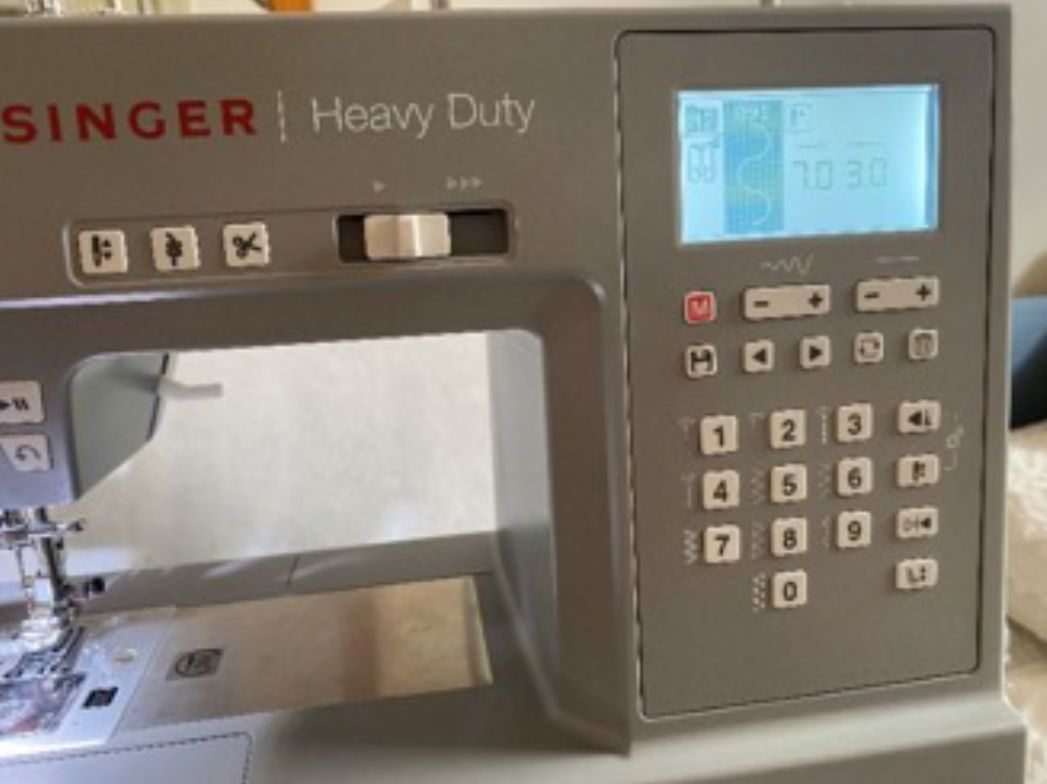
- Select stitch 91. Adjust width to 7 and length to 3. See the machine picture below.
Sewing Tip: SINGER® HD6805C has 10 decorative stitches that you can use and adjust for quilting your placemats.
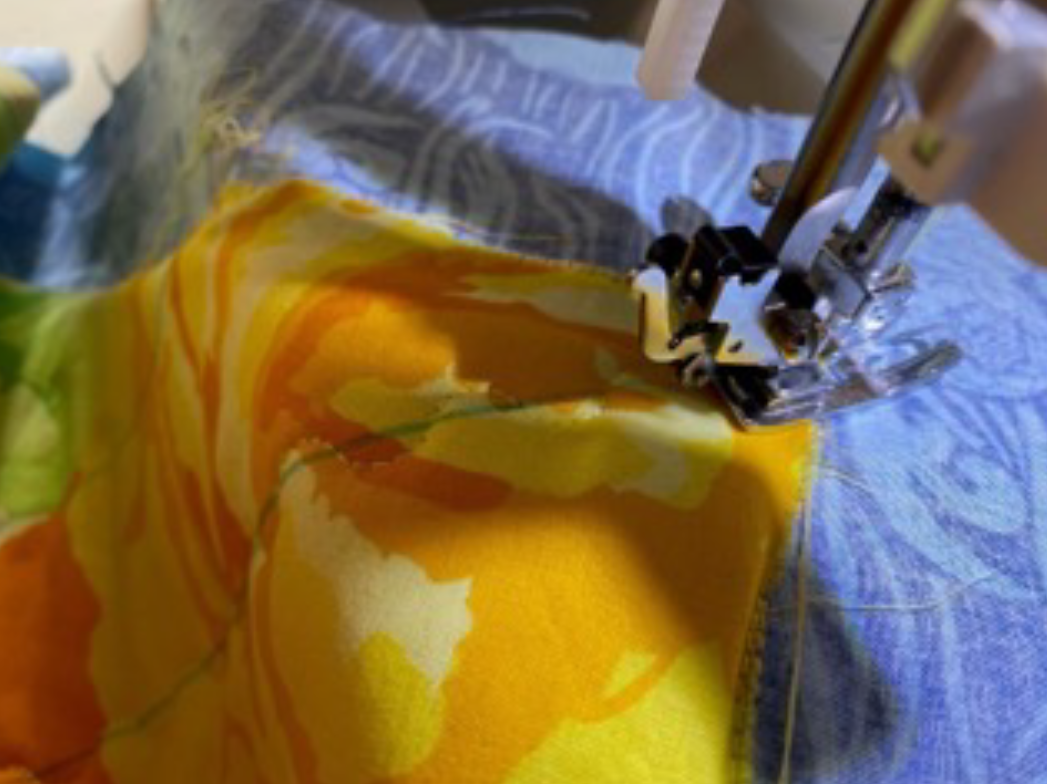
- Starting at the longest diagonal markings, sew, using the center of your foot as a guide. Work your way outwards. See picture below.
- If you are using a waterproof marker, now is the time to remove the markings before ironing. Ironing will set the marker and possibly make it permanent.
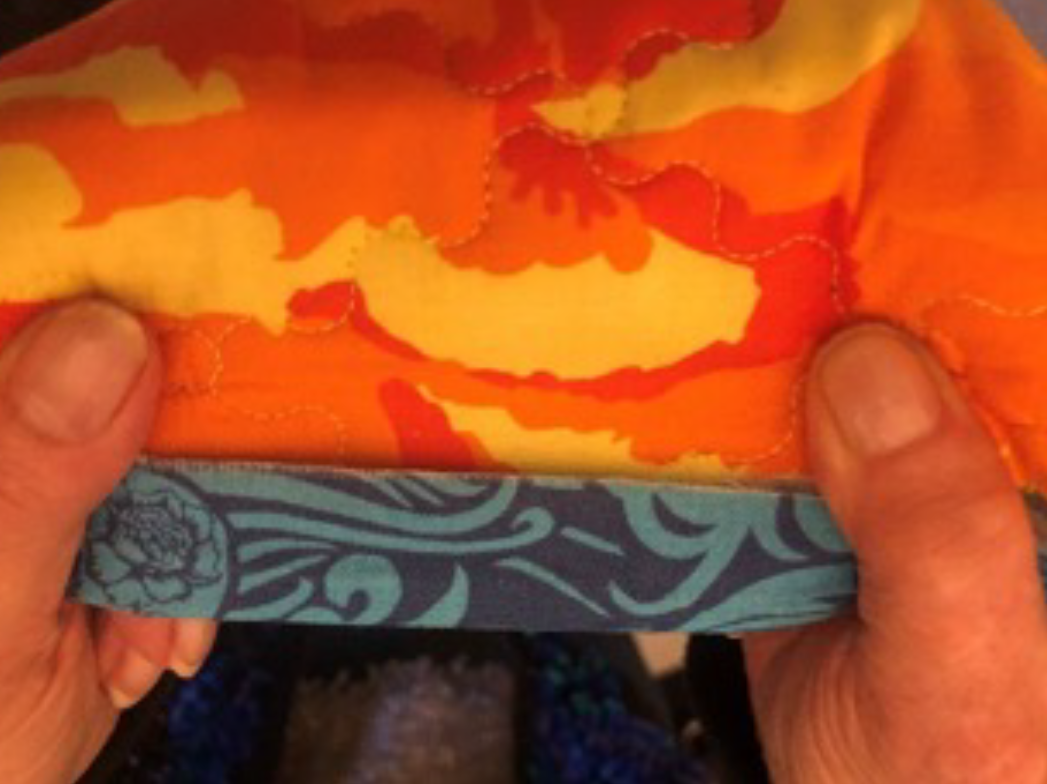
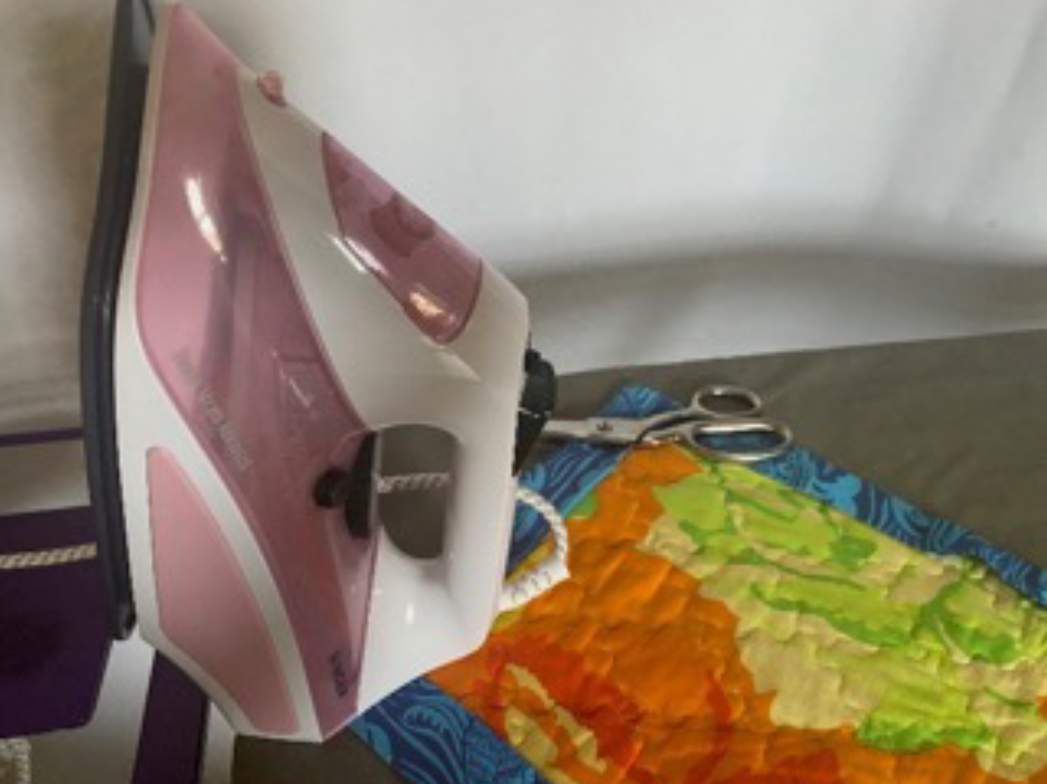
- Unpick your basting stitch and fold your overlapping backing fabric edges in half. Line up the raw edges to the edge of your front piece. Press. See the picture below.
- Open the pressed edges and you will have a middle crease line which we will use in step 11. Cut a triangle off each corner, leaving a 6mm seam from the corner of your front piece. See picture below.
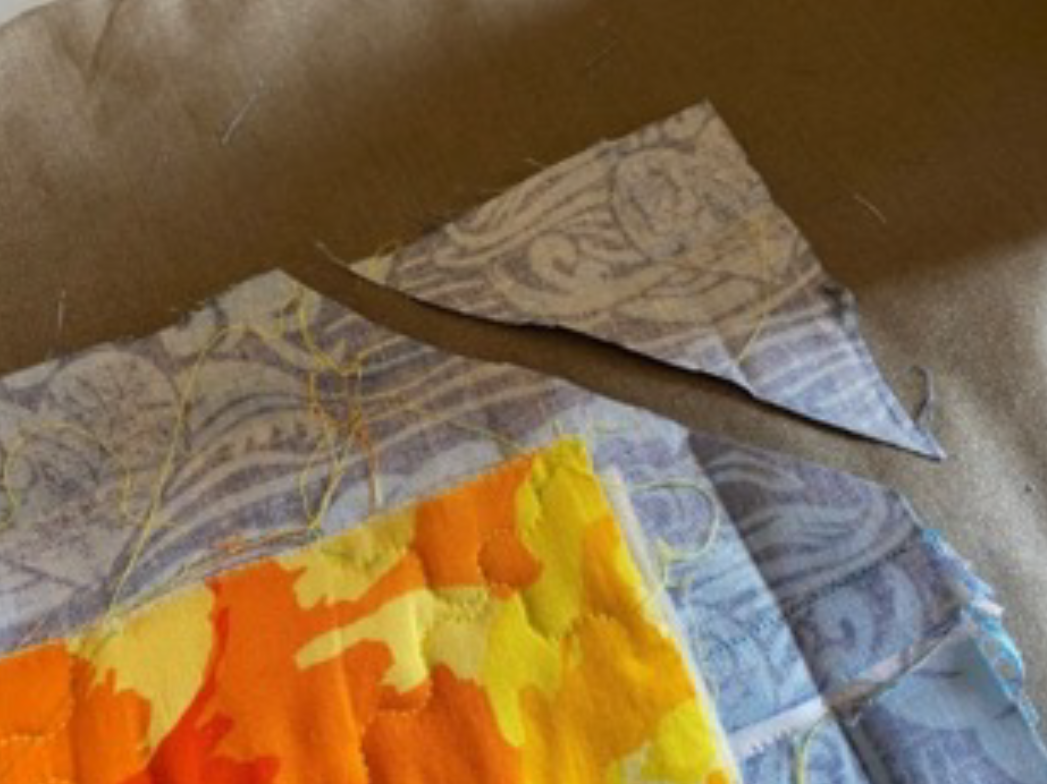
- With the right side of your backing together, align your cut edges. See picture below.
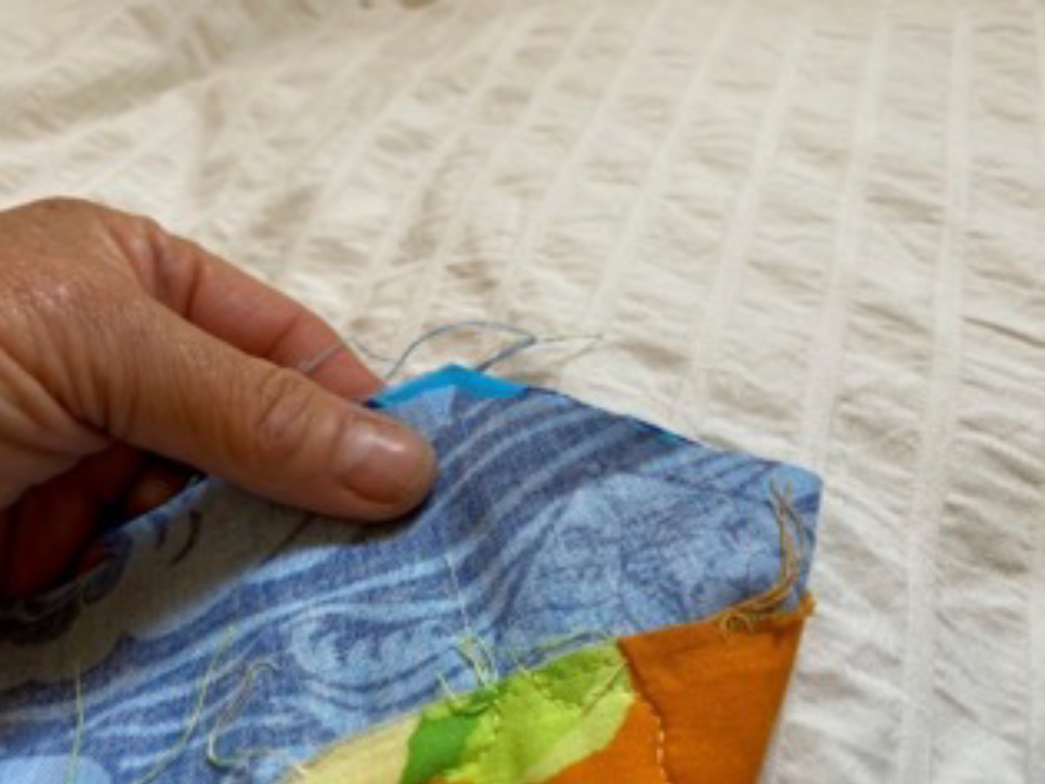
- Select straight stitch and start sewing at the middle crease line (done in step 8) through to the end. (i.e.: you are only sewing halfway along) Lock stitch at the start and back stitch at the end to ensure your stitching is secure. Make sure you only sew onto the backing fabric.
Sewing tip: The SINGER® HD6805C has a tie-off function to ensure your stitches start off securely.
- Placing your thumb along the open seam on each corner and flip around. Use a blunt tool to poke out the corners. Your now have 4 perfect mitred corners.
- Press down all your edges again and snip off all your loose threads.
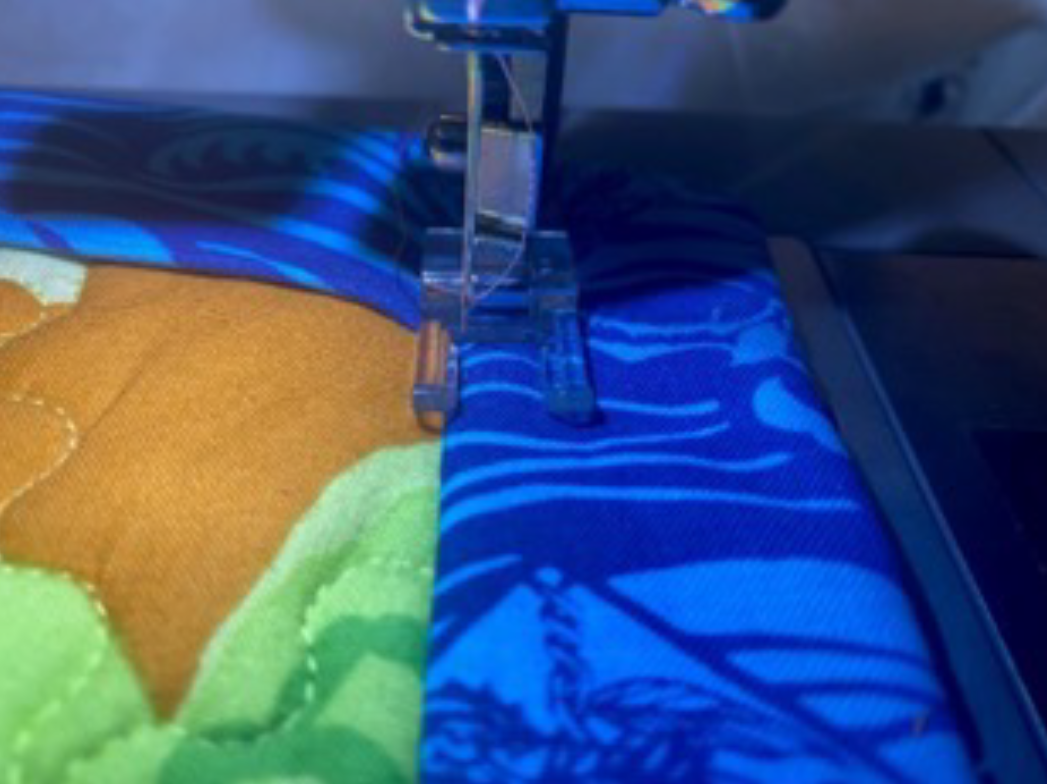
- Attach the open-toe foot onto your machine. The inside of the left side of the foot should be aligned with the edge of your binding, with the bulk of the fabric on the left. Change thread colour if desired.
Sewing Tip: SINGER® Open-Toe Foot provides a clear view of your stitching area and the tunnel on the underside of the foot enables raised trims to feed smoothly beneath the foot.
- Sew all the way around your placemat, using the needle down function to easily pivot at each corner.
Conclusion:
Congratulations- your first placemat is now complete! Why not make a whole mix n mat set for next picnic or dinner party!
There are many ways you can create unique and personalised up-cycled placemats! By using scraps, no 2 placemats will the same. A great way to show off your quirky and fun side, whilst minimising fabric waste.
When you have completed this project, don’t forget to tag us! We love seeing your creations. Be sure to tag @singersewingaus and #sewitwithsinger in your posts so we can see.
