
We all know pansies are beautiful but unfortunately, they don't last. Boo!
So, what if we could create a pansy that bloomed all year round?!? That’s right! I’m going to teach you how to create an everlasting silk pansy.
Requirements
1. Singer Sewing Machines
2. Singer Darning/ embroidery Presser Foot
3. Singer Sewing Scissors
4. Singer Sewing Needles
5. Bamboo Embroidery Ring – 30cm
6. Water Soluble Fabric
7. Silk thread 40wt (top and bobbin thread) in
a. Navy
b. Ultramarine
c. Sky blue
8. Pre purchased stamen (optional)
Sewing Instructions
1. Place your water soluble fabric and fasten inside the embroidery hoop. It should be taught and wrinkle free. Once
the tension is firm place your templates on the top or underneath and trace onto the fabric.

2. Remove the standard sewing foot and place the Singer Darning/Embroidery Presser Foot on your machine.
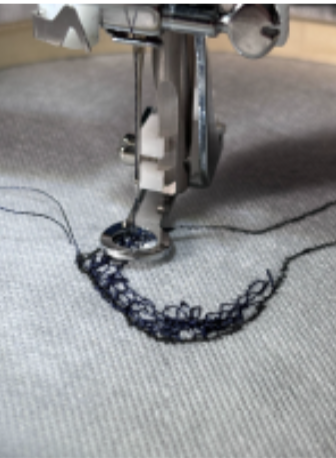
3. Starting with your darkest colour (navy) and sew around the perimeter of the traced image. Then start free motioning inside, keeping it thicker on the perimeter and start covering the water-soluble fabric.
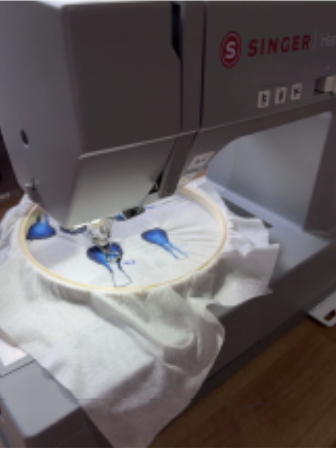
4. Continue this process with the ultramarine and sky-blue threads. Make sure ALL the water-soluble fabric is covered with thread as this is your structure.
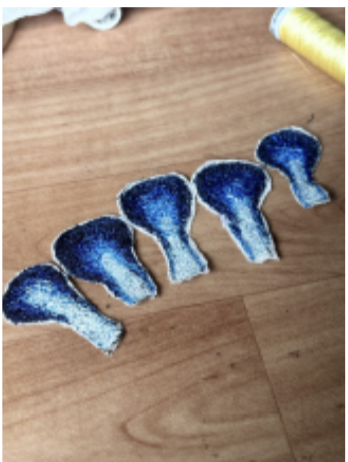
5. Trim around each petal as close as possible. It is safe to snip over any stray stitches to keep the shape neat.
6. Place in a bowl of warm water and leave for about 5 – 10 mins. Squeeze out any excess water.
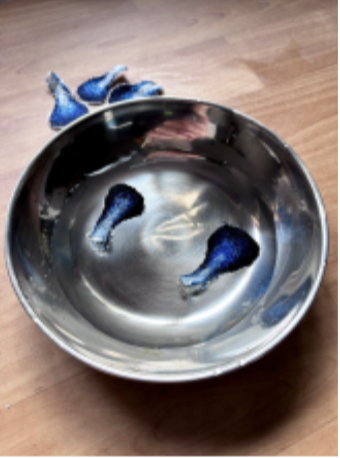
Now let’s bring this baby to life!
Assembling
1. Grab a skewer and start placing petal around it. Start with the smallest first then work your way up. End with the largest petal being the back centre. This is to make it anatomically correct – not essential. I anchor each individual petal by wrapping it tightly with thread.
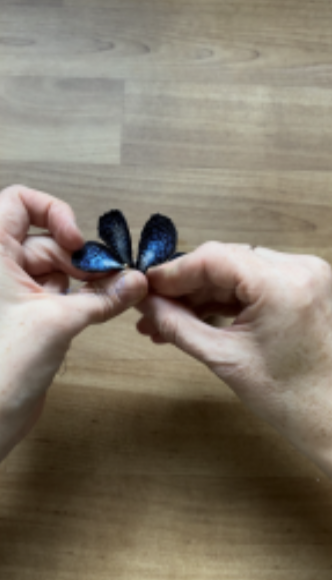
2. Once all the petals are securely fastened, place the flower upside down. To give it some character you can put pencils under each second petal – again this is optional, however, it will just contribute to giving the flower more of a 3D effect. Leave it to dry overnight.
3. Attach the stamen with some fabric glue.
4. Gently remove the skewer and make sure the base of the petal is dry before cutting off any excess fabric from the bottom.
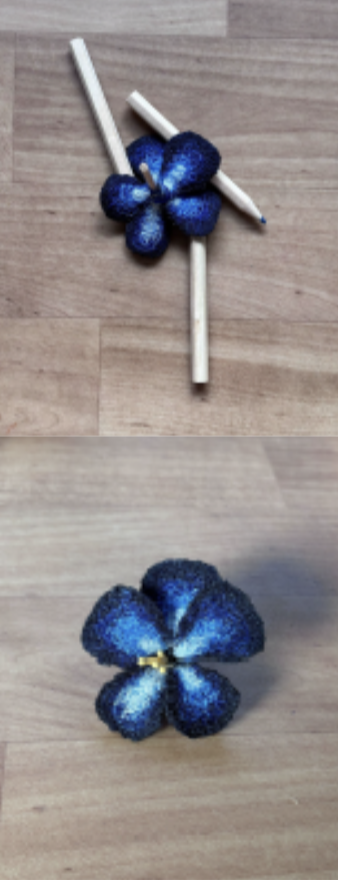
5. Attach a brooch back to the flower and you’re done! Let your imagination run wild. You can make all types of colourful flowers! Wear it as a feature piece on your outfit or a pop of colour.

Congratulations on finishing your project! Don’t forget to share your projects with us on Instagram, tagging @singersewinganz and using the hashtags #sewitwithsinger #singersewingmachines #singersewingaustralia or our Facebook page Singer Australia, New Zealand
