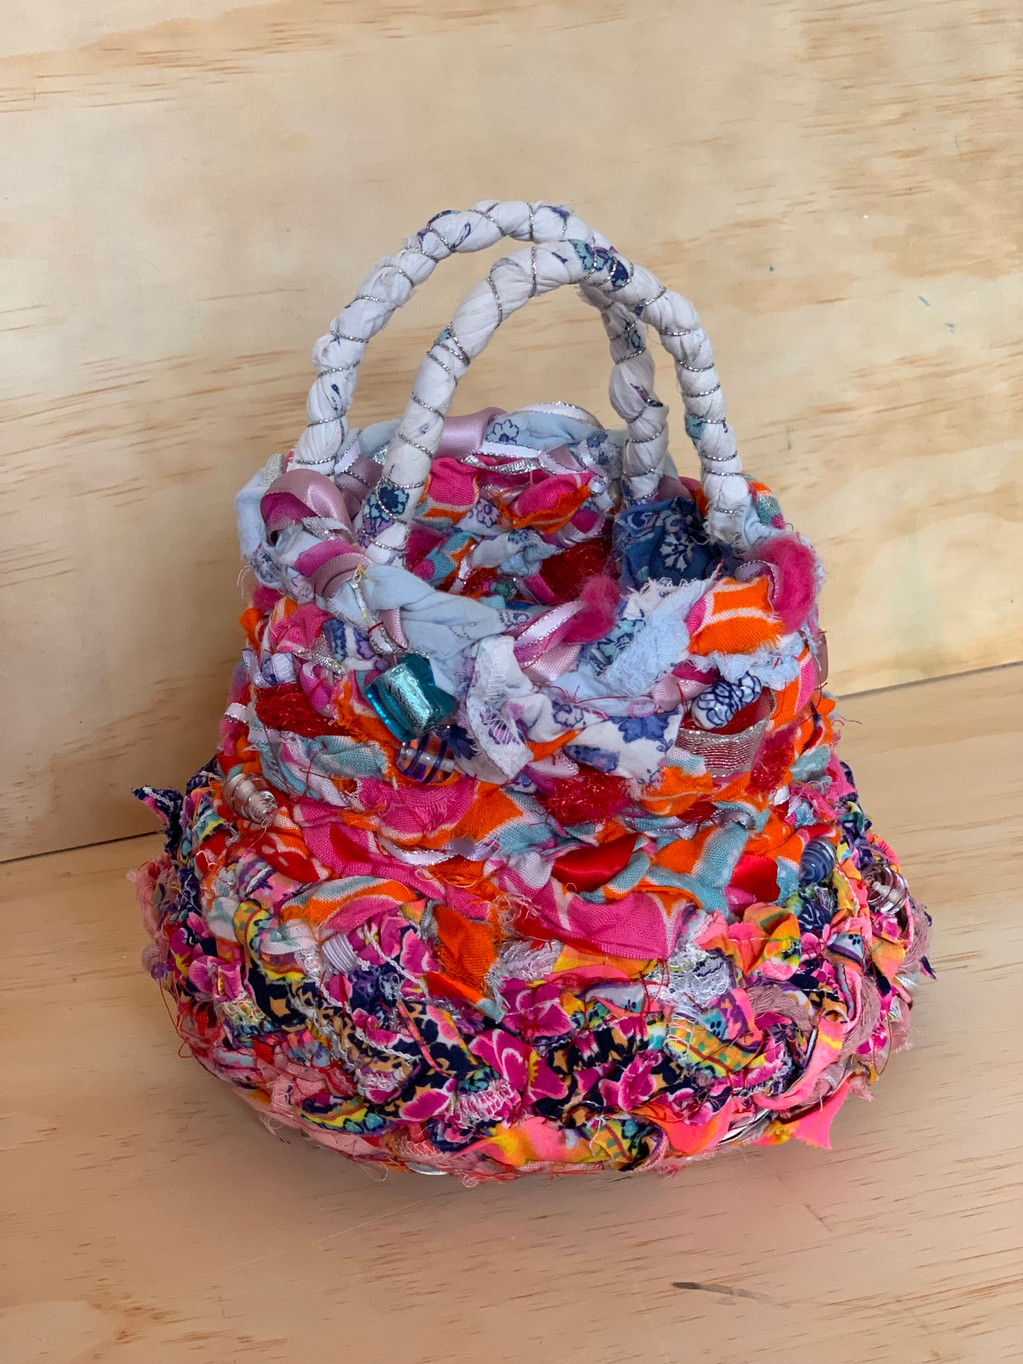
Guess what! Bucket bags are on trend for 2024!
Along with 90’s fashion coming back, so are the little handbags you hold. You know the ones that are made just for your essentials?
I’m going to show you how to upcycle and make your own!
Requirements:
- 1.Singer Sewing Machines
- 2.Singer Sewing Scissors
- 3.Singer Sewing Needles
- 4.Recycled Clothes
- 5.Iron
- 6.Safety Pins
- 7.Thrifted Beads
- 8.Old ribbons, cords, lacing and yarn for extra texture.
- 9.General Sewing Equipment
Cutting Requirements:
- 1.Cut up clothing into 5cm strips.
Sewing Instructions:
1.Grab 3 strips and using a straight stitch, sew them together at the top.
2.Plait 30cm loosely and iron flat - I put a safety pin at the end to keep it fastened. You don't want this to be thick like rope. When one length ends, sew a new strip to it and so on. You want to make 1 continuous plait.
Design Element: I incorporated ribbons and the plastic netting from oranges to create more texture.
TIP- It tangles easily so don't have the strips too long.
3.When starting off. Create a spiral and hand stitch 3 to 4 coils.
Now let's get sewing!!
1.I prefer to use straight stitch as it becomes invisible, however you can use zigzag and turn it into a fun feature with some contrasting colours.
2.As you sew, overlap the new coil to the previous coil. This will keep it neat and snug. KEEP FINGERS A SAFE DISTANCE FROM NEEDLE!
3.To create a shape to the bag, overlap the coils closer together for a narrow shape and vice versa.
TIP- If you've ever made a pinch pot in pottery, it's a very similar technique when shaping.
I started mine flat and when the fabric started curling up, I made the rings tighter to achieve a pear-shaped bag.
The Handles:
1.Using 2 strips,35cm long, twist the fabric. Secure the twist by wrapping a metallic cord or similar around the twist secure in place the twist. Bring the ends of each handle 5cm down and sew on the inner side of bag.
TIP- For the bag to hang properly make sure the inner straps are all even and sewn down. This will also depict the final hanging shape of the bag.
2.For extra texture and funkiness, I added some beads I found at my local Op Shop.
3.Trim any stragglers to neaten up the bag.
Ta-da!! Congratulations, you’ve just created your very own personalized bucket bag!
Congratulations on finishing your project!
Don’t forget to share your projects with us on Instagram, tagging @singersewinganz and using the hashtags #sewitwithsinger #singersewingmachines #singersewingaustralia or our Facebook page Singer Australia & New Zealand
