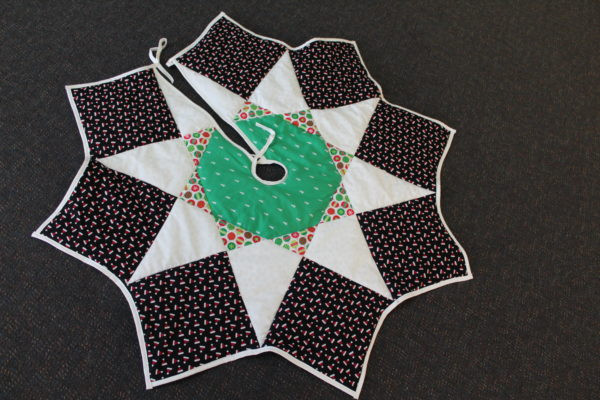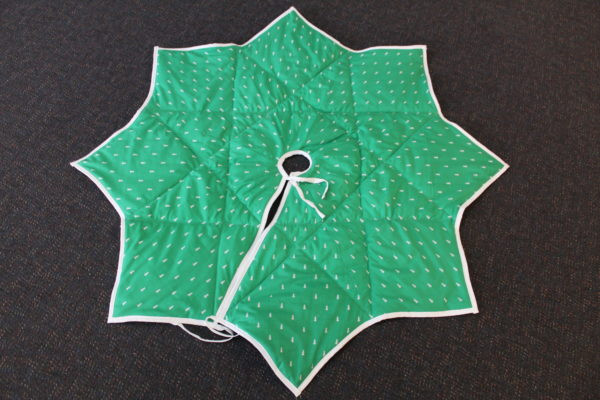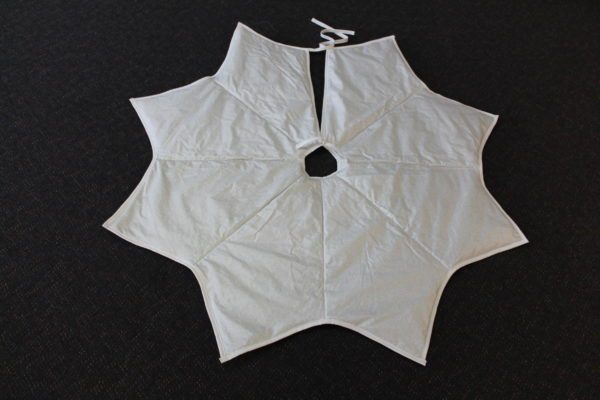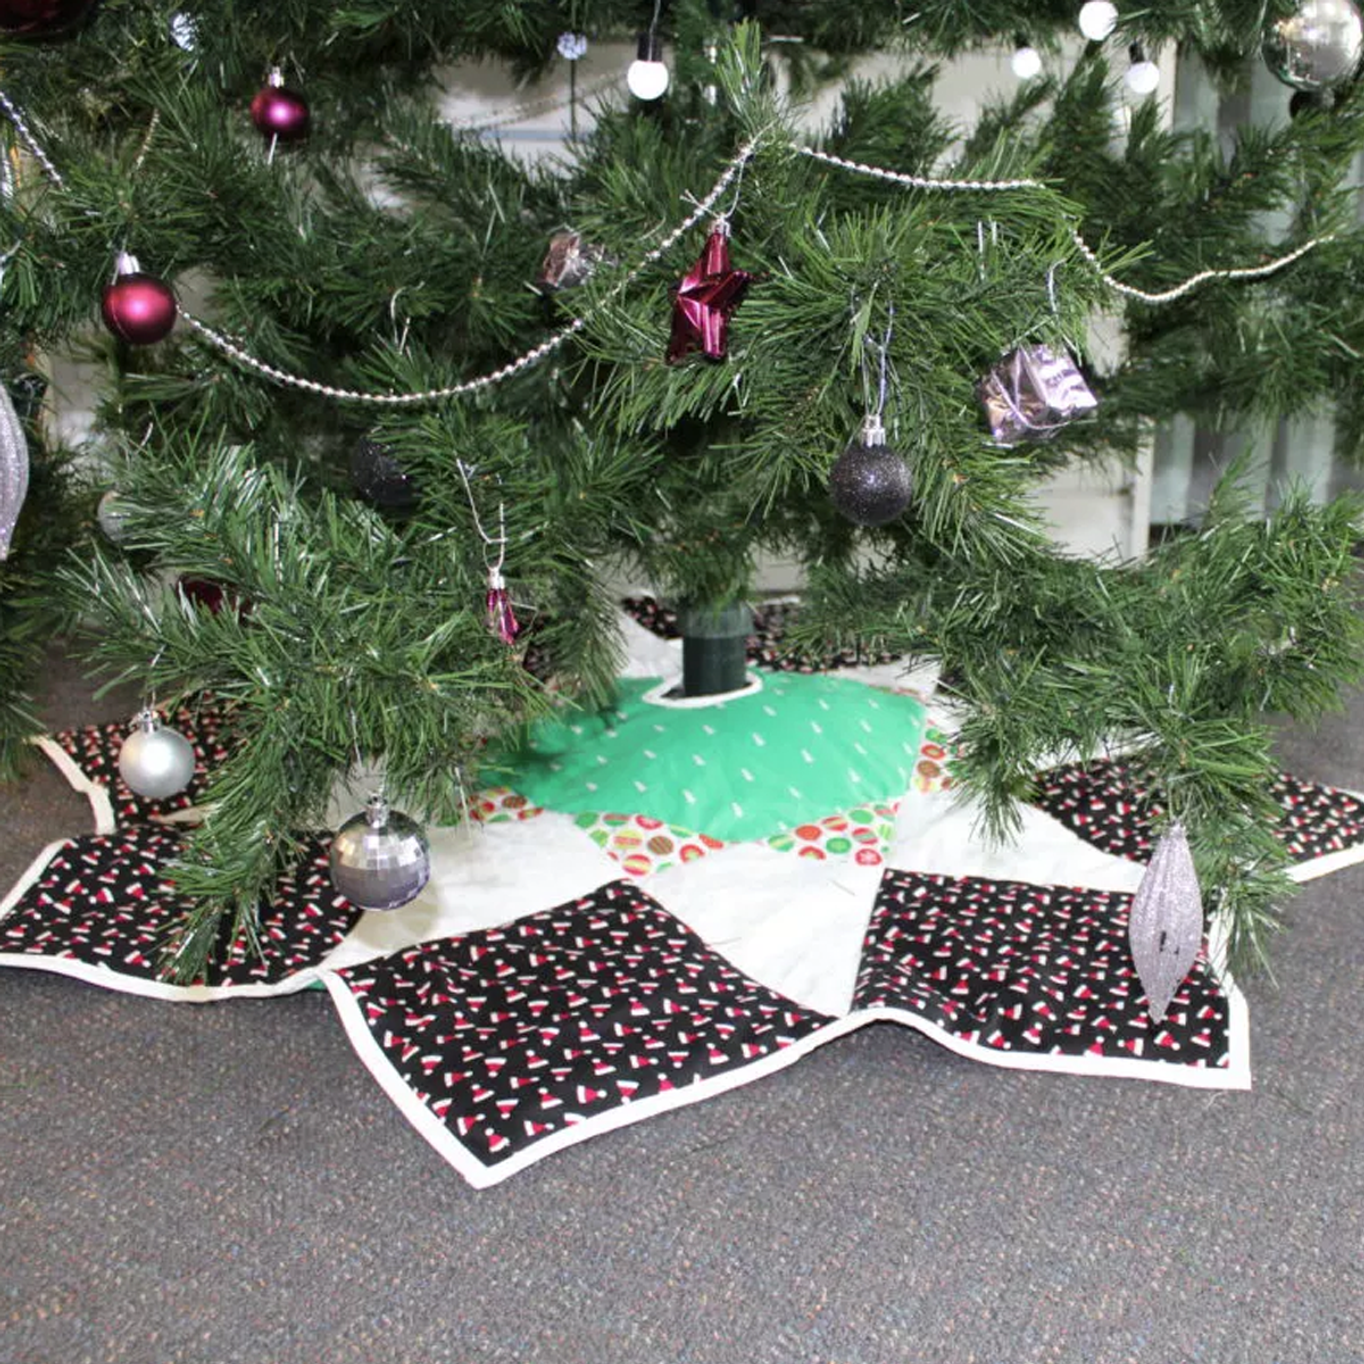
Create a colourful Christmas tree skirt and add some extra pizzazz to your Christmas tree.
Shopping list
- Sewing machine
- 1m Cotton fabric
- 2x contrasting fabric, 20cm each
- Walking foot
- Coordinating thread
- Scissors
- Iron
- Safety pins
- Wadding
- Backing fabric, Woven cotton 2m (fabric will be required for pattern piece 1 as well)
- Binding tool (optional) or Bias Binding (7.5m)
Preparation
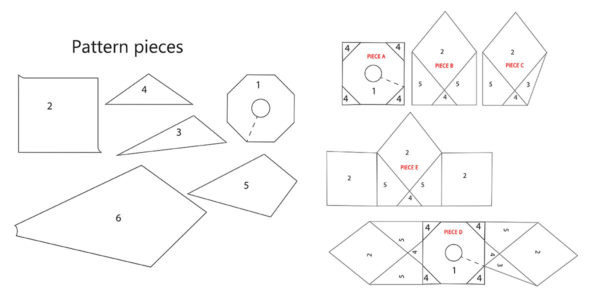
Use pattern pieces 1-5 for the main side, for the backing use pattern 6
- Print out the patterns provided.
- Tape or glue where necessary.
- Pin patterns to fabric and cut out
- Pattern 1- cut 1
- Pattern 2- cut 8
- Pattern 3- Cut 2
- Pattern 4- cut 8
- Pattern 5- cut 7
- Do not cut backing yet.
- Unfold pattern piece 1, cut along the dotted line to create an opening. Ensure that you only cut 1 layer of fabric.
Construction:
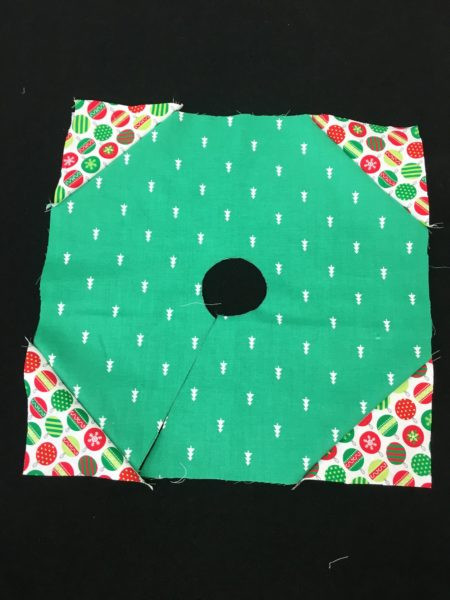
- Using pattern piece 1 and 4x pattern piece 4. Pin piece 4 onto opposite corners of pattern piece 1. Sew to create a square. This will now be referred to as piece A.
- Pin 1x Pattern piece 5, to one of the shorter sides of 1 x pattern piece 4. Sew and press towards the dark side.

- Pin one side of 1x pattern piece 5 to 1x pattern piece 2. Sew and press towards the dark side.
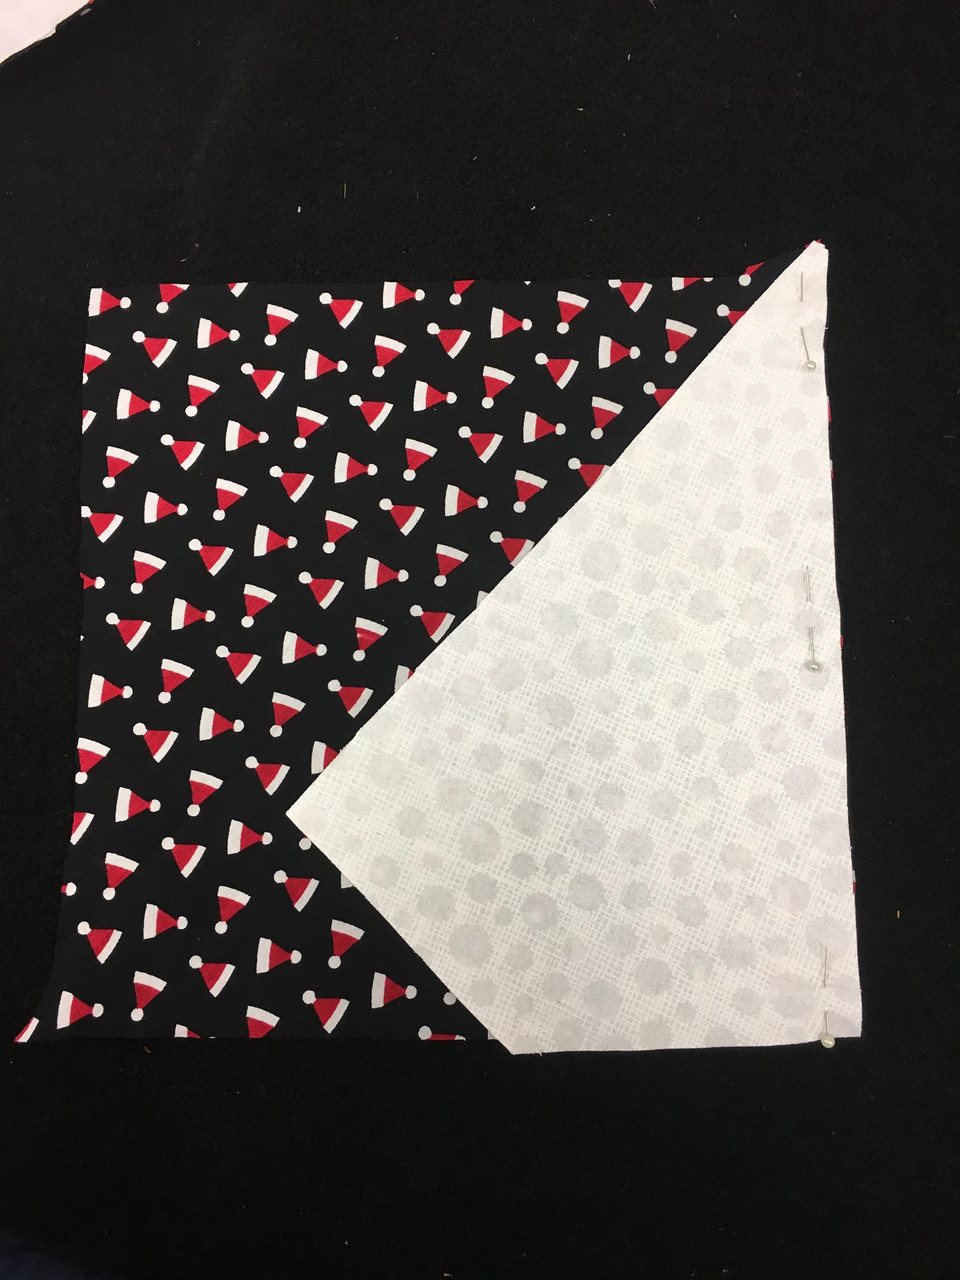
- Using pieces from step 2 & 3 pin together in the orientation shown, matching seams. Sew and press seam to the left. This piece will now be referred to as piece B.
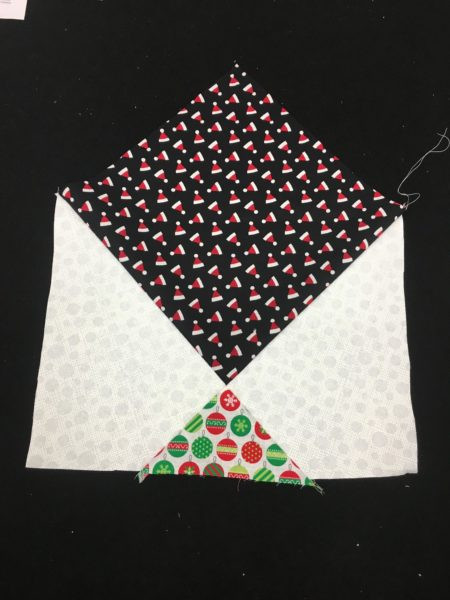
- Repeat steps 2 to 4 twice more, making a total of 3 units.
- Repeat step 2 only.

- Using pattern piece 3 and 2, sew together, ensuring that the longest edge remains unsewn.

- Sew pieces from step 6 and 7 together. This will now be referred to as Piece C.
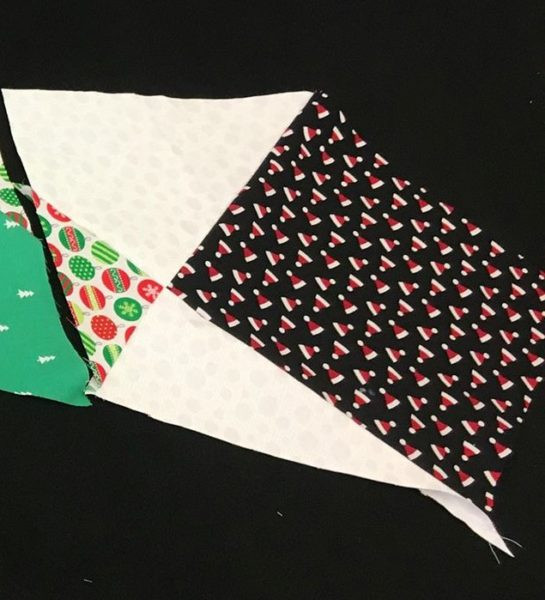
- Attach piece C to one side of A, ensure that pattern piece 3 on C lines up with cut edge on piece A to continue the opening.
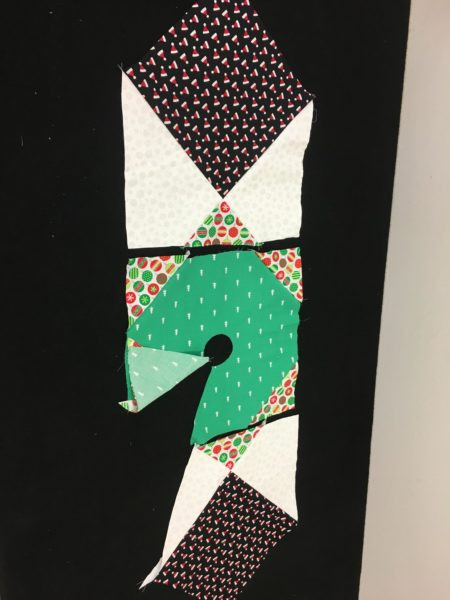
- Using B attach to A, ensure that it is attached to the opposite side to C (creates piece D).

- Using remaining two B pieces. Place 1 of pattern piece 2 to one side of B, as shown below.
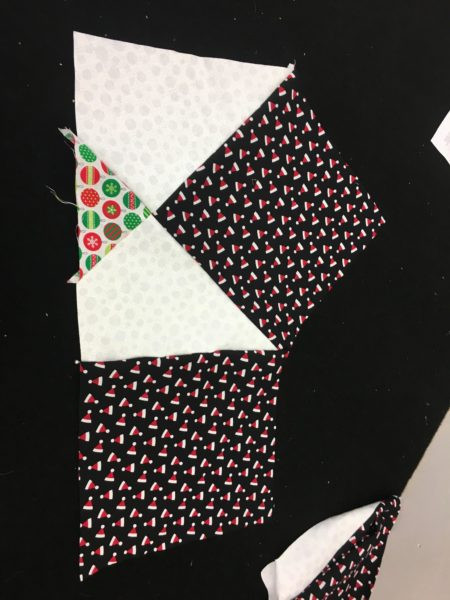
- Repeat for the other side (creates piece E)
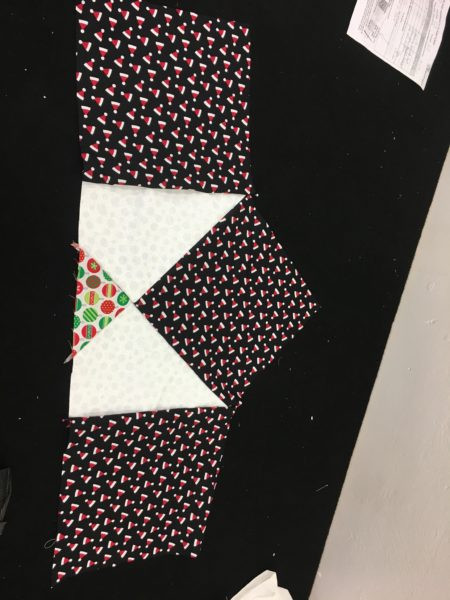
- Sew piece E to the side of D that does not have the opening.
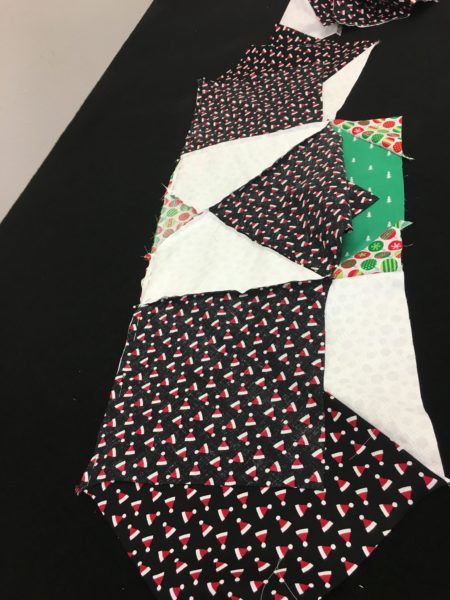
- Using remaining piece B, attach pattern piece 2 to one side.

- Sew this to remaining Side of D.
- Pin and sew remaining pattern piece 2 and 3.

- Place this to the opening and sew.

Backing
- For under fabric leave extra around the middle circle and outer triangle.
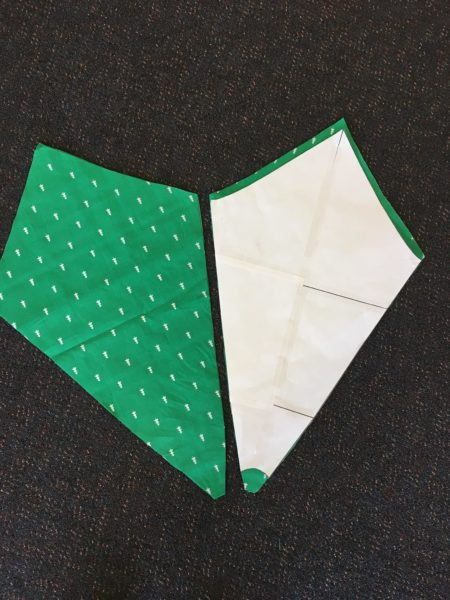
- Pin long sides together for all 8 pieces and sew.

Construction - all layers.
- Find a hard, flat surface, preferably a tiled or wooden floor.
- Place lining right side face down, tape to the ground, ensuring that you smooth out all wrinkles and fabric is firm.

- Place batting over backing
- Place top fabric, matching up opening to batting and backing opening. Roughly cut batting, ensure that you leave excess.
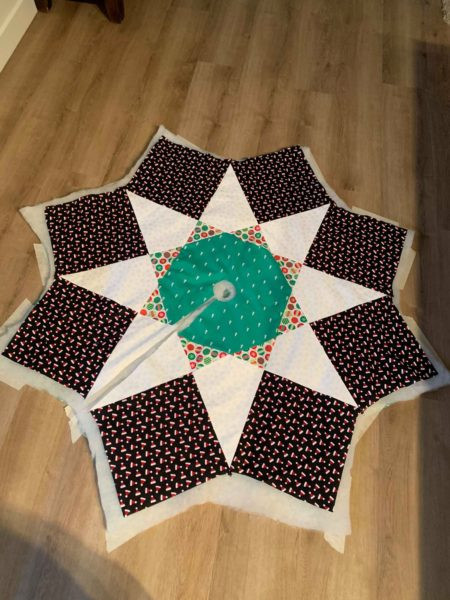
- Cut opening and a small circle to allow ease of access when sewing.

- Place top fabric back onto batting, matching up openings.
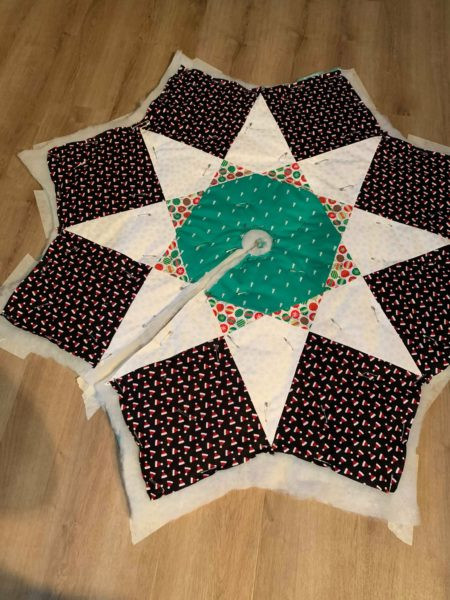
- Using safety pins, start from the centre an make your way out. Pinning through all layers.
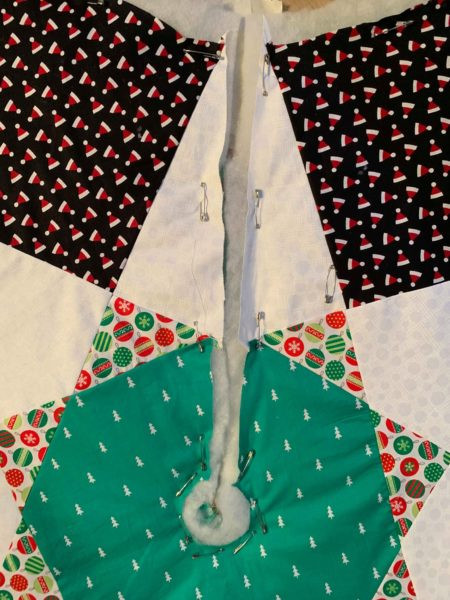
- Using remaining pins, pin the rest of the fabric together, using roughly 3-6 pins per piece.

- Remove tape from your chosen surface.
- Attach your walking foot to your sewing machine.
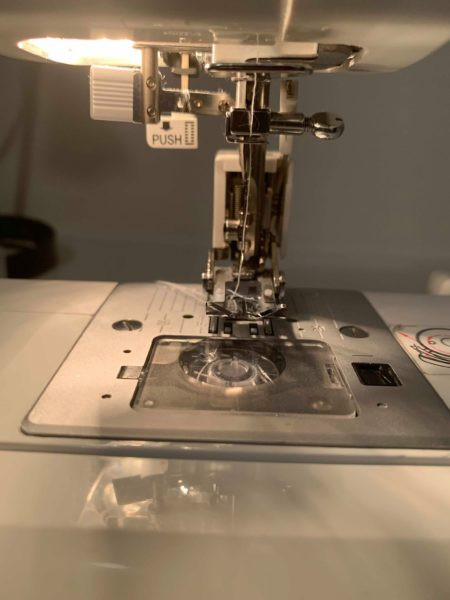
- On the top side, perform a "stitch in the ditch" through every seam. This will create a stitched pattern on top and bottom.
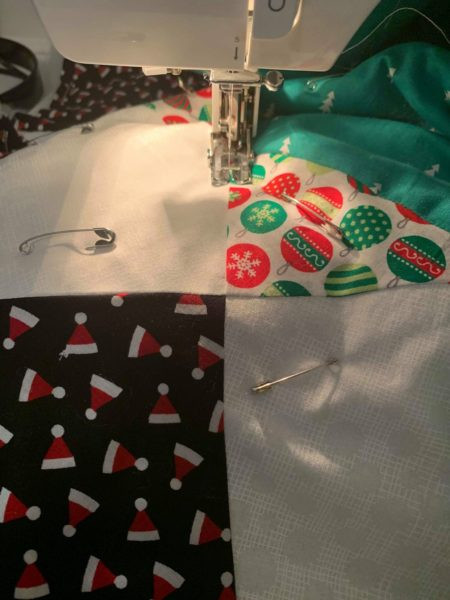
- Once every seam is done, stitch around the outer edge, opening and middle circle opening.
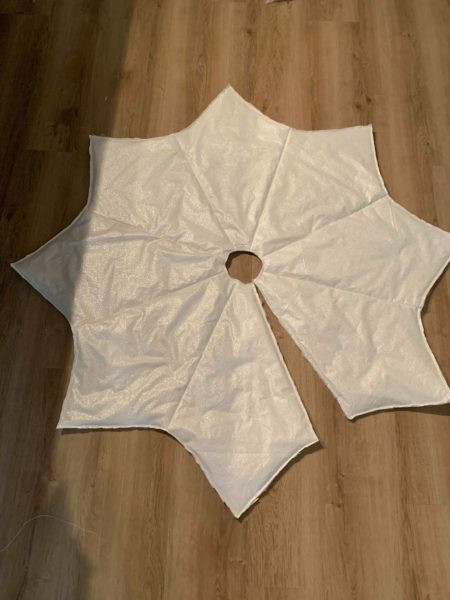
- Remove safety pins and trim any excess fabric from the skirt.
Bias binding- follow step 33 if you want to create your own Bias binding. If you are using bought bias binding go directly to step 34. Cut 12 pieces of 60cm
- Create binding, refer to How to make Bias Binding by hand, refer to Bias Binding tape making if you wish to use the tool, 25mm tool was used.
- Place edge of fabric into bias tape, sandwiching all layers of tree skirt into bias tape.
- Pin in place, pinning every section edge and opening edges.

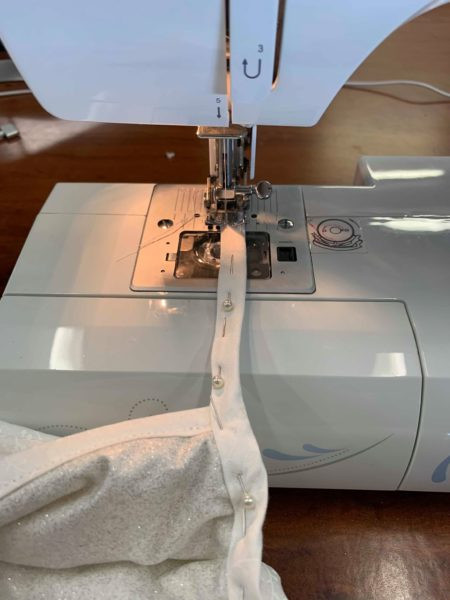
- Using Walking foot, sew the binding to tree skirt by lining the edge of the foot with the bias and using a straight stitch.

- Repeat for all currently pinned edges.
- Pin remaining edges, when at the end, fold over the edge and then pin.
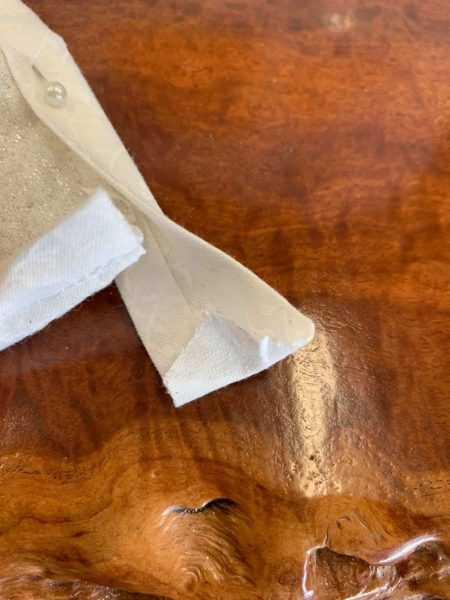
- Ensure that you sandwich already sewn bias tape between new bias tape.

- On opening outside edges, start at tree skirt point, pin all the way across including excess hang off. This will create the tie for the skirt. Repeat for inner circle opening.
Congratulations on completing your Tree skirt, embellish and decorate your skirt in as many ways as you can!
Tip: you can use the lining pattern as is. To create another unique tree skirt.
