
When my husband and I moved into our new home, my sweet little mum made us one of her famous crocheted oven gloves as a housewarming gift. 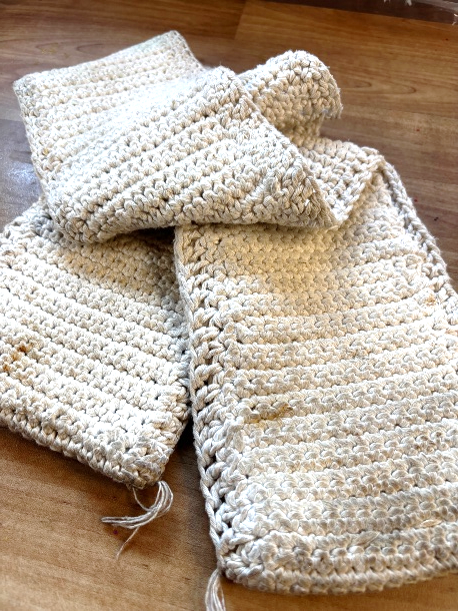
They were a little skewed, slightly singed and beginning to fray, but they served us faithfully for many years—until they finally reached the end of their practical life.
For sentimental reasons, I couldn’t bring myself to throw them away, so I decided to give them a new purpose as a decoration for our Christmas tree.
I don’t know about you, but one of the things I always look forward to at Christmas is a delicious peppermint candy cane!
So, instead of eating ten packets this year, I decided to make one big enough to resemble the fifty I would have happily eaten.
My mum was very intrigued by how I planned to pull this off. The challenge was set—and my pedal was ready to go!
Machine Requirements
- Singer Heavy Duty 6705C or 6805C Digital Sewing Machine.
- Singer Ballpoint/ Stretch Fabric Needles
- General Sewing Equipment.
Requirements
- Christmas fabric
- Embroidery Threads
- Bobbin fil
- Ribbon/s.
- Iron on tearaway Stabiliser
- Fabric glue.
- Polyfill / wool roving.
Creating your candy cane
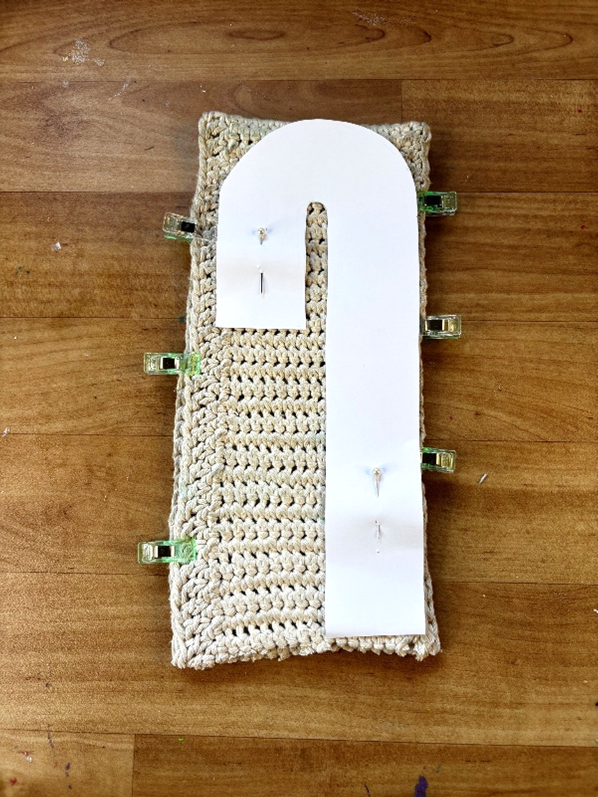
- Print, cut out the template.
- Place the two wrong sides of your fabric together and pin on the template.
Note- the template includes a 1.5 cm seam allowance.
3.Using your all purpose foot, and a Singer ballpoint needle thread the machine with construction thread. Placing wrong sides together leave a 5cm section open. Turn inside out.
Handy hint- I like to place two pins to act like a starting and stopping point, to remind me to leave that section open.
4. Fill the candy cane with polyfill or wool roving then hand-stitch the opening closed.
Preparing the ribbon
- Iron the tearaway stabiliser onto the underside of your ribbon making sure there is a cm extra each side. It is easier to remove the stabiliser after you embroider it.
Don’t forget to put some cloth under the iron or things could get sticky!
Handy hint-I always use baking paper for this. It’s non-stick and I can see what’s happening with the heat.
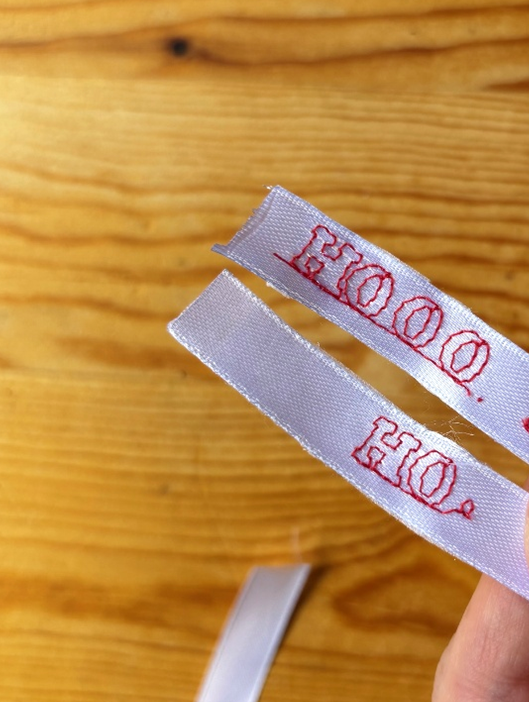
- Referring to your Users Manual, program in a selection of patterns or words you would like to use. I went with “HO HO HO”. I also came across some hologram thread for embroidery so decided to interspace the HO’s with a red sparkly star.
- Change to the Satin Stitch Foot, embroidery thread and bobbin fil.
- Line up your ribbon and watch your Singer sewing machine do its thang as it creates your design.
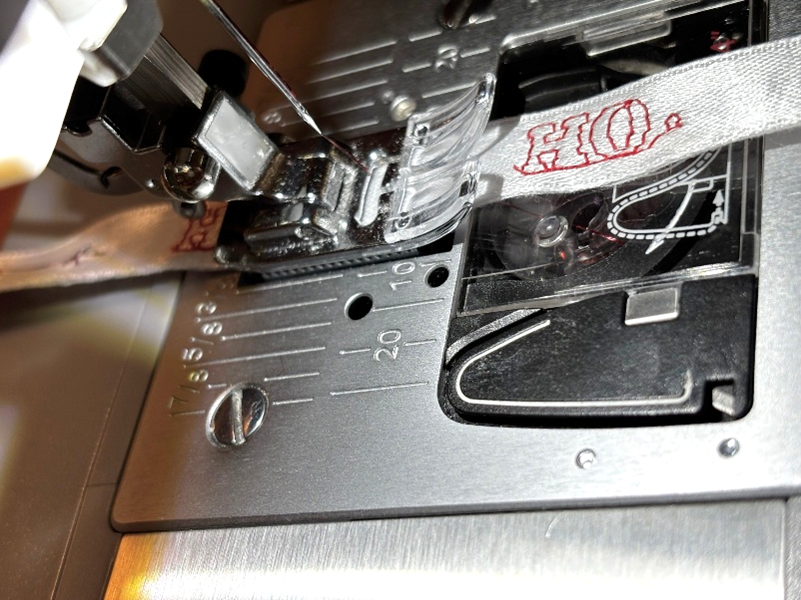
Handy Hint: I programmed a single “HO” so it would stop, and I could reposition it rather than have a sequence.

Once the ribbon is completed, remove the tearaway from the ribbon and discard.
Wrapping the ribbon
Let’s start with a life hack - if you run a flame back-and-forth really quickly along the edge of a ribbon it will fuse as the fibres melt together. The edge will be neat and never unravel. You’re welcome
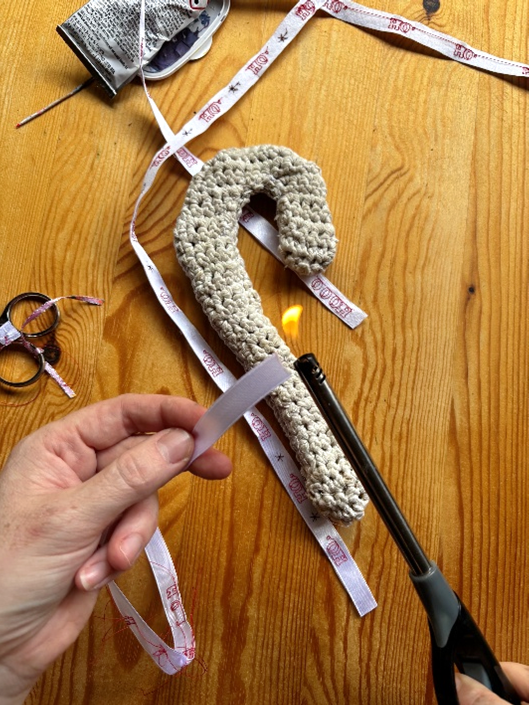
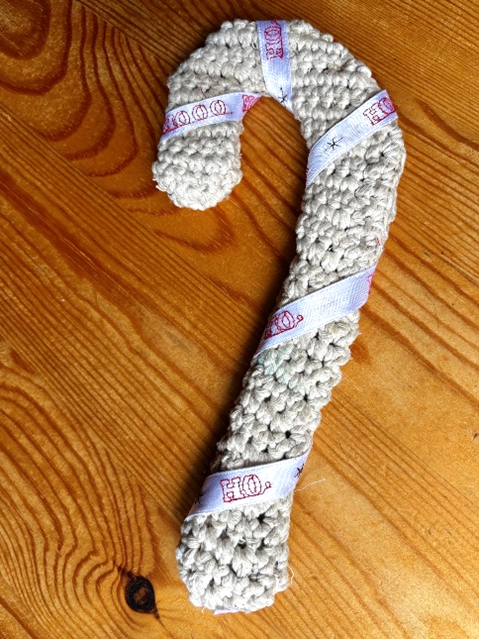
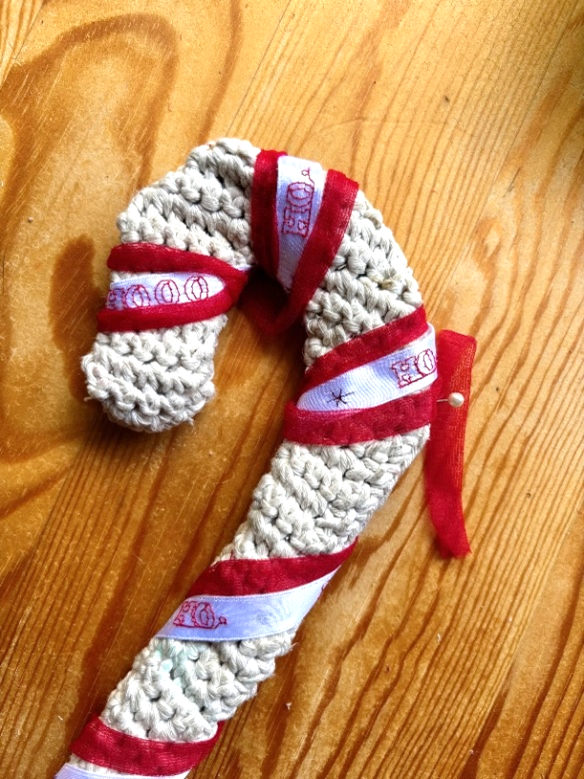
1.Wrap your ribbon around the candy cane. Try different combinations and when you are happy with your design, glue in place.

I added some stretch tulle either side of my ribbon for a strong, synthesising peppermint crunch.
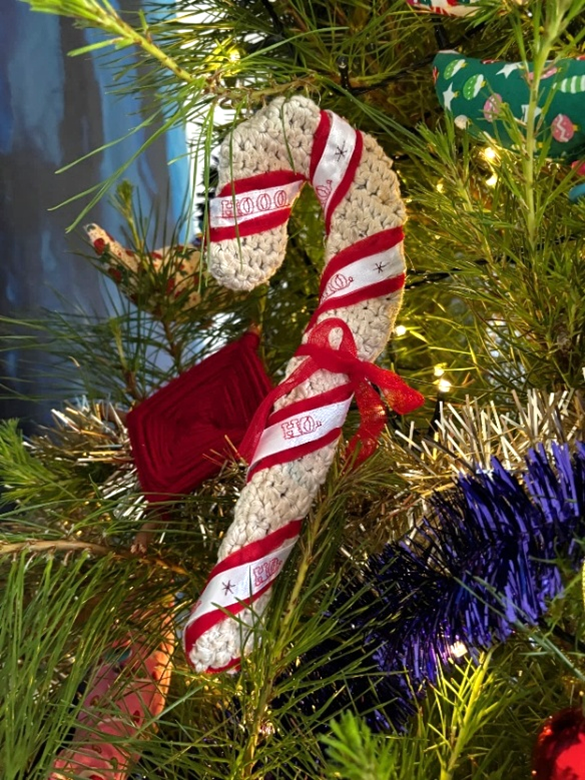
2. Sew a loop on the back or hang it with the jump ring and ribbon.
Congratulations on finishing your project!
Don’t forget to share your projects with us on Instagram, tagging @singersewinganz and using the hashtags #sewitwithsinger #singersewingmachines #singersewingaustralia or our Facebook page Singer Australia & New Zealand