
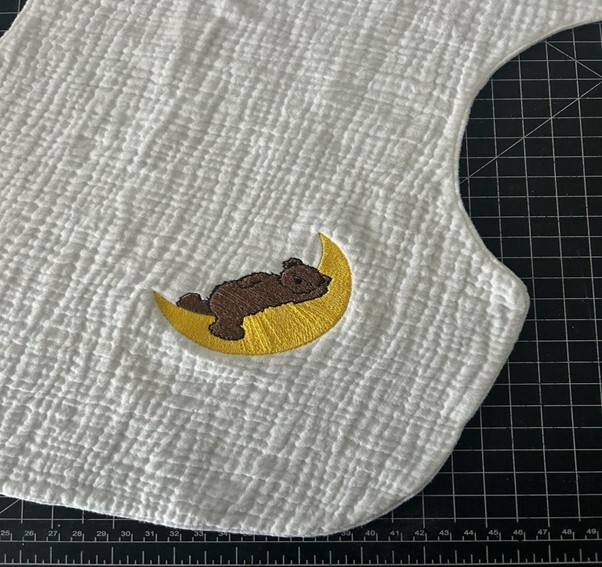
Remember those burp cloths I made a little while ago? Well, my baby boy finally arrived & I was CRAVING some ‘minimal effort’ creative time for myself so thought it was time I added some sweet embroidery to one of the plain white gauze burp cloths.
I love embroidering on my Pfaff Creative Icon as there are SO many gorgeous designs built into the machine, and I can multi-task whilst the machine is stitching out the design! This meant that I could get this project done at the same time as feeding and cuddling my baby.
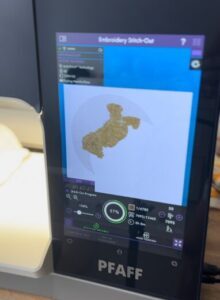
I kept an eye on the Mysewnet app on my phone which kept me informed of the stitch out progress so I could whiz in and change threads as required. I have these burp cloths strewn around the house, and they have well and truly been tried and tested!
Machine Requirements
- PFAFF machines with embroidery function
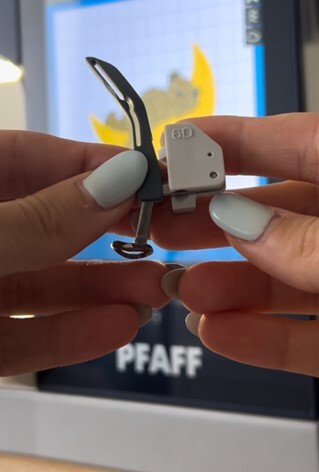
- 6D foot
- General Sewing Equipment
Requirements
- Fabric stabiliser (tear away or water dissolvable)
- Embroidery thread (the bobbin thread should match your fabric)
- Burp cloth (see earlier blog post for pattern and construction steps!)
Sewing Instructions
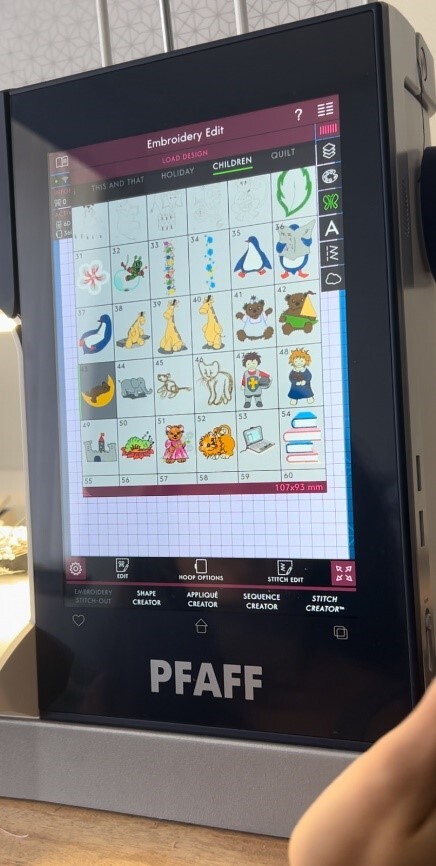
- Choose your desired embroidery design, I have selected one of the MANY built in designs under the children's tab.
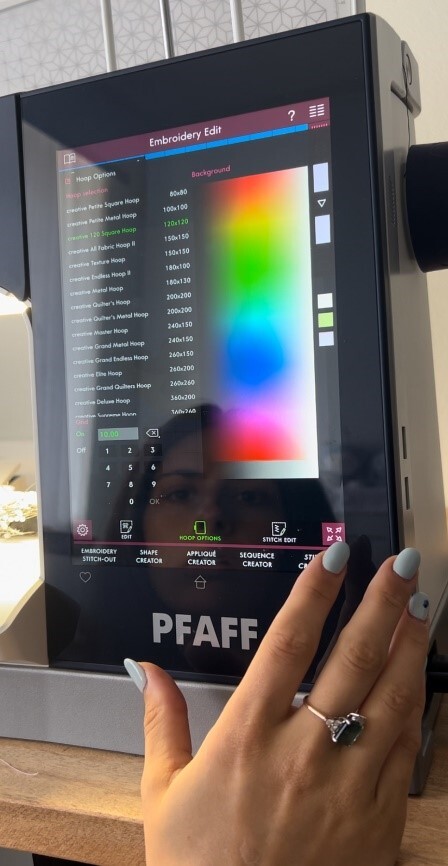
- Select your hoop.
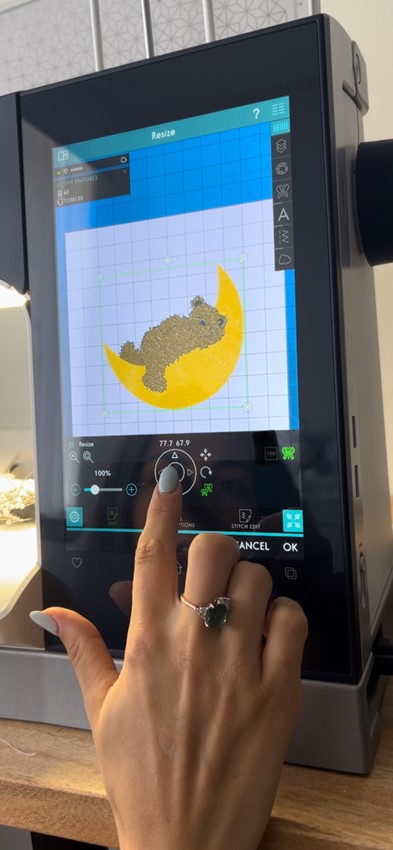
3. Hit the butterfly button on the right of the screen to resize.
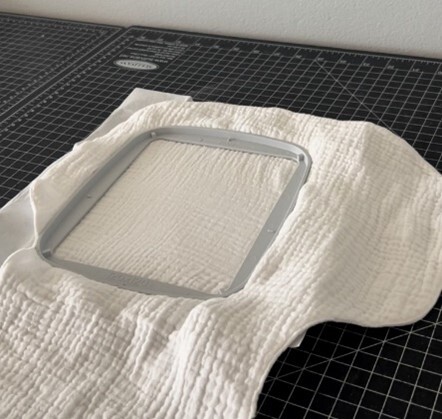
4. ‘Hoop’ your burp cloth. I like to pre crease my tear away stabiliser in the hoop and then place the burp cloth over the top. Make sure to stretch the cloth in the hoop so that there is no loose fabric.
5. Fit the 6D foot (or other appropriate embroidery foot).
6. Hit ‘embroidery stitch out’, install your hoop and select your desired settings. I like to ‘baste around design’ to help maintain tension on the fabric
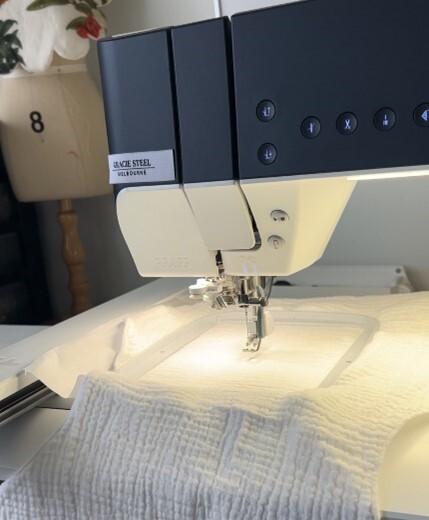

7. Thread your machine with embroidery thread. I have white rayon thread in my bobbin. You can check which colour thread will stitch out first and then thread that in the upper

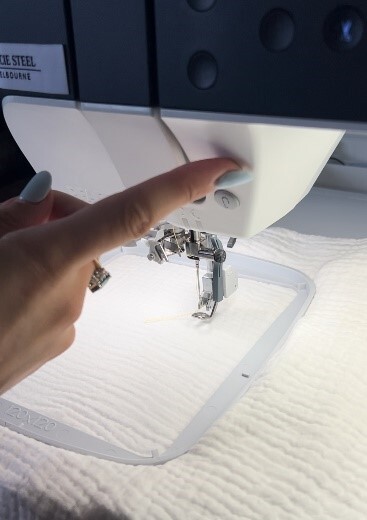
8. Hit ‘go’ and watch your design stitch out! The machine will prompt you when it is time to change your thread colours as well as keep you informed about the stitch out progress. You can also download the mysewnet app on your phone which will sync to your machine and notify you of thread changes or if there are any issues (such as thread breaking/bobbin running low) so you can step away from your machine while it works it magic!
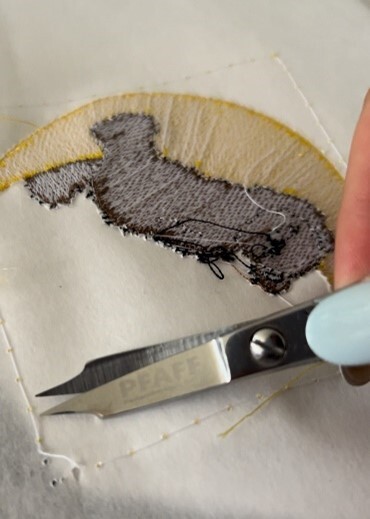
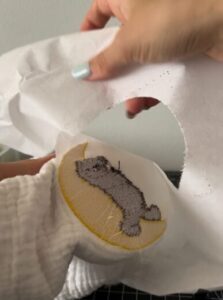
9. Remove the hoop and unclamp your burp cloth. Trim and remove the basting stitches and any other leftover threads, then tear your burp cloth away from the stabiliser
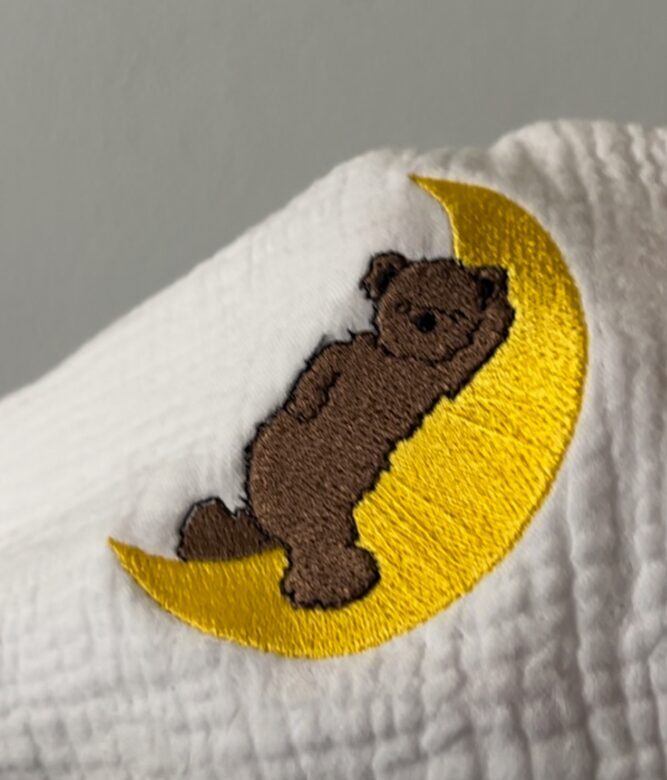

Congratulations on finishing your project!
We can’t wait to see what you create! Don’t forget to share them with us on Instagram, tagging @pfaffsewingaus and using the hashtags #pfaffsewingaustralia #pfaffsewing #perfectionstartshere or our Facebook page Pfaff Australia