An overlocker makes sewing many of your projects fast and easy. It is able to sew a seam, seam finish, trim the excess seam allowance all at once. Your projects get that ready-to-wear look that only an overlocker can provide!
It’s important, though, that your machine is set up properly to give you the best stitching results. Below are a few top trouble-shooting tips to help you sew successfully with your overlocker.
Thread Should Feed Freely Into Machine Thread Path
Make sure each thread passes freely through its entire thread path with no obstruction. When threads unreel irregularly on the overlocker, the result is often unevenness in the stitch formation, with possible thread breaks and even needle breaks.
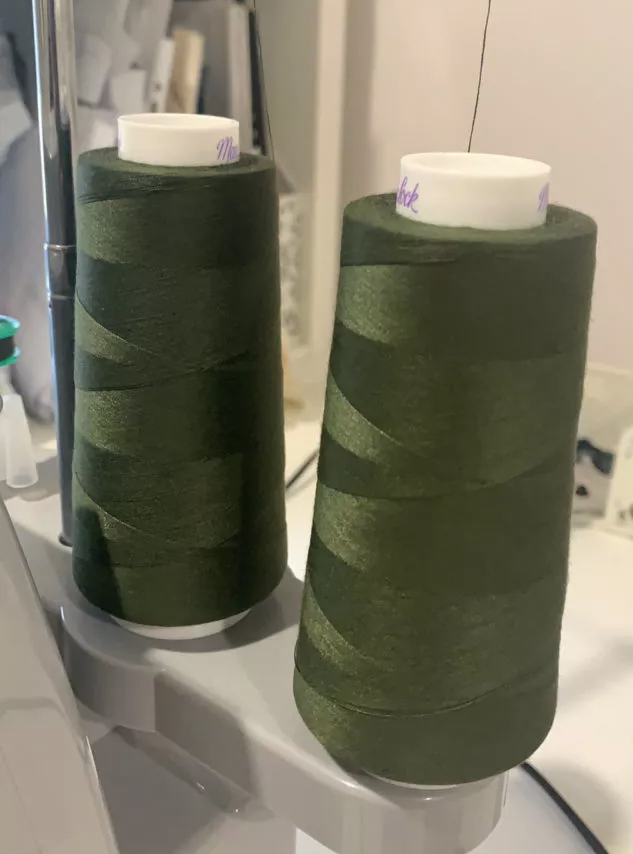
Cross-wound spools, like overlocker cone threads, are recommended for overlocking because the thread feeds more evenly and consistently off the spools than when using regular sewing thread spools.
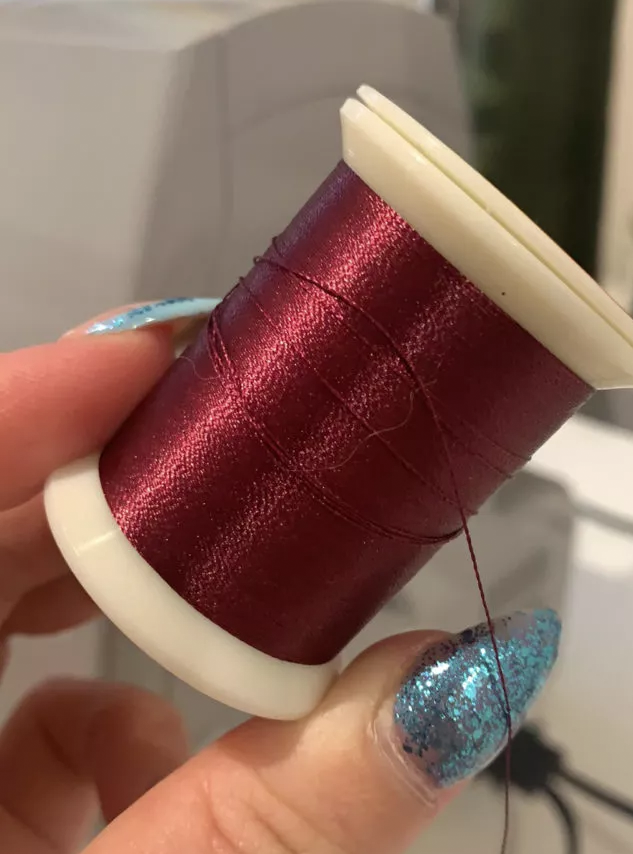
Regular sewing thread spools are not cross-wound and therefore may not always unreel as consistently. They may also have slight irregularities on the edges which can “catch” the threads during sewing, in which case a spool cap could help.
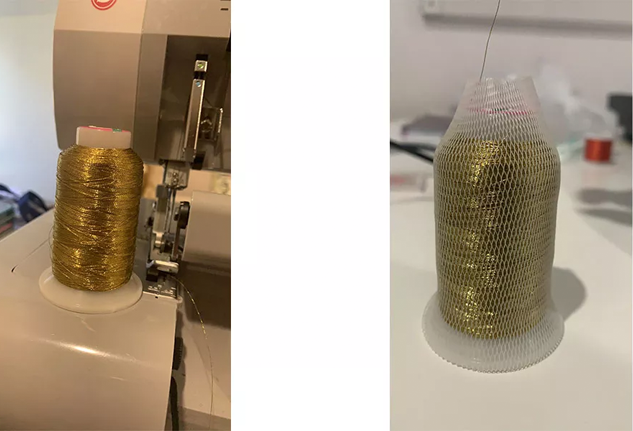
Some decorative threads may tend to “spill” off the spool. They could possibly get caught around the base of the thread stand. Use a thread net to help control the flow of thread off the spool. If the spool itself has a base (so it can stand on its own), try setting it on the table behind the machine as well.
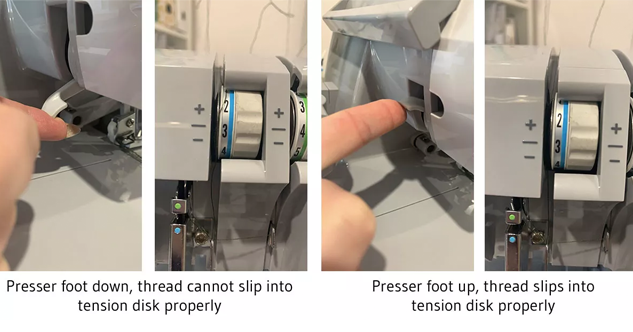
Raise the Presser Foot Lifter Before Threading The Machine
Raise the presser foot lifter before threading to make sure the threads are seated properly in the tension disks. Raise the presser foot lifter before threading the machine, so that the tension mechanisms are opened to receive the threads.
When the presser foot lifter is down, the tension mechanisms are unable to receive the thread, and the result will be distorted stitches. It will also be helpful to “floss” the thread back and forth over the tension disk to ensure that it slips into place. Always raise the presser foot before you begin threading!
Thread Machine in the Correct Order
There is a correct “order” for threading your overlock machine, to help ensure that the stitches form properly. The loopers are threaded first, and Then the needles are threaded. Start by threading the upper looper first.
Then thread the lower looper after the upper looper is completely threaded, checking to be certain that the lower looper thread sits over the upper looper or the stitches won’t form properly. Once the loopers are threaded, you can thread the needles.
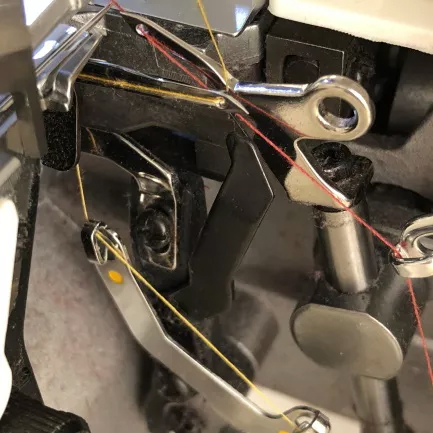
Lower looper thread properly is placed over the threaded upper looper.
Use Differential Feed to Fix Distortion of Seams
If fabrics are distorting or puckering when you sew, you may need to engage your machine’s differential feed to adjust the way the feed teeth feed the fabric through the machine. The overlocker has two sets of feed teeth – one in front and one in back – located under the presser foot. The differential feed lever at the right side of the machine controls the movement of the front feed teeth relative to the back feed teeth. For most sewing, you can leave the lever set at its “normal” setting of 1.0.

For seams and hems on stretchy fabrics that tend to get “wavy”, set the differential feed lever toward the larger number setting. Exactly where to set it depends on the type and thickness of fabric, so experiment on scrap fabric to determine the best setting for the fabric you are sewing.

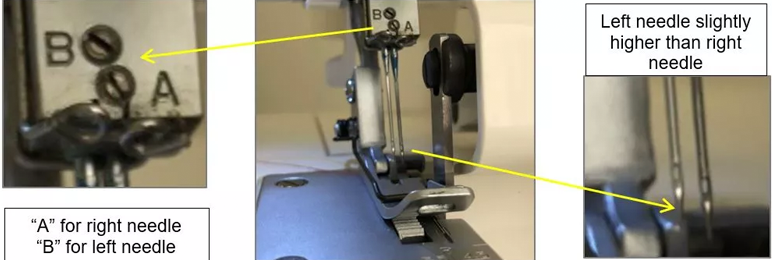
Machine Needles
The overlock machine has two separate needle clamp screws that hold each individual needle. Make sure that each needle is properly inserted in the needle clamp. You may have noticed that the needles in the overlock machine are not level with one another. The left needle sits a little higher than the right needle. They are not “parallel”, such as when sewing with a twin needle on a regular sewing machine.
When removing a needle, lightly loosen the screw to take it out of the needle clamp. When inserting a needle, make sure it goes all the way up in the needle clamp, or stitches will not form properly. Use only Singer overlock needles in the style and size recommended in your machine’s instruction manual.