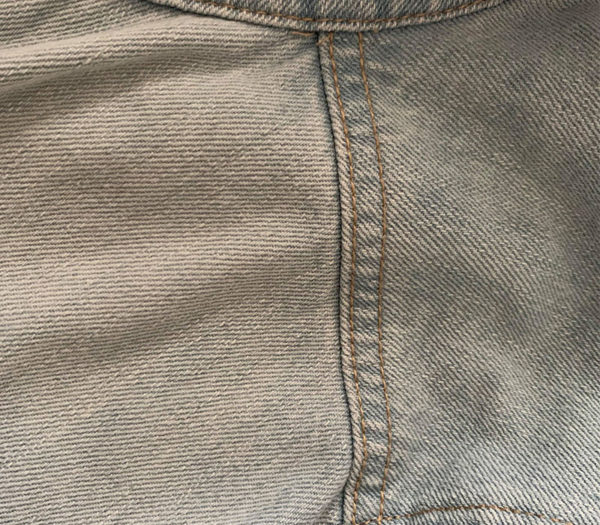
A seam is a basic element in all garment construction. It is created by stitching two pieces of fabric together, usually 1.5cm from the cut edge. Perfect seams are the most obvious sign of a well- made garment. Puckered, crooked, or uneven seams spoil the fit as well as they look.
In addition to holding a garment together, seams can be used as a design element. Seams placed in unusual locations or topstitched with contrasting thread add interest to a garment.
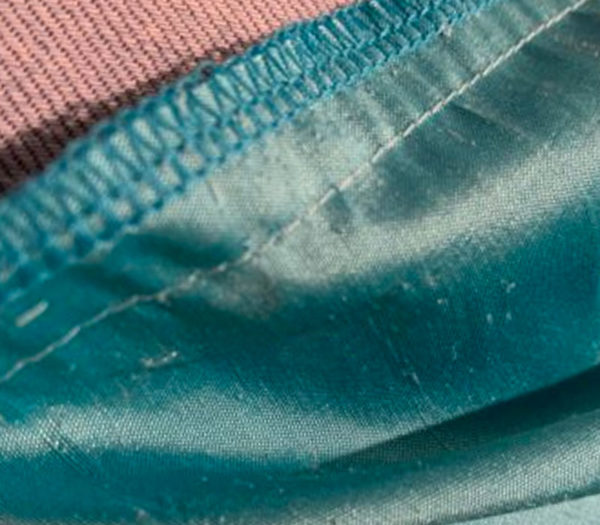
Most plain seams require a seam finish to prevent ravelling. A seam finish is a way of treating or enclosing the raw edges of seam allowances so they are more durable and do not ravel.
Variations of the plain seam include bound, encased, topstitched and eased seams. Some, such as the flat-fell seam, add strength or shape. Others, such as French or bound seams, improved the appearance of the garment or make it long-wearing.
Techniques for machine stitching seams:
- Position the bulk of the fabric to the left of the machine needle, with cut edges to the right. Support and guide the fabric gently with both hands as you stitch.
- Use guidelines etched on the throat plate of the machine to help you sew straight seams. For extra help, use a seam guide or strip of masking tape placed the desired distance from the needle.
- Use the thread cutter located at the back of the presser bar assembly to cut threads after stitching. Or use a thread clipper to cut threads.
How to sew a plain seam:
- Pin seam, right sides of the fabric together, at regular intervals, matching notches and other markings precisely. Place pins at right angles to seamline, usually 1.5cm from the edge, with points just beyond seamline and heads towards the cut edge for easy removal.
- Secure the stitching with backstitching. Then stitch forward on the seamline, removing the pins as you come to them. Backstitch 1.3cm at the end to secure the stitching. Trim threads.
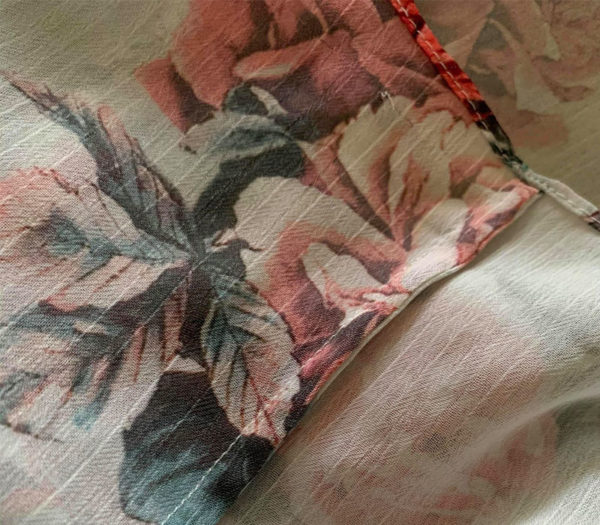
- Press over stitching line on the wrong side to press the seam flat. This blends stitches into the fabric. Then press the seam open. Use your fingers or the blunt end of a point turner to open seams as you press. If the seam is curved, such as the hip area of a skirt or pants, press over the curved area of a tailor’s ham.
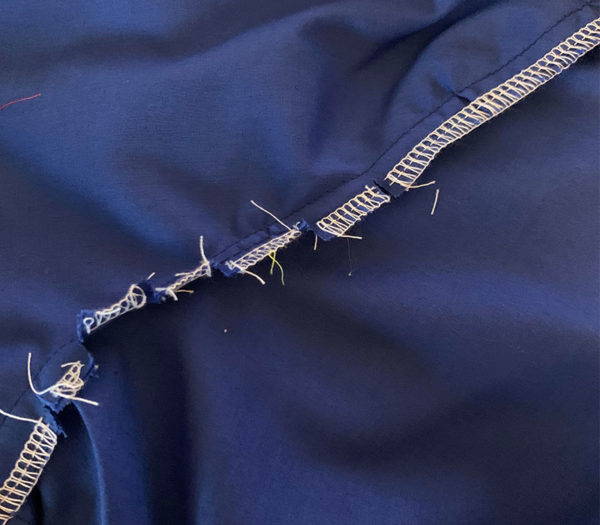
The example below has been overclocked to prevent fraying.
How to sew curved seams:
- Stich a line of reinforcement stitching just inside seamline of inner curved of the centre panel. Clip into seam allowance all the way to the stitching line at intervals along the curve.
- Pin inner and outer curves, right sides together with the clipped edge on top, spreading clipped inner curve to match all markings and fit outer curve.
- Stitching on seamline with the clipped seam on top, using shorter stitch than usual for the fabric and being careful to keep the lower layer of fabric smooth.
- Cut out wedge-shaped notches in the seam allowance of the outer curve by making small folds in the seam allowance and cutting at a slight angle. Be careful not to cut into stitching line.
- Press seam flat to embed and smooth the stitches. Turn over and press on the other side.
- Press seam open over the curve of tailors ham, using the tip of iron only. Do not press to contour, seam lines become distorted and look pulled out of shape.
How to sew a self-bound seam:
- Stitch a plain seam. Do not press open. Trim one seam allowance to 3mm.
- Turn under the untrimmed seam allowance 3mm. then turn again, enclosing the narrow trimmed edge and bringing the folded edge to the seamline.
- Stitch on the folded edge, as close as possible to the first line of stitching. Press seam to one side.
How to sew a French seam:
- Pin the wrong sides of the fabric together. Stitch 1cm from edges on right side of the fabric.
- Trim allowance to 3mm. Fold right sides together, with stitching line exactly on the fold. Press flat.
- Stitch 6mm from the fold. This step encases the cut edges. Check right side to be sure no revealed threads are showing. Press seam to one side.
How to sew a mock French seam:
- Stitch a plain seam. Trim both seam allowance to 1.3cm. press open
- Press 6mm on each seam allowance toward the inside of the seam, so cut edges met at the stitching line.
- Stitch edges together, stitching as close to folds as possible. Press seam to one side.
How to sew a flat fell seam:
- Pin fabric, wrong sides together, at seamline with pin heads toward raw edges. Stitch, taking the usual 1.5cm seam allowance.
- Press the seam allowance to one side. Trim the lower seam allowance to 3mm.
- Turn under 6mm on the upper seam allowance and press.
- Pin folded seam allowance to the garment, concealing trimmed lower edge.
- Edgestitch on the fold, removing pins as you come to them.
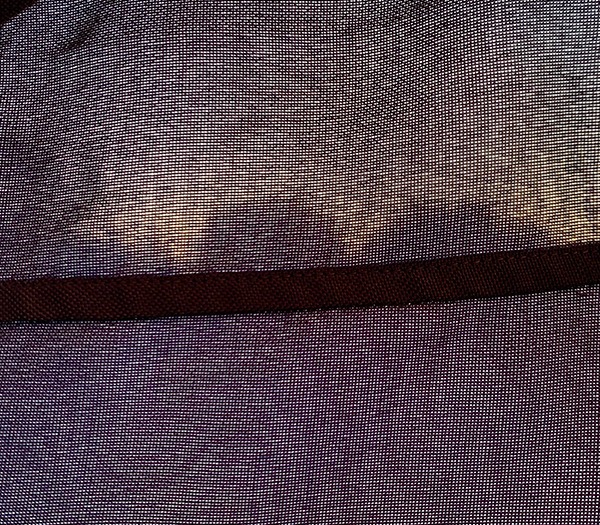
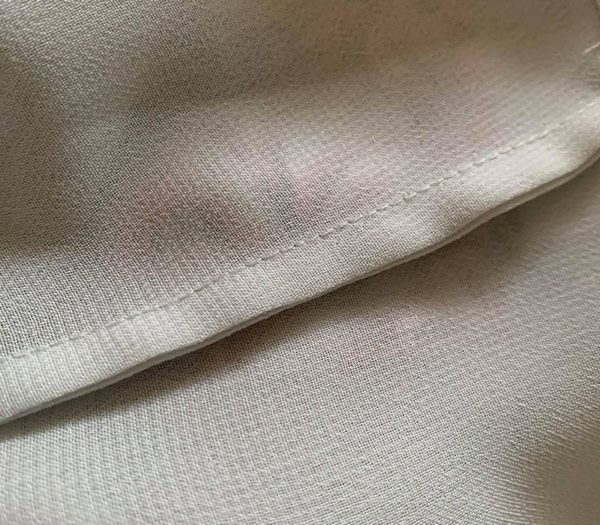
- Finish seam is a reversible flat seam with two visible rows of stitching on each side.

How to sew a mock flat-fell seam:
- Stitch a plain seam. Press seam allowance to one side. Trim lower seam allowance to 6mm.
- Topstitch on right side of garment 6mm to 1.3cm from seamline. Edgestitch close to the seamline.
- Finished seam looks like the flat-fell seam on the right side, but has one exposed seam allowance on the wrong side.