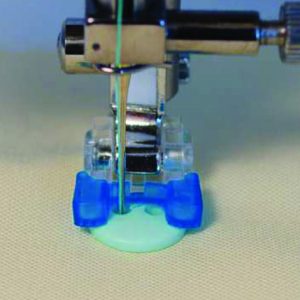
The Button Sewing Foot is used to easily attach buttons by machine. The foot securely holds the button in place, while still
providing a clear view of the stitching area. In addition, the horseshoe-shaped rubberized grip keeps the button from slipping out of place.
The Button Sewing Foot can also be used to attach ribbons, to tack trims in place and even sew on the hook and eye closures.
Sewing with the Button Sewing Foot.

- Attach the button sewing foot to the presser foot holder. Depending on your machine model either cover or lower the feed dogs. (Consult your machine manual)
- Position the button under the presser foot and lower the foot, holding the button in place.
- Select a zig-zag stitch or depending on your machine, select a button to sew a stitch. (consult your machine manual). Adjust the stitch width so that the left swing of the stitch drops into the right hole of the button.
- With the needle threaded and the button positioned on the right side of your fabric under the foot, stitch 5-8 zig-zag stitches to secure the button. To tie off select a straight stitch and adjust the stitch length to 0, also adjust the needle position so that the needle drops into the left hole of the button. Stitch in place 5 times to secure the thread. Trim the thread tails. Repeat for each button
- shank is needed for the button, place a toothpick or match under the button when stitching the button on.
Tip: Use different weights of thread for sewing buttons on. Just remember to adjust the number of stitches you make inside the button, according to the thickness of the thread used. For a thicker thread, fewer stitches will be required.
Stitching Hooks and Eyes
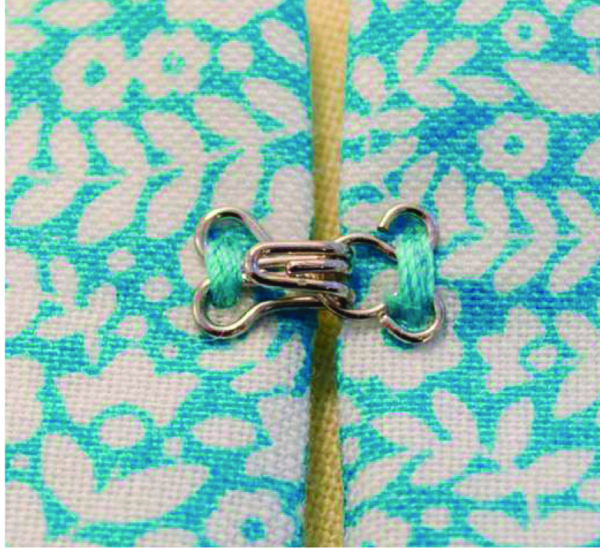
- You can use your button sewing foot to attach hooks and eyes to your projects
- Stitch both the hook and the eye through the holes at the end, in the same method as used for the basic button sewing.
- You may wish to secure the opposite end of the hook or eye with a small piece of tape to keep the correct place while stitching.
Decorative Button Sewing

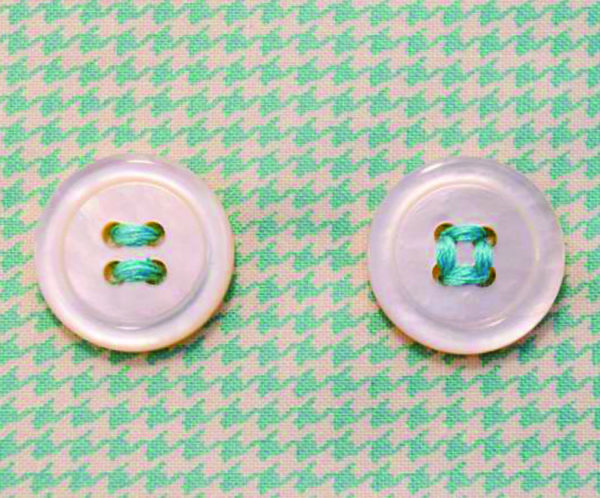
When attaching a button with four holes, use parallel stitches or square stitches for a decorative effect. For something a bit different, try stacking two buttons and stitching them together.
Sewing Ribbons and Trim

- Use your Button Sewing Foot to attach ribbons, trims or even finished bows to your project.
- Secure the trim/ribbon to your project on the right side with a pin, or basting glue.
- Set your sewing machine for a zig-zag stitch with a stitch length of 0 and a narrow stitch width according to how much stitching you want to be visible on your project. A narrower setting will make the zig-zag stitches less visible.
- Take 4-5 stitches to attach the trim/ribbon. Pull the thread tails to the back side of the fabric and knot to secure.
