
Santa sacks are a great way to wrap presents for loved ones for Christmas! They are also quick to sew and as a bonus they are reusable!
If you require a different size, you can also adjust the rectangle dimensions to suit the presents that you want to put inside.
Requirements:
- (2) 50cm x 55cm Rectangles of Christmas fabric
- Ribbon 2m length
- Co-ordinating Sewing thread
- Sewing Machine
- Safety-pin
- Fabric marker or chalk
- optional: Overlocker
Construction:
Seam Allowance is 1cm unless otherwise specified.
- Place fabric right sides together. Using a fabric marker, mark 10cm down from the top short edge. (If you have directional fabric, make sure it is facing up toward this side.)
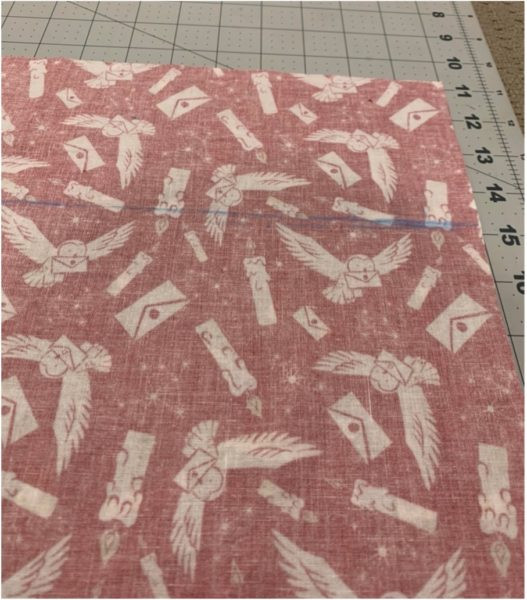
- Begin stitching from the top of the bag, sew down one side, along bottom and up second side, stopping at the mark made in step 1.
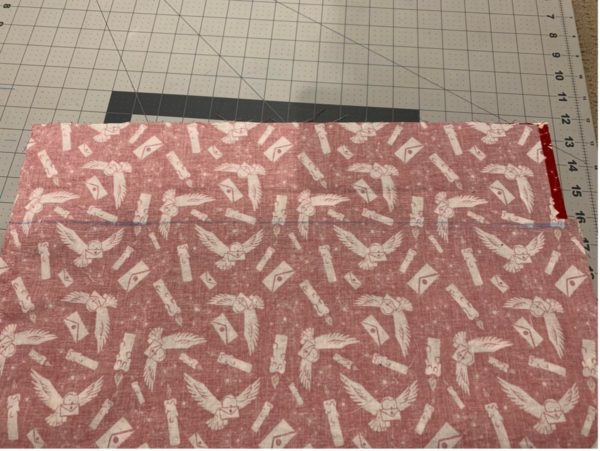
- Overlock or zigzag stitch the raw edges.
- Make a small snip just above the end of the stitching as shown in image below.

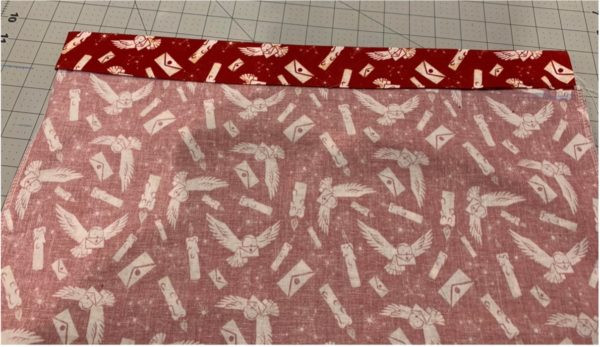
- On the side of the bag, fold down fabric above the snip by 1cm and press.
- Fold down the top edge of the bag by 1cm and press. Fold again, aligning the first fold with the marked line and snip made in step 4. Pin.
- Stitch along the edge to secure in place.
- Using your chalk or fabric marker mark 2cm from the line of stitching you just made.
- Stitch along the line drawn. This will form the channel for the ribbon.
- Using a safety-pin thread ribbon through the channel.