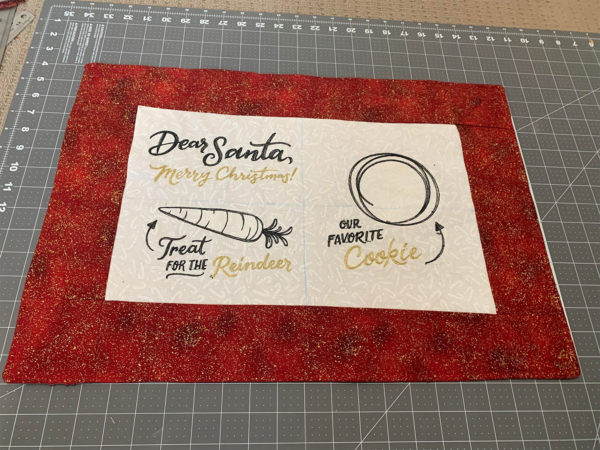
Give Santa and his faithful reindeer their own treat this year with this sweet Santa Snack Placemat! It features three embroideries from Embroidery Library (Santa's Snack Tray X15380), making it the perfect project for beginner machine embroiderers.
Requirements List:
- EM9305 Embroidery Machine or similar Singer embroidery machine (Instructions will be for the EM9305).
- Sewing Machine
- Quarter-Inch Foot
- Santa’s Snack Tray X15380 From Embroidery Library
- Superior Threads 40wt, Magnifico Black
- Bobbinfill
- Co-ordinating All-purpose thread
- Inspira Tear-Away or similar stabiliser
- Iron
- 25.5cm x 40.5cm Rectangle of white fabric
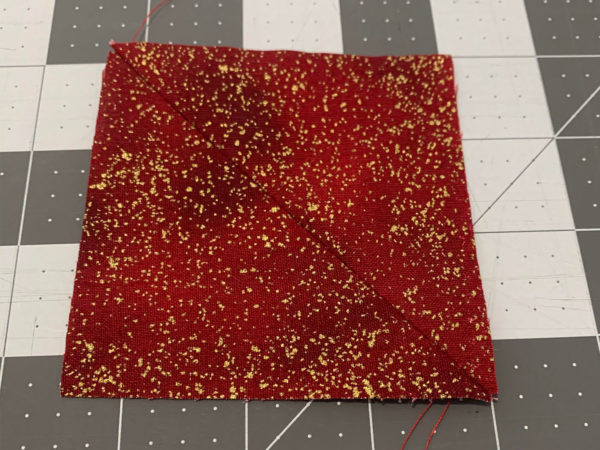
- Half meter of red fabric
- Fusible Interfacing (56cm x 39.5cm)
- Scissors
- Pins
Cutting:
- Cut 1 x white rectangle to 25.5cm x 40.5cm
- Cut 1 x red rectangle to 56cm x 39.5cm
- Cut 1 x rectangle of the fusible interfacing 56cm x 39.5cm
- Cut 2 x red long Strips 40.5cm x 9cm/li>
- Cut 1 x red Short Strips 25.5cm x 9cm
- Cut 8 x red Triangles 12.5 x 9cm (dog-ear corners on bottom edge)
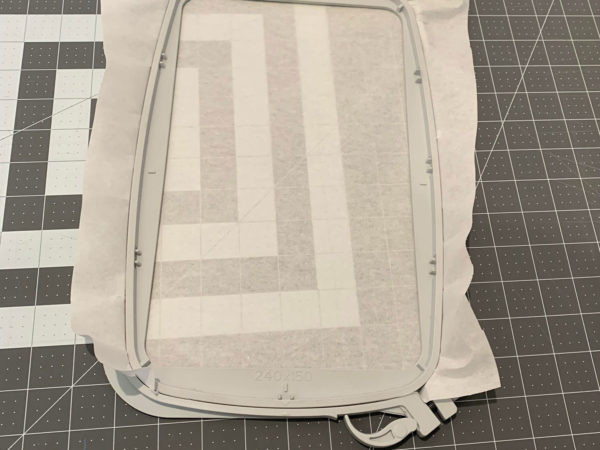
- Cut Stabilizer x 3 rectangles to fit the hoop (240mm x 150mm)
Embroidery Preparation:
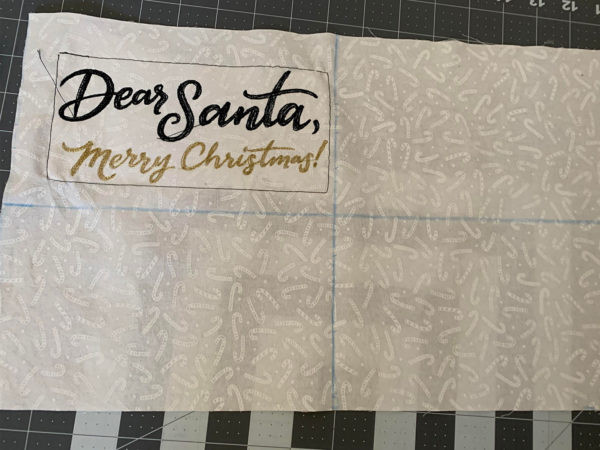
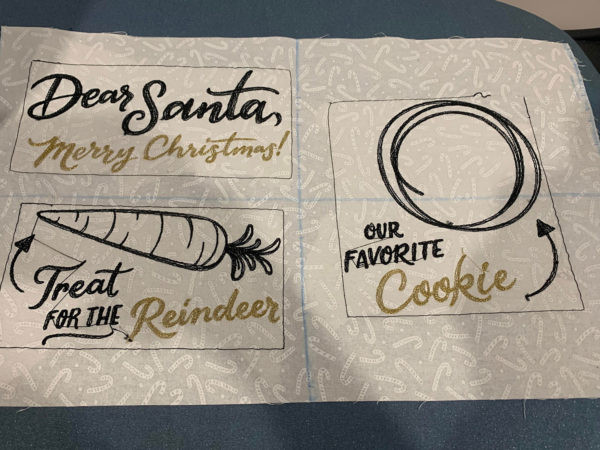
- Purchase and download the Santa’s Snack tray (X15380) as a .vp3. Choose size 5.78” x 6.85” (146.8x17.4mm) Save these files to your USB to insert into the machine. We used the “Dear Santa”, “Our favourite Cookie” and “Treat for the Reindeer” Files for this placemat.
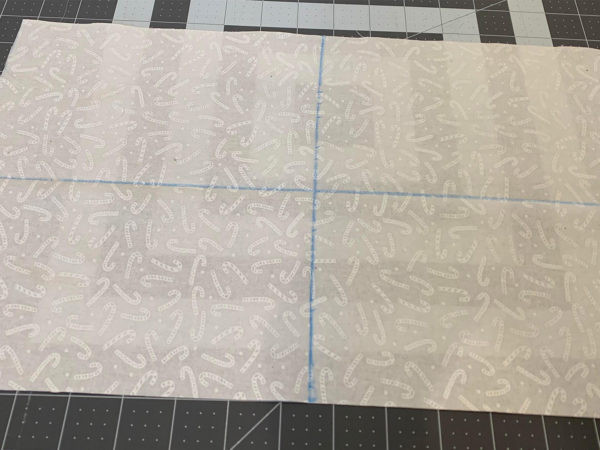
- Using a fabric marker divide the white rectangle up into quarters. This will aid with the placement of each embroidery.
- Hoop Stabiliser, ensure it is pulled firm
Embroidery Stitch-out:
See downloadable Instructions for icons
- Retrieve the designs (“Merry Christmas Santa”, “Our favourite Cookie” and “Treat for the Reindeer”):
- Insert the USB stick with the design
- Touch the Start Menu
- Select File Manager
- Select USB Device
- Long touch on the design to load onto the screen.
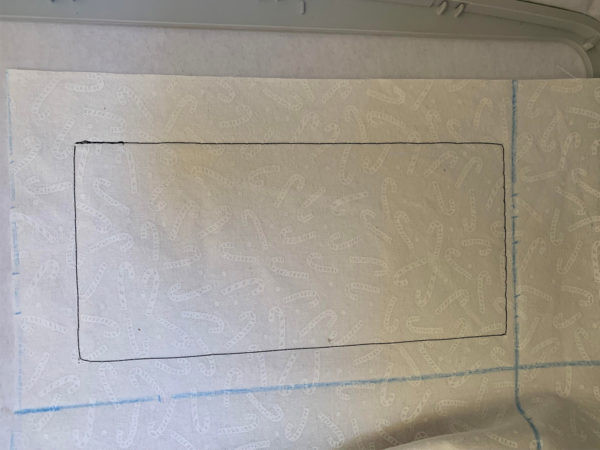
- Touch the My Hoops icon and select 240x150.
- Select GO to move through to the Embroidery Stitch Out screen.
- Place the white fabric in the hoop, with the top left quarter for “Merry Christmas Santa”, Bottom left for “Treat for the Reindeer” and center “our favourite” cookie on the right half. Center the section based on what design you are stitching
- In the Embroidery Stitch Out screen select Baste Around Design.
- Repeat steps 1 – 7 for all 3 embroidery files.
Construction:
Seam allowance is 1/4” unless otherwise specifically stated.
- Pin and sew the long edges of the triangles together and press seams open. Repeat until you have 4 squares created
- Pin and sew one of these square units too each short end of the long rectangles (40.5cm x 9cm). Press seams open.
- Pin and sew the long edges of the short rectangles to the white fabric. Press seams to red side.
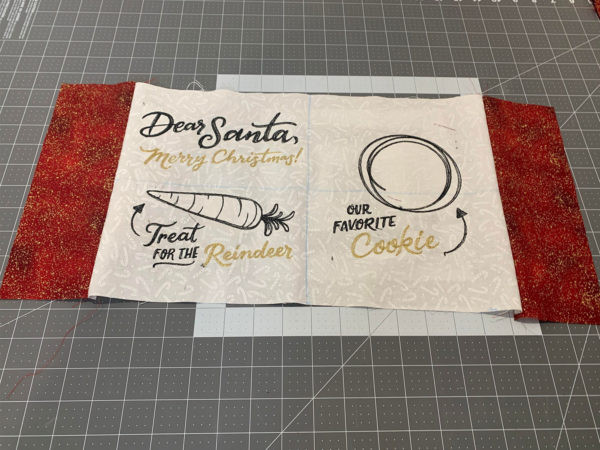
- Pin and sew the long rectangles to the top and bottom of the placemat. Press seams to the red. This will finish the border around the white center piece.
- Place the front and back of your project right sides together, pin.
- Sew using a straight stitch around all 4 sides, ensuring you leave an opening of 5cm.
- Clip your corners.
- Turn-out through the 5cm opening, ensure you push your corners out, so they are nice and pointy.
- Press. Pay close attention to the opening, to ensure the seam allowance there will be pressed inside of the placemat.
- Increase your stitch length to 3.0. Choose your coordinating thread or you can choose to do a contrast if you want to further personalize this project. Using a Quarter-Inch Foot top-stitch around the outside of your placemat. This will also close the opening on the side.
- Congratulations Your Santa-Snack Placemat is already for Christmas eve to spoil Santa and his reindeer with some tasty treats.