
This cute pouch is secured with a zip and is great for your bits and pieces when traveling. By mixing fabrics, you can customize your pouch for any occasion. Makes a great gift or stocking filler for Christmas.
Requirements List:
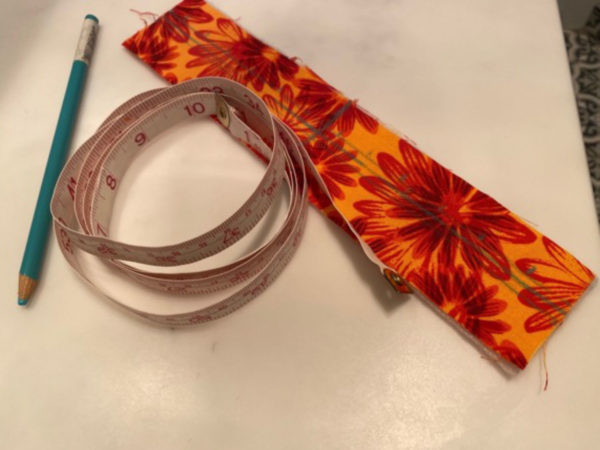
- 1 x Fat quarter for outside
- 1 x Fat quarters for border and lining
- 30cm zipper
- 70cm of 10mm ribbon
- Coordinating sewing machine thread
- Sewing machine
- Pellon/Fusible stabilizer
- Tear Away
- Rotary cutter, mat and ruler
- Paper Scissors
Cutting:
- One 25cm x 30cm rectangle for main fabric.
- One 25cm x 37cm for lining
- Two strips 5cm x 25cm for borders
- Pellon/fusible stabilizer- one rectangle 25cm x 30cm and two strips 5cm x 25cm
- Tear Away-one rectangle 30cm x 35cm and two strips 10cm x 30cm
Construction:
- Fuse the stabilizer onto the wrong side of each border.
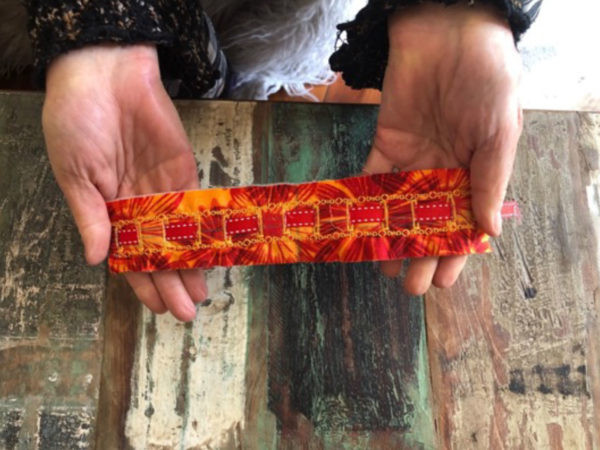
- On each border mark a centre horizontal line and a central vertical line. Then make two more lines- one 5mm above the centre horizontal line and one line 5mm below. Now place a marking 1cm each side of the horizontal line, sitting on the bottom verticle line. Then on both sides make other markings every 2cm to the ends of your fabric.
- We are now going to make 14mm vertical buttonholes on each of the markings. Place Tear Away under each border to add extra stability. Start each buttonhole about 2mm under the bottom line to ensure it sits in the middle of your border.
- Now we are going to do a row of decorative stitches across and below your buttonholes. With the Singer Quantum Stylist 9960 there are 600 Built-in stitches including a variety of stitches for decorative sewing.
- Remove excess Tear Away, seam ripper your buttonholes and thread through the ribbon on each border, and baste in place at each end.
- Now get your main fabric and iron on the stabilizer. With your ruler mark a diagonal line all the way from corner to corner. Then mark on further parallel lines each 5cm to each corner. Do a quarter-turn of the fabric and repeat. will give you a grid to follow with stitching
- Use some extra tear away and sew lines with a wavey decorative stitch as per the below image. Remove the Tear Away from behind the fabric being careful not to break the stitching. This will leave the main fabric soft and pliable
Note: Start on one of the centre diagonal lines then sew each remaining lines from the centre out.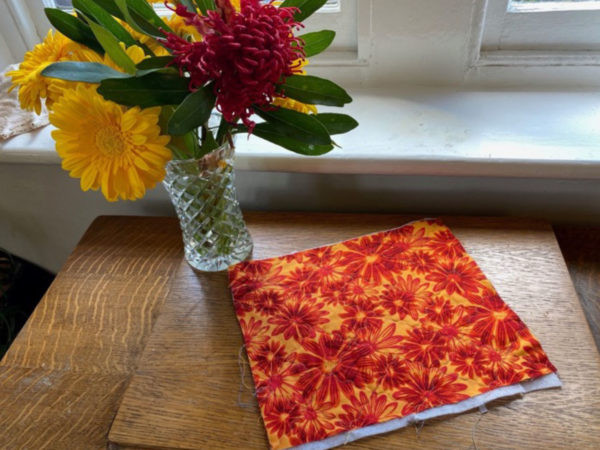
- Place each border pieces along one of the 25cm edges of the main fabric, right sides together. Stitch a 1.25cm seam allowance and press in towards main fabric.
- 9.Get your zip and place right side down along the right side of a border strip. Pin in place. Then place your lining fabric right side down over the zip, matching up with edges and casing the zip in between your fabric and the lining.
- 10.Use zipper foot in left position so that the left of the foot presses up again the edge of the zipper. Stich, press and topstitch to prevent fabric rolling back.
- Fold over your lining to the other borders edge- ensure its an exact match- if not, trim. Then open up fabric and lining with right sides up.
- Fold over your quilted main fabric, right sides together and line up the edge with the right side on the unsewn zip side. Bring up the lining and match also- pin all layers in place.
- Use zipper foot again to sew the other edge of the zip making sure all your seams lined up.
- Open your zip and topstitch the other side.
- Zip back up and turn inside out.
- Sew a 1.5cm seam along the bottom raw edge and then trim back to about 1cm including the zipper bottom.
- Open up the zip completely. Fold the bag so that the 2 zipper tapes are facing each other. Pin together to ensure that the 2 seams of the border strips are even. Sew a 1.25cm seam allowance.
Tip: Start sewing a few centimeters from the top and then reverse back over the zip- When you try to start exactly on the edge it tends to push one of the zipper tapes ahead of the other, leaving an uneven seam. 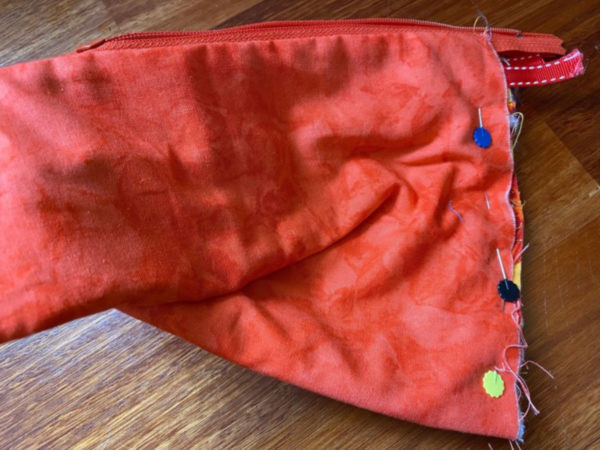
- Overcast all the raw edges but don’t go over the zipper. You can also overlock the edges if you have an overlocker.
- Trim all loose threads and turn inside out.